This blog is a walkthrough of replacing your vcenter, sddc manager and nsx-t certificates using a sddc manager using a Microsoft certificate authority. You can do it a couple of ways one is to add the certificate authority to sddc manager or to update it manually, the below process is manually.
Login to sddc manager
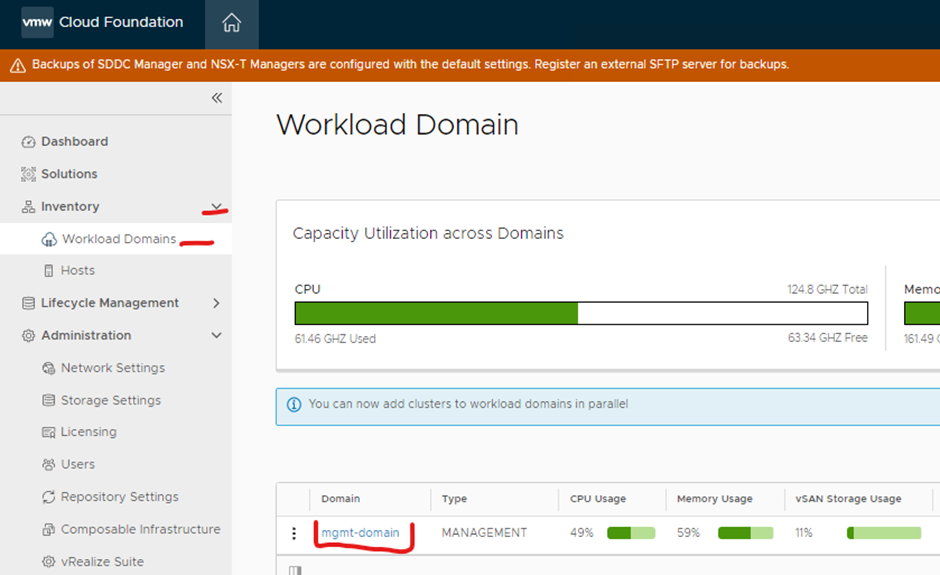
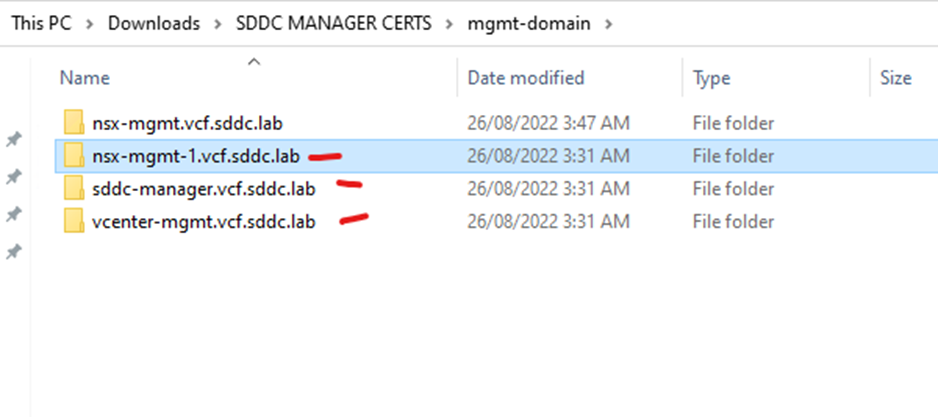
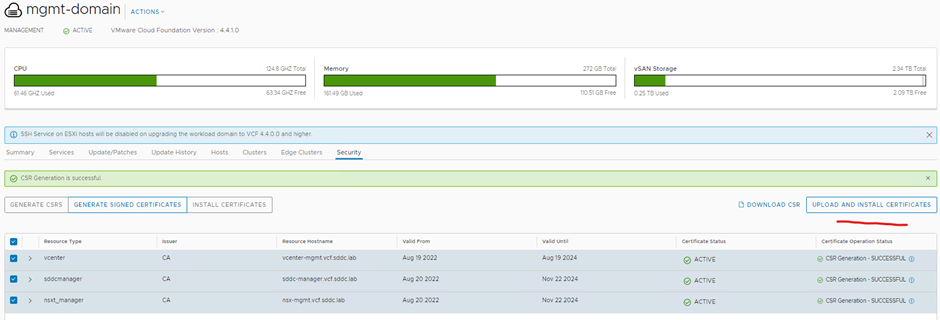
Expand inventory > click workload domains > click mgmt-domain
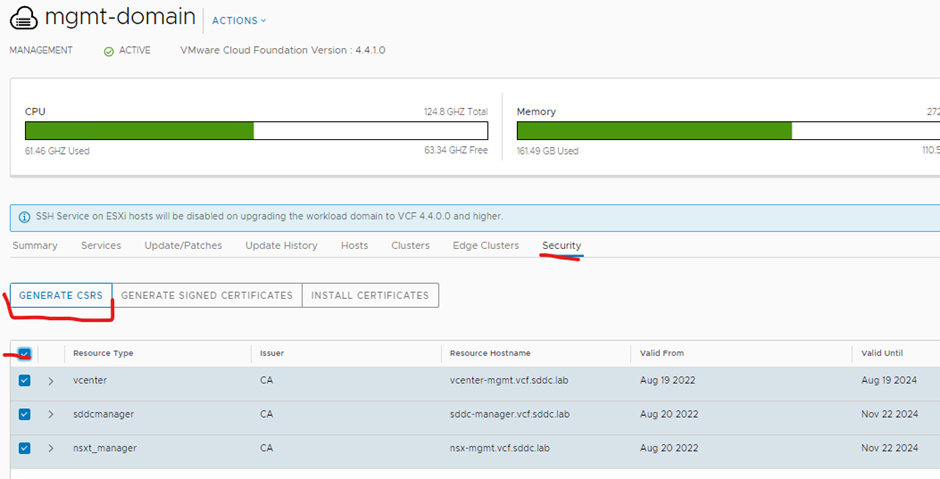
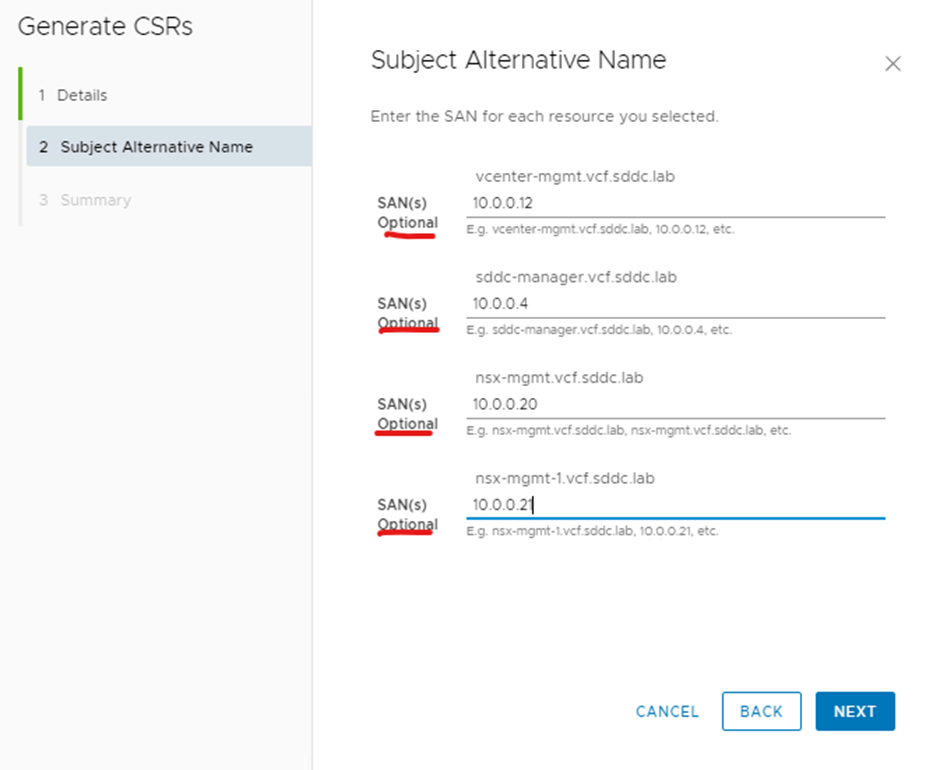
Click the security tab > select all the certificates > click generate csrs
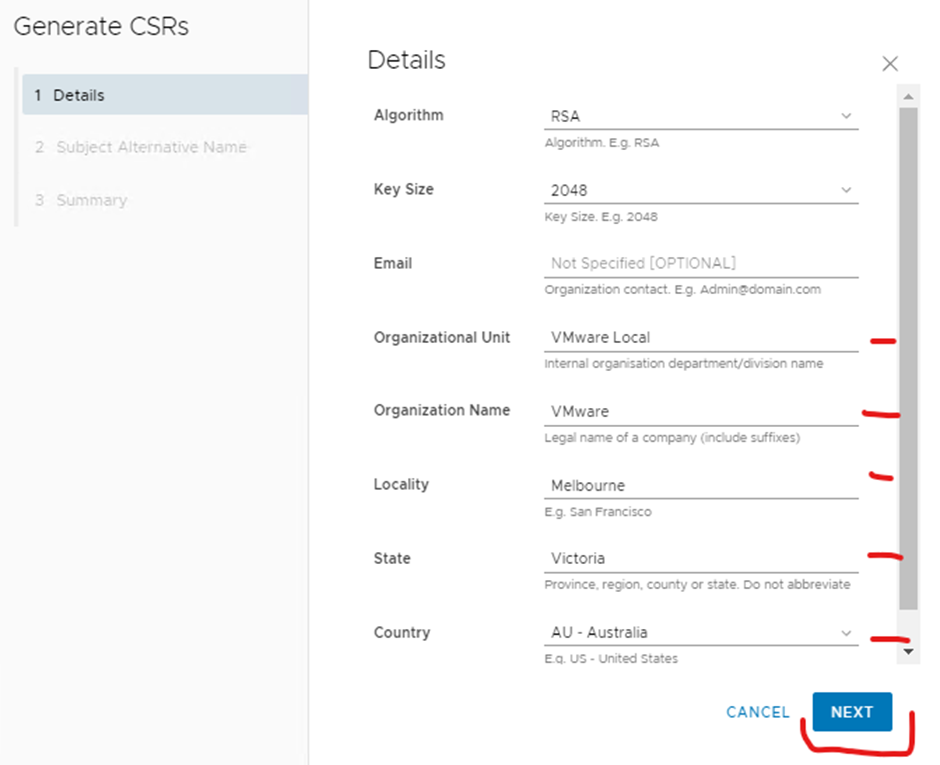
IP addresses are optional, click next
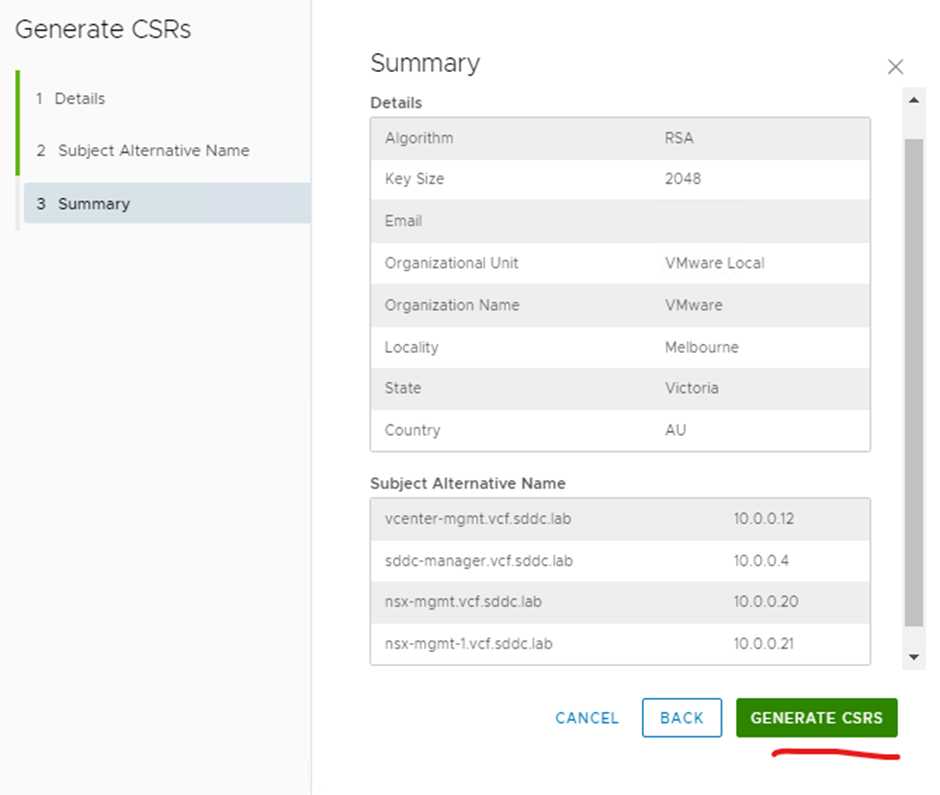
Click generate csrs
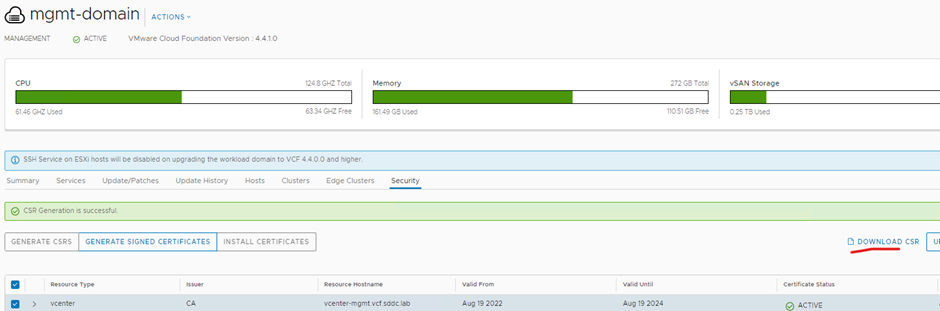
Click download csr
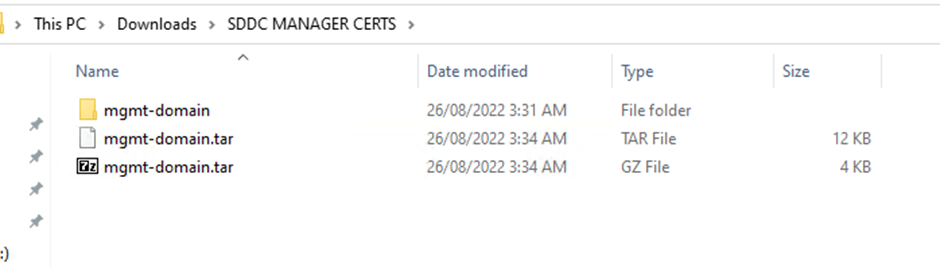
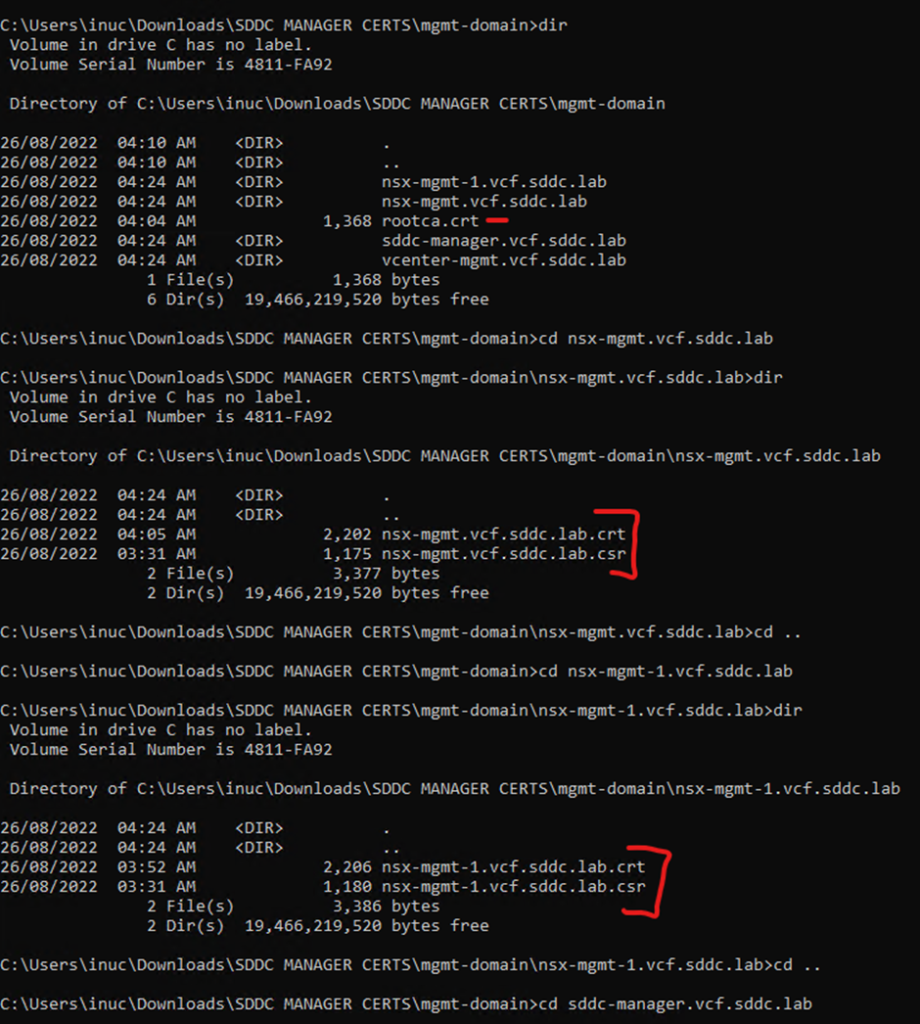
Extract the GZ download (I used 7zip)
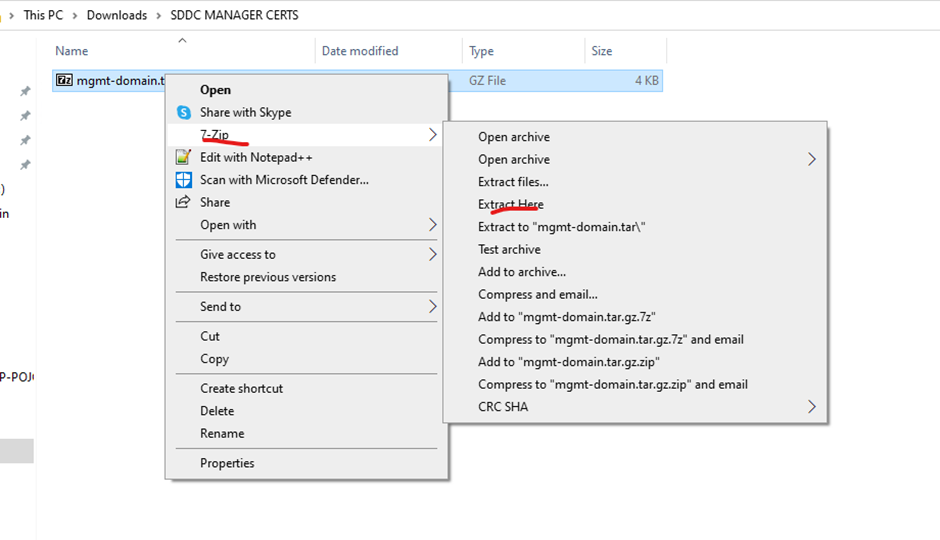
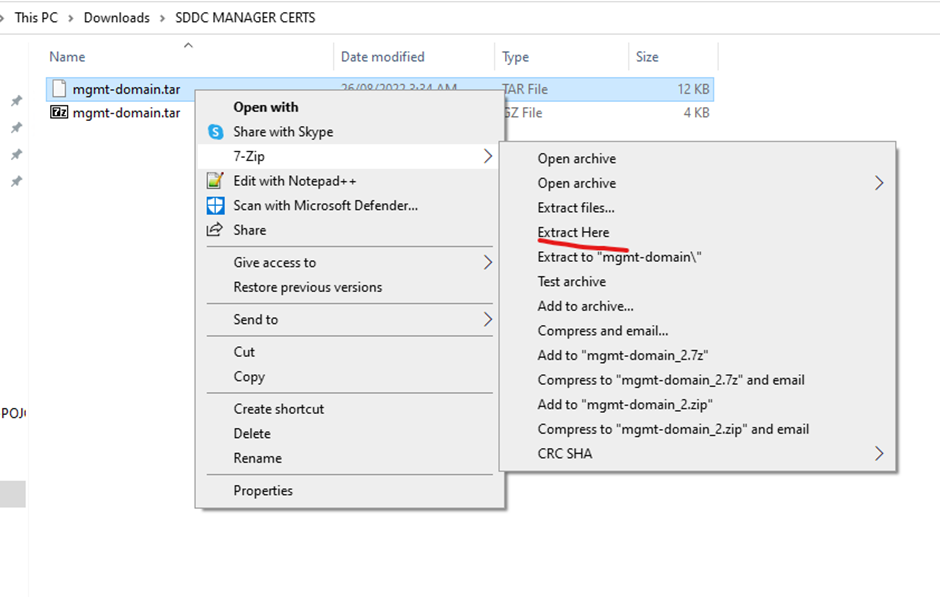
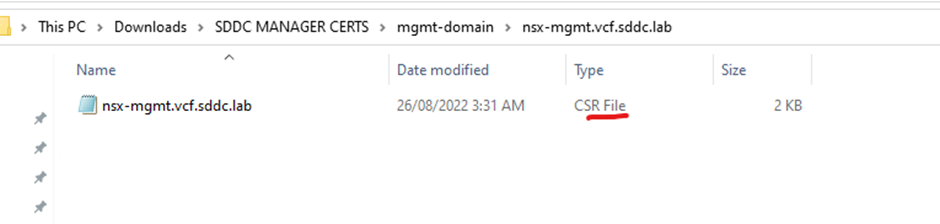
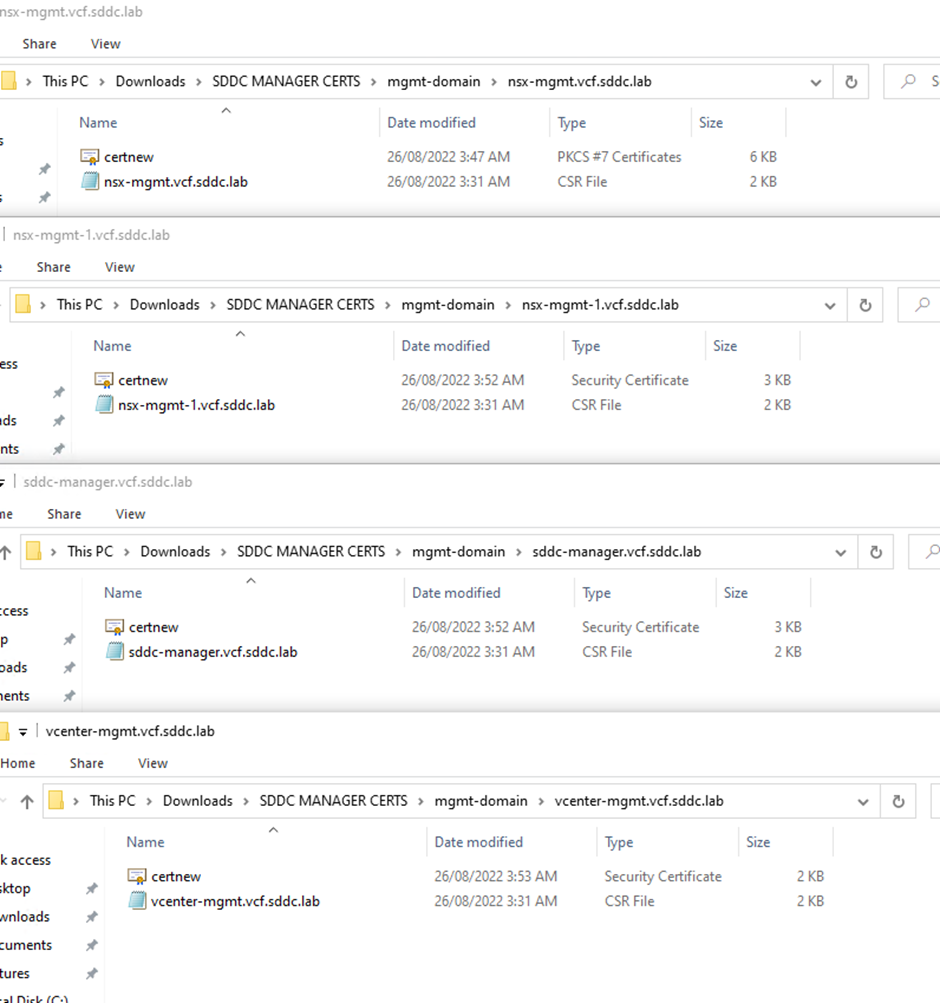
The folder name will be the same as your domain name in sddc manager

Login to your Microsoft certificate authority web enrolment page

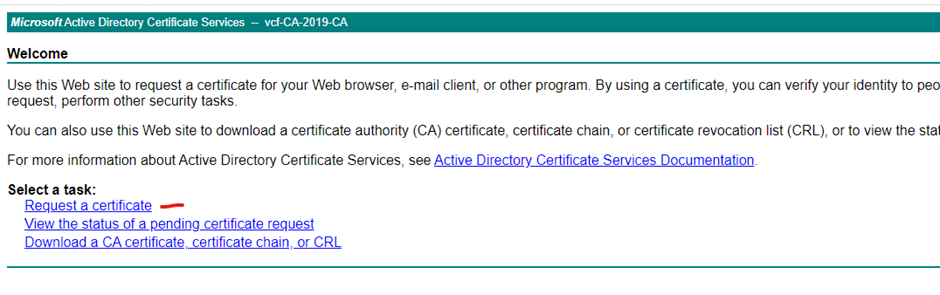
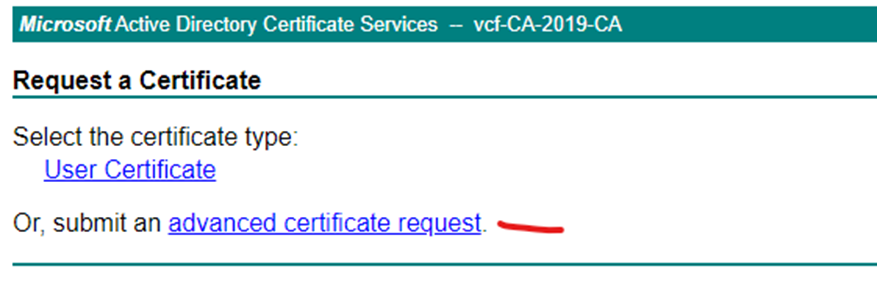
Paste the first csr content into saved request

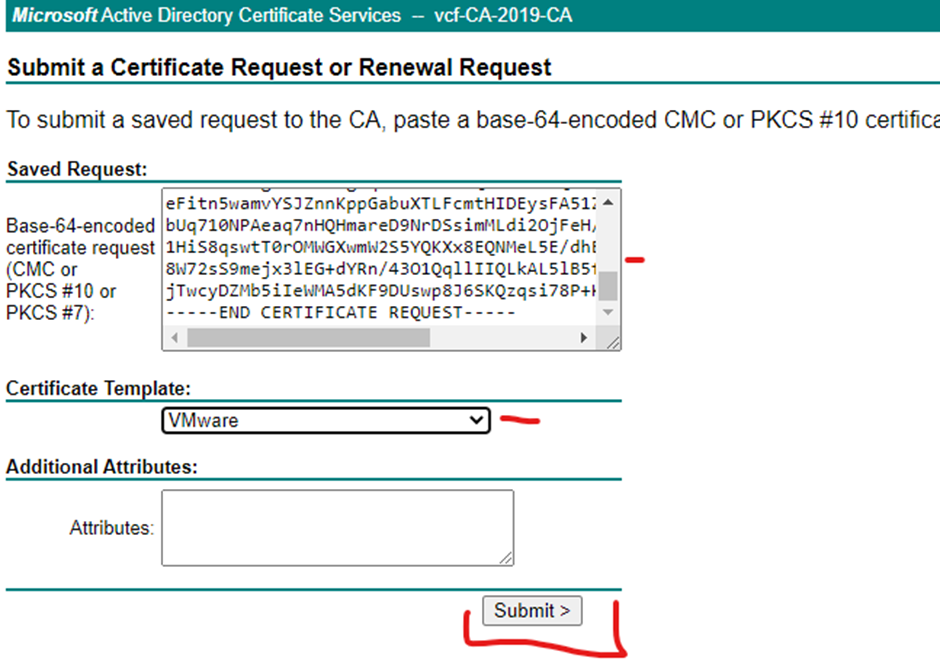
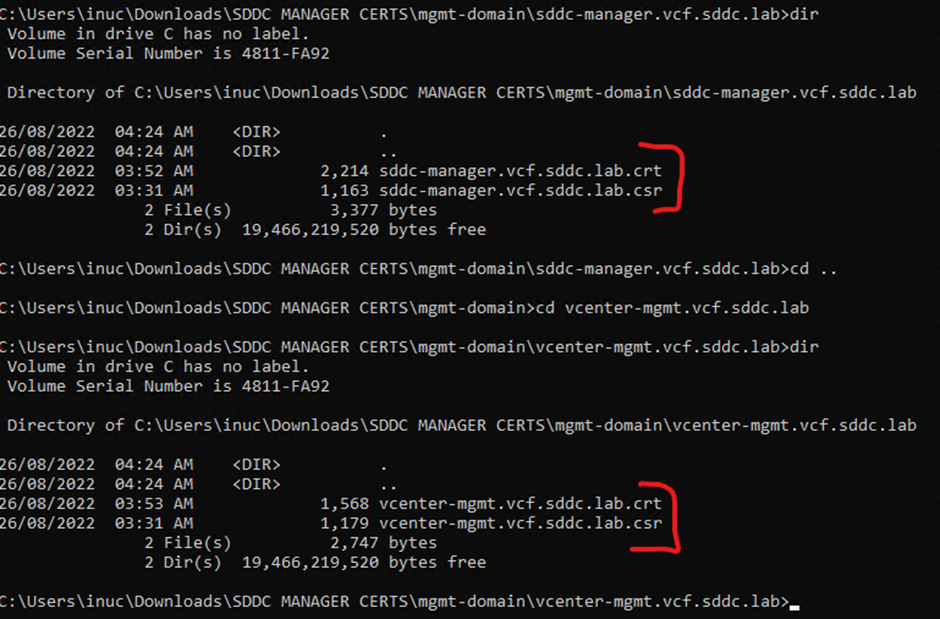
Repeat the process for the other csr’s and download only the certificates. Put the certificates downloaded in the folders representing their name
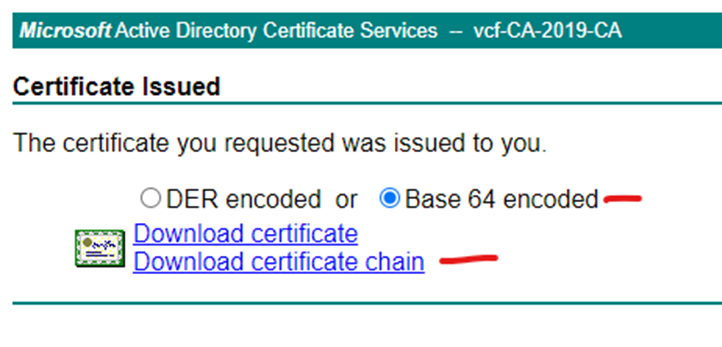
Open the certificate that you download with the full chain to extract certificate & root & intermediate certificates (if any intermediates)
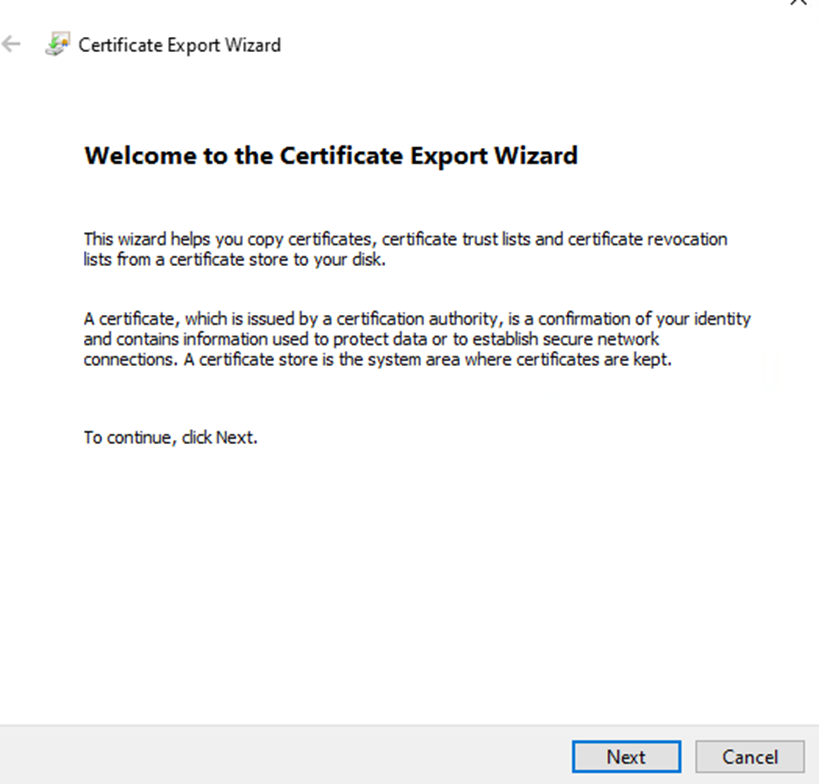
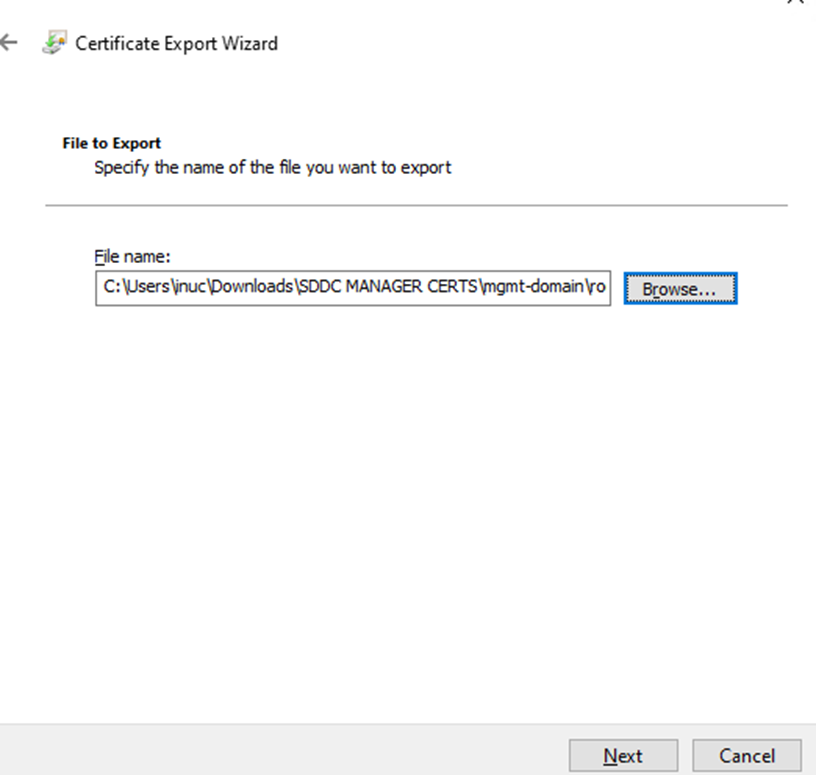
Right click the root certificate > all tasks > click export

In my lab I only have the root and not the intermediate certificate
Click next
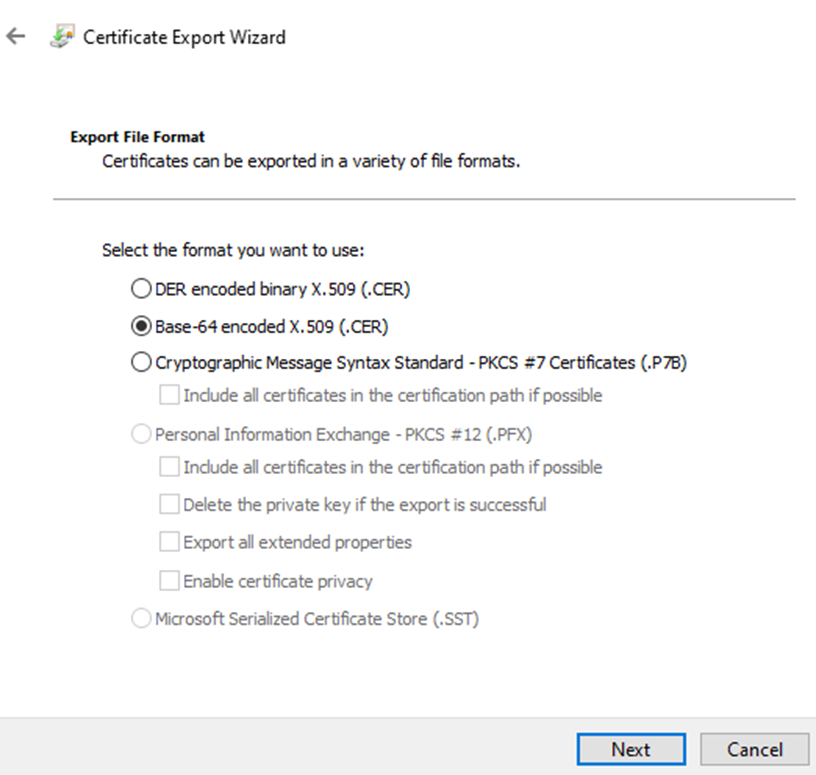
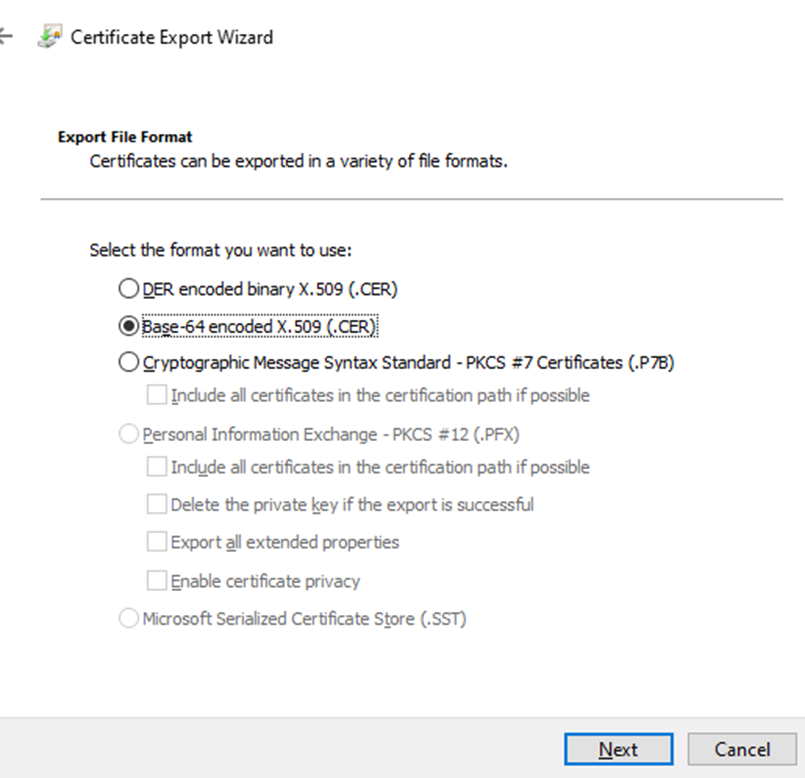
Select base-64 encoded x.509 and click next
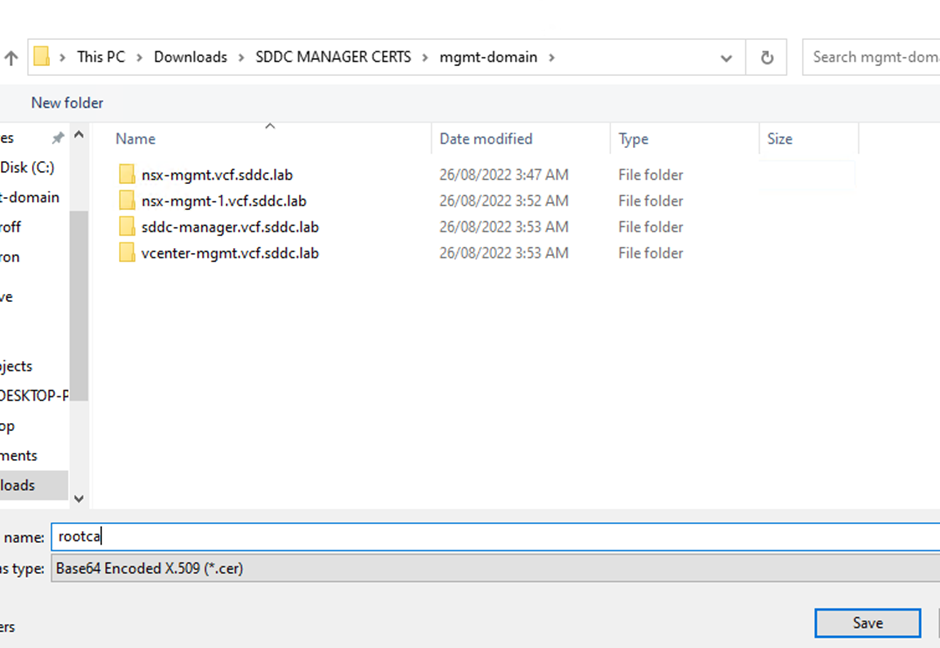
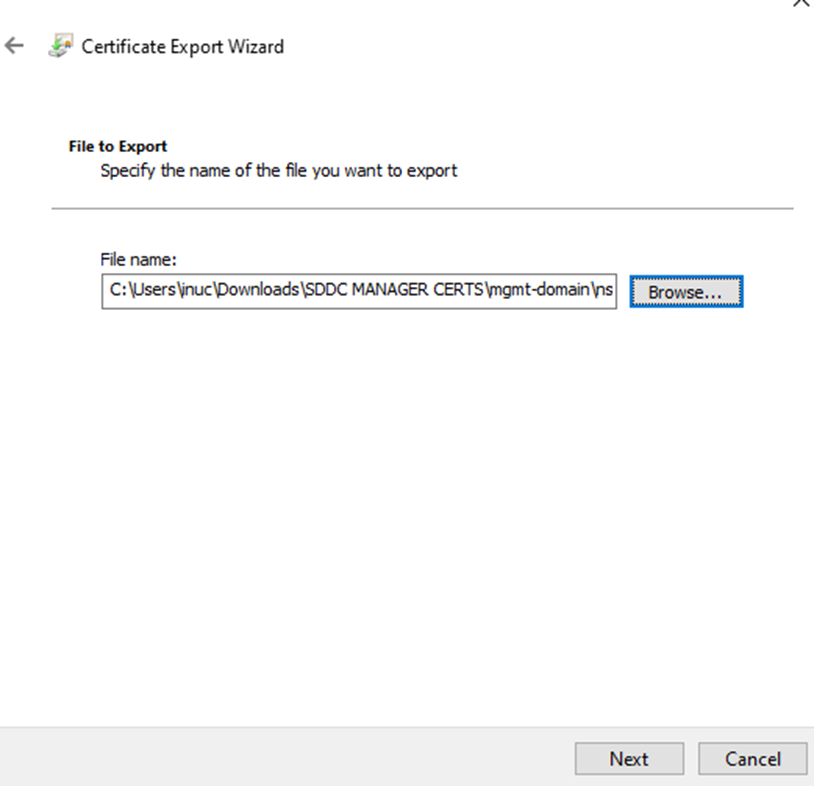
Save it in the workload domain folder with the other folders
Click next
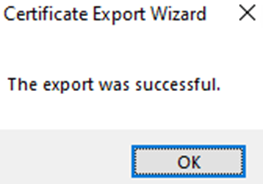
Click finish
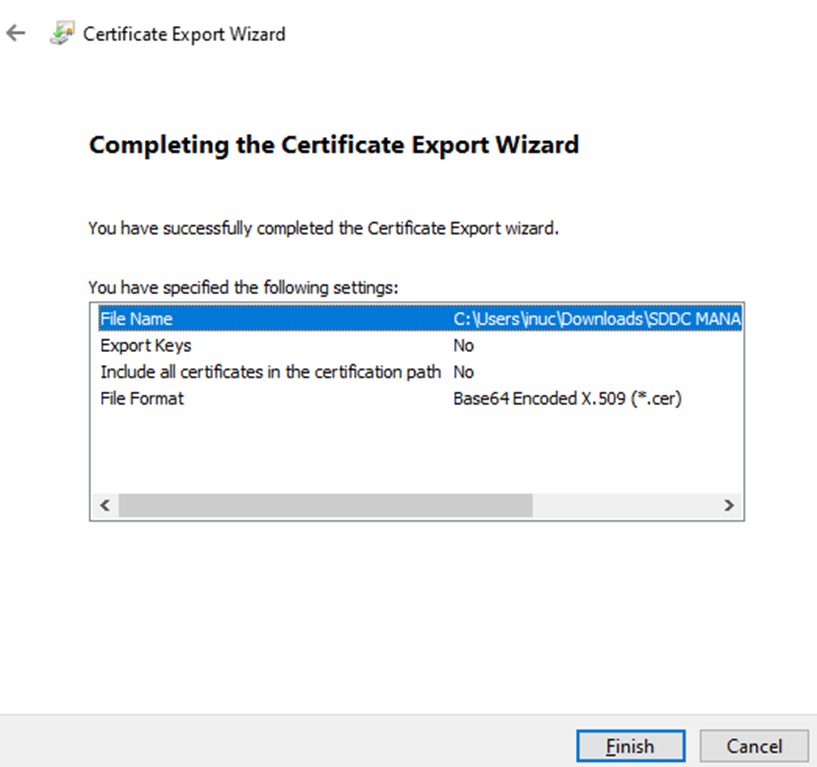
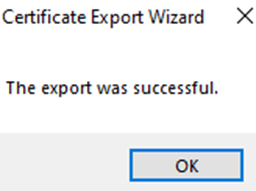
Click ok
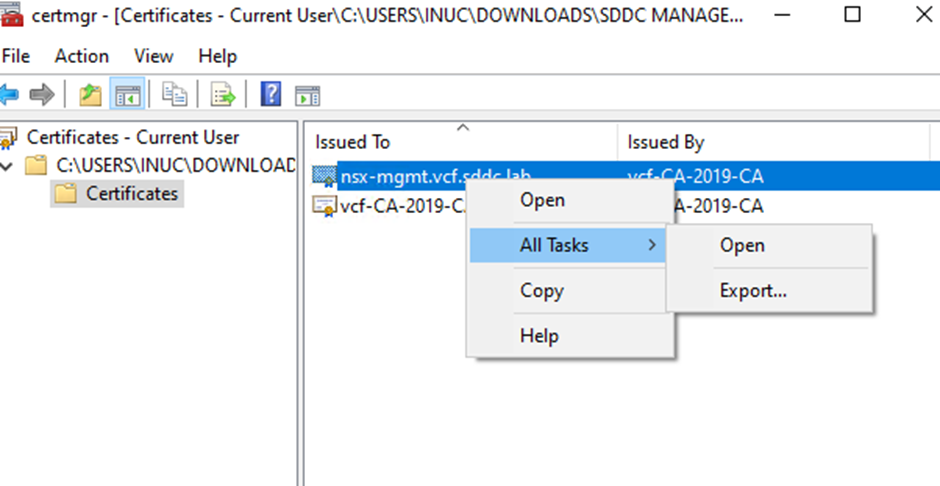
Export the server certificate
Right click server certificate > all tasks > Click export
Click next
Select base-64 encoded x.509 and click next
Save it in the folder representing it (same location as the csr) Click next
Click finish

Click ok
Rename all the.cer file to .crt, including the rootca. You can use the following command if that helps makes things easier “ren *.cer *.crt” from command prompt
example below
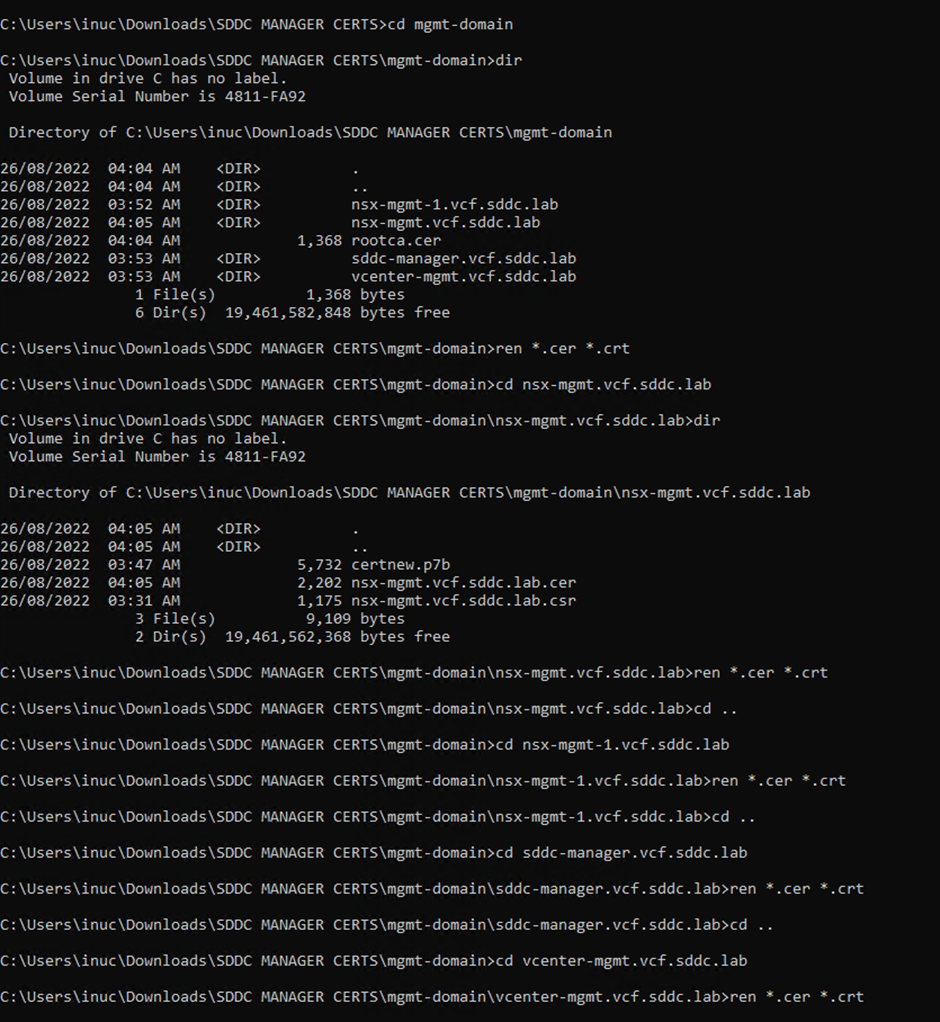
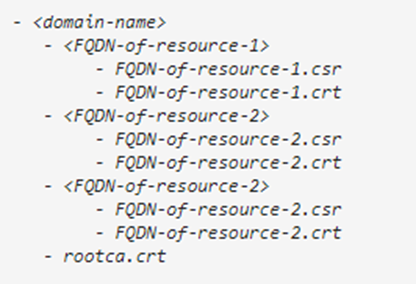
Rename all the crt files to their representing FQDN it should match csr name, the root certificate needs to be named rootca.crt
Within the server folders only the crt and csr should exist
Example format
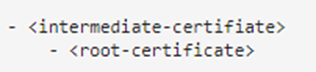
rootca.crt format
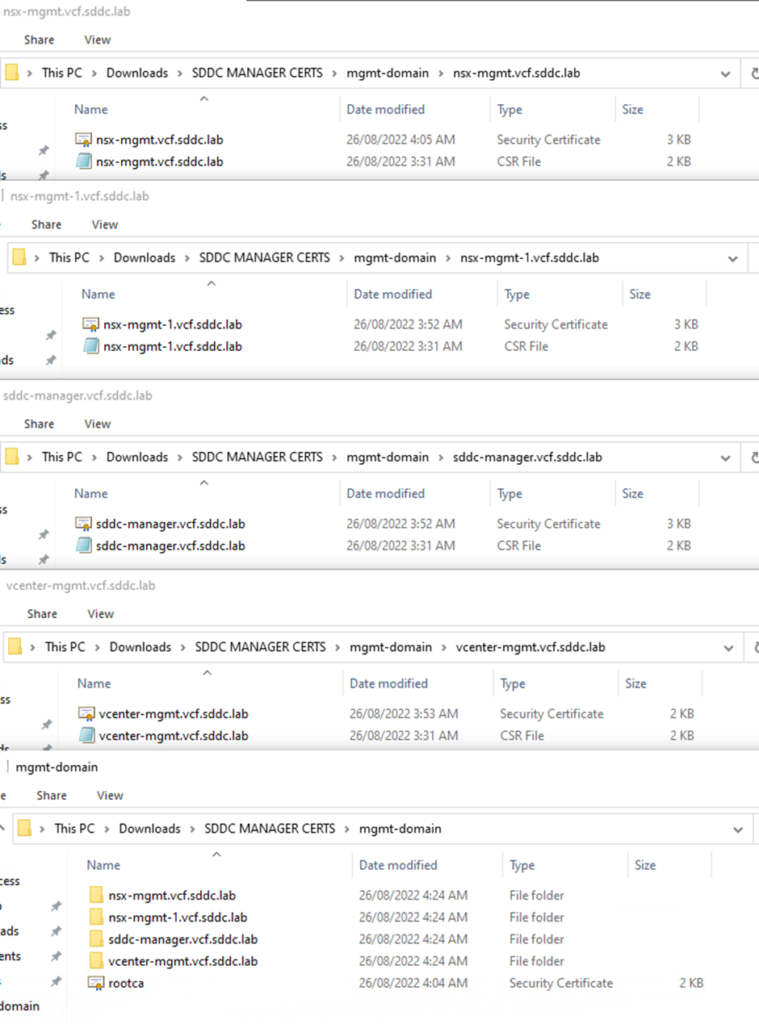
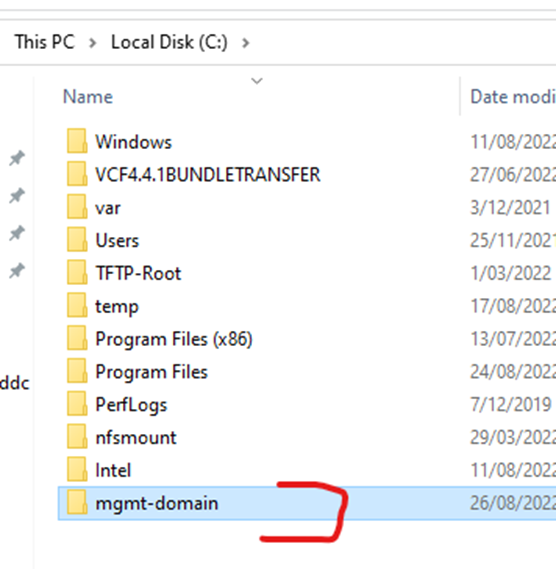
Copy the domain folder to the root directory of your computer
Open command prompt as an administrator and run the following command to convert the folder as a tar.gz file
The domain name should match what is in sddc manager
tar -czvf mgmt-domain.tar.gz “C:\mgmt-domain”
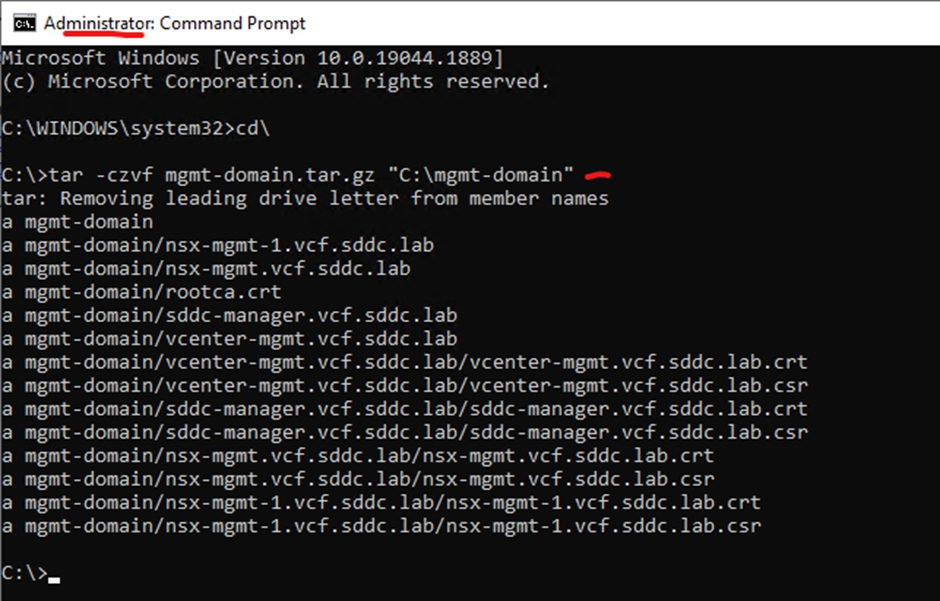
Output should look like this

Browse to the tar.gz file and click upload
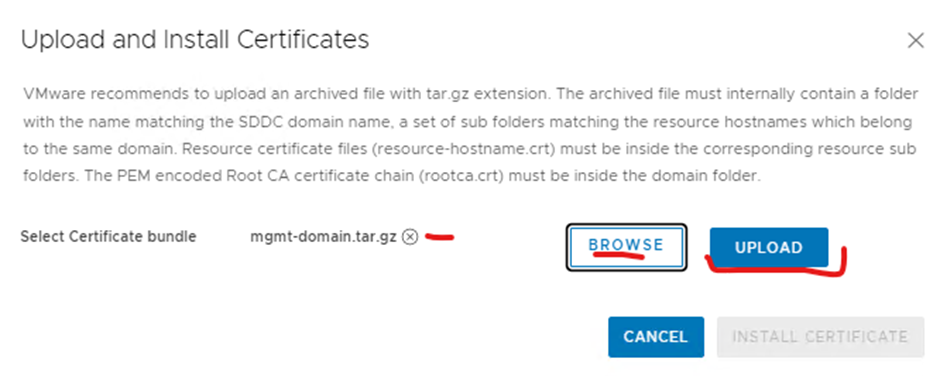
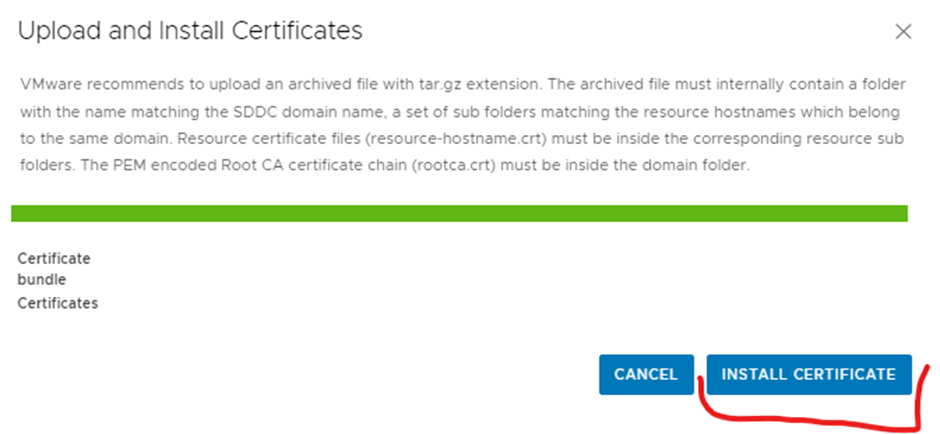
Click install certificate
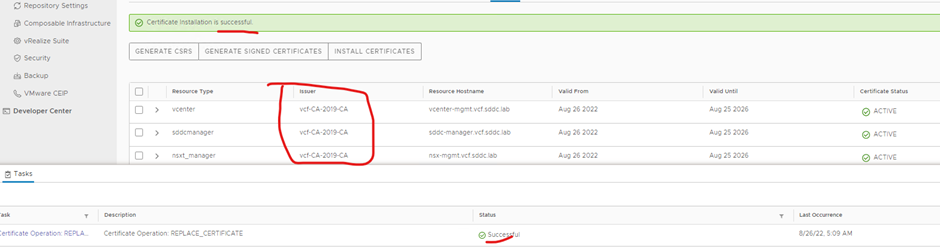
Done
Completed
Problems
1. Sometimes the certificate gets corrupted so when you import through sddc you might get the following error
Failed to upload Certificates. Expected one server certificate in vcenter-mgmt.sddc.vcf.lab but found 0.
So check the certificate by opening it in notepad make sure it is not in gibberish
2.Sometimes when the certificate is signed, they do not use the VMware template that is documented from the VMware site so it might fail uploading
3.Sometimes they don’t complete all the activities to create the VMware template documented so the installation of the certificate might fail.
4.If you want to bypass the certificate validation you can do the following on sddc manager cli
Login to sddc manager via ssh
su
vi /home/vcf/feature.properties
copy the below content in the file
feature.vcf.operationsmanager.certificatemanagement.csr_server_cert_content_validation=false
chmod 755 feature.properties
cat feature.properties
feature.vcf.operationsmanager.certificatemanagement.csr_server_cert_content_validation=false
systemctl restart operationsmanager
wait 5 minutes before logging back to sddc manager
5.Creating a VMware template for Microsoft certificate authority