So the three vms I will be deploying are:
lifecycle manager – vrslcm – used to manage vra and vidm (certificates, health, deployment etc..)
Identity manager – vidm – used to login to vra
aria automation – vra – the automation product
First lets download the iso required
Go the Broadcom support portal page and login
https://support.broadcom.com/web/ecx
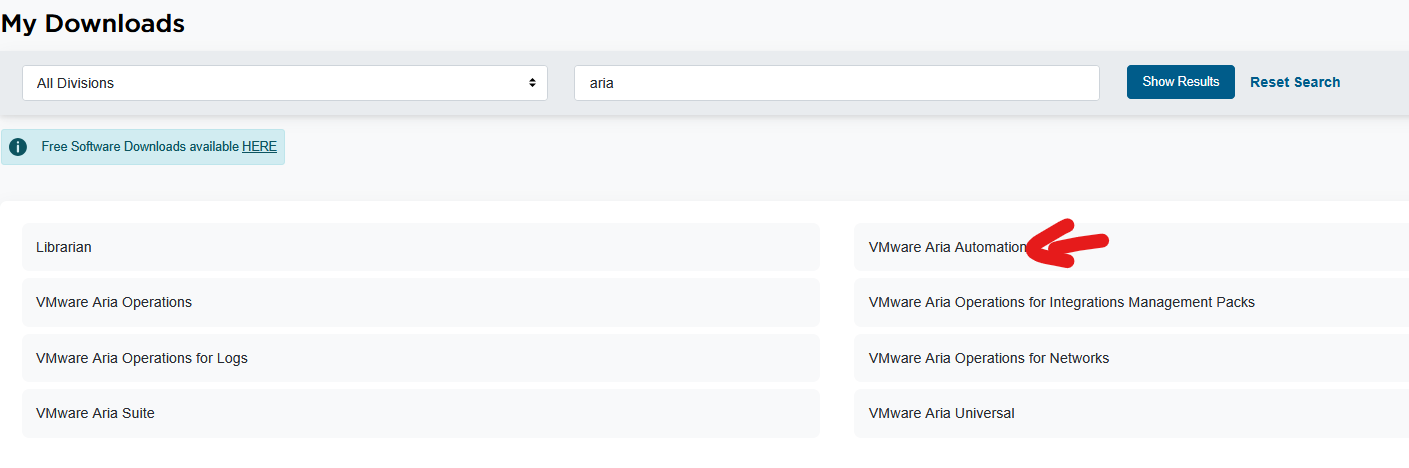
Click on my downloads on the left and filter on aria products
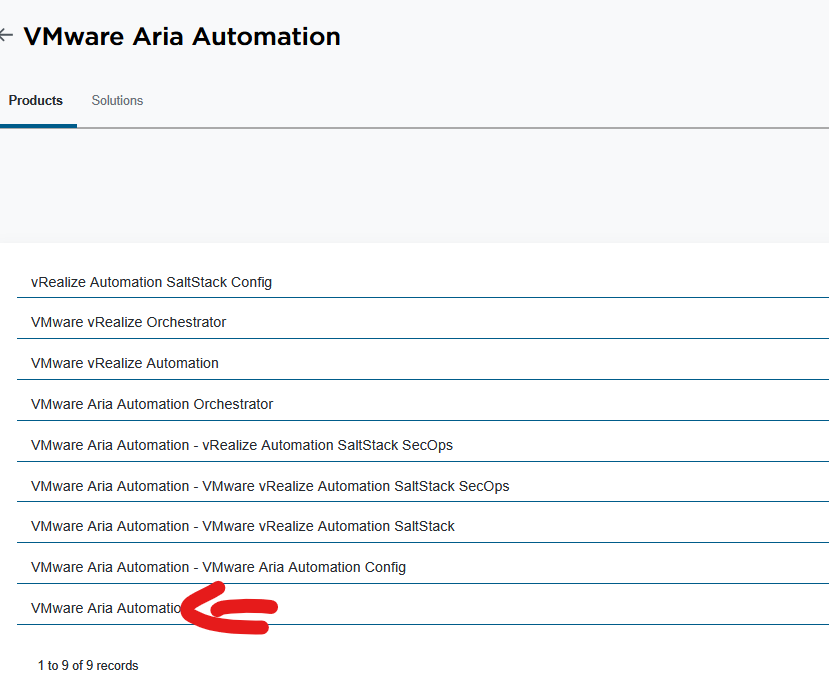
Click VMware Aria Automation
Click VMware Aria Automation again
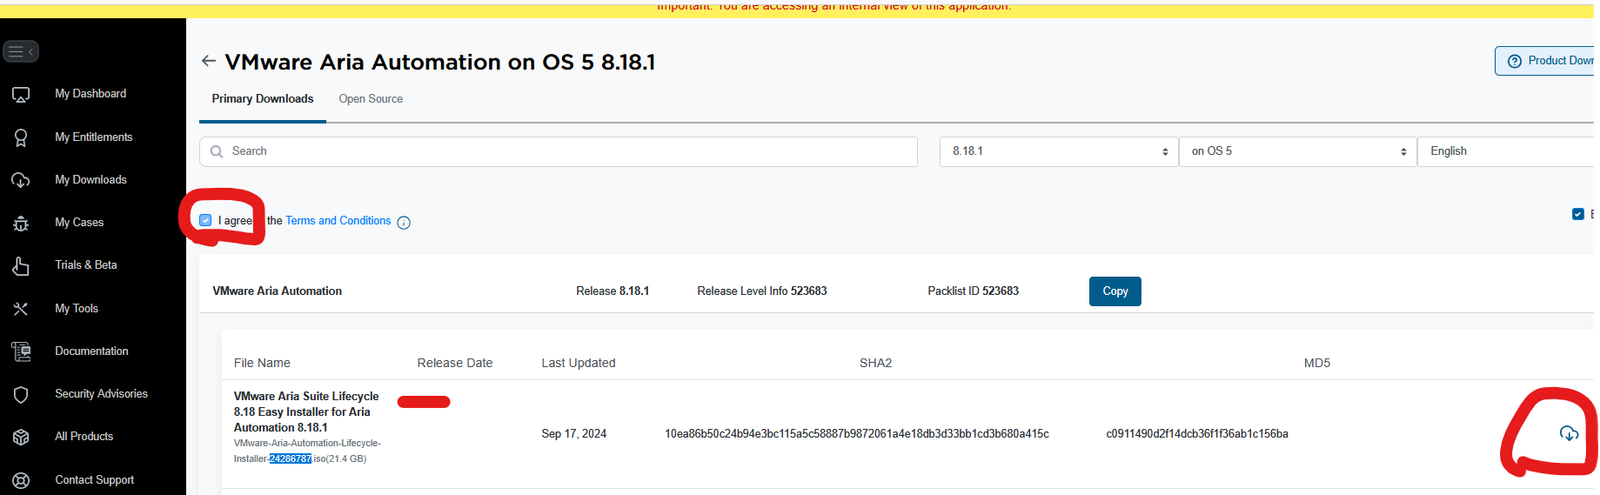
 Download VMware-Aria-Automation-Lifecycle-Installer this will include lifecycle manager and vidm as well as vra which are all required

Open the .iso

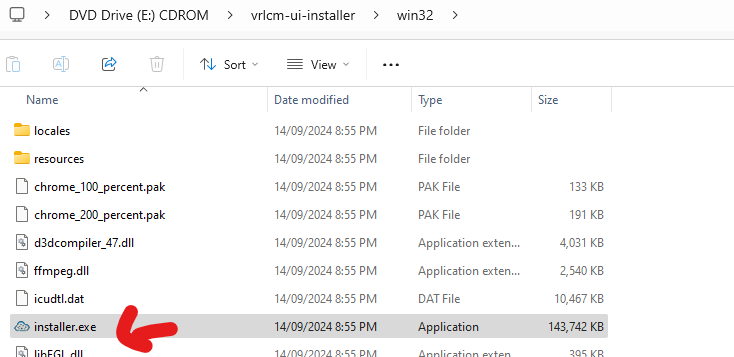
Run the installer.exe for your computer operating system
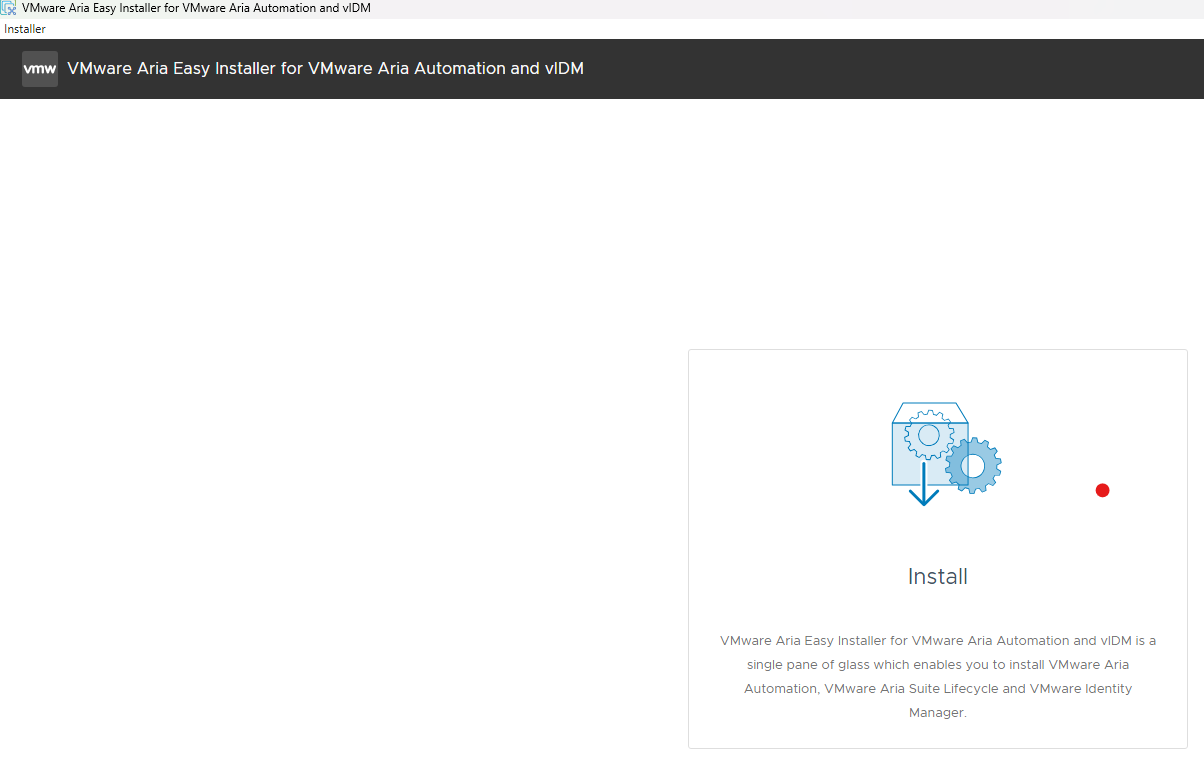
Click install
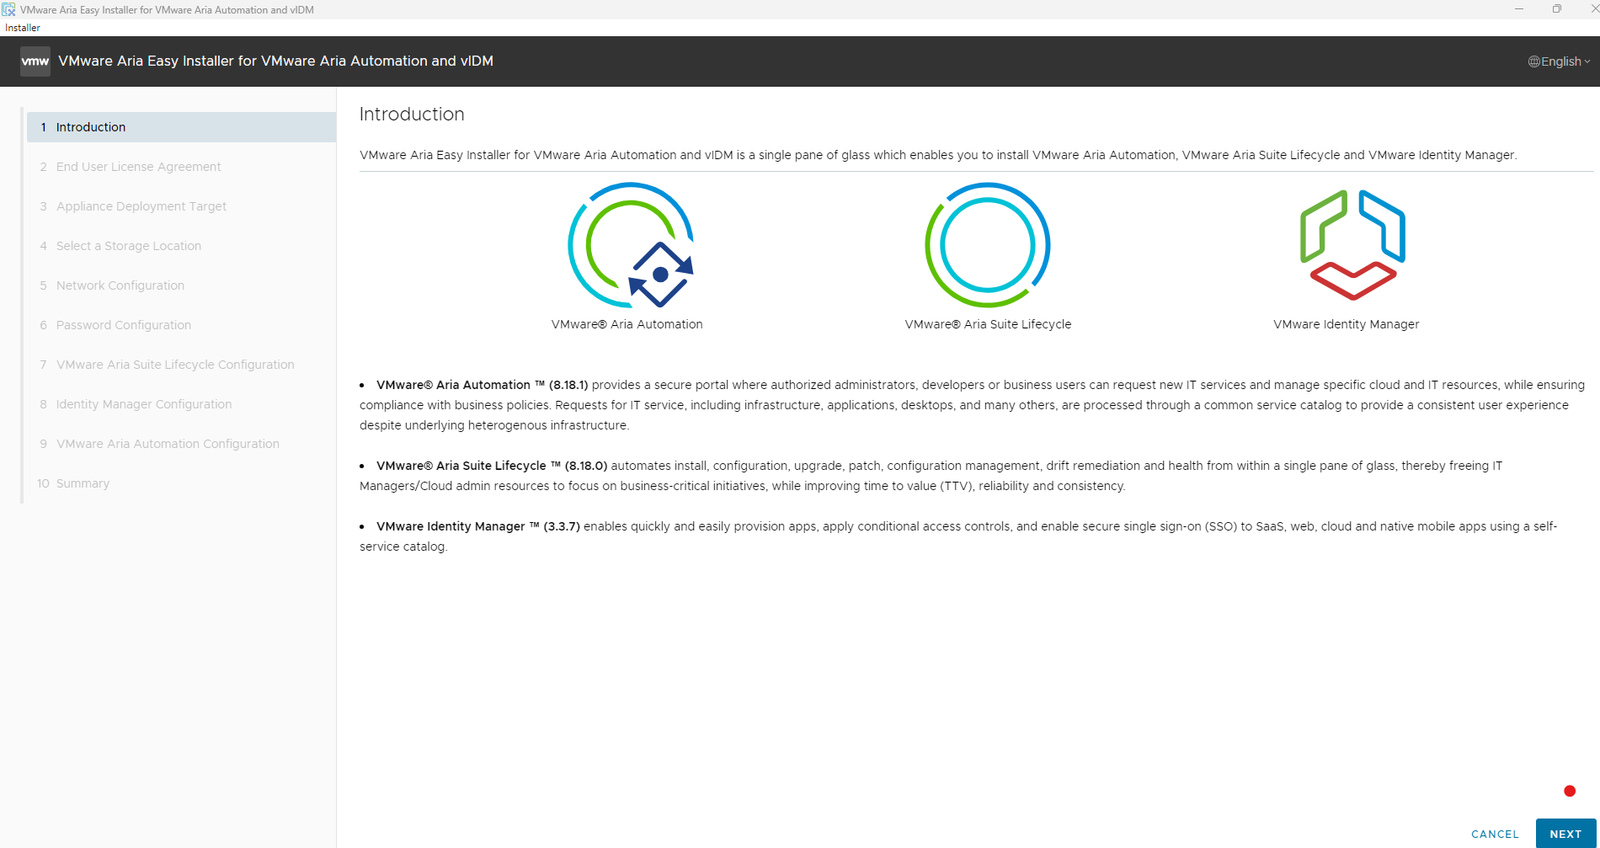
Click next
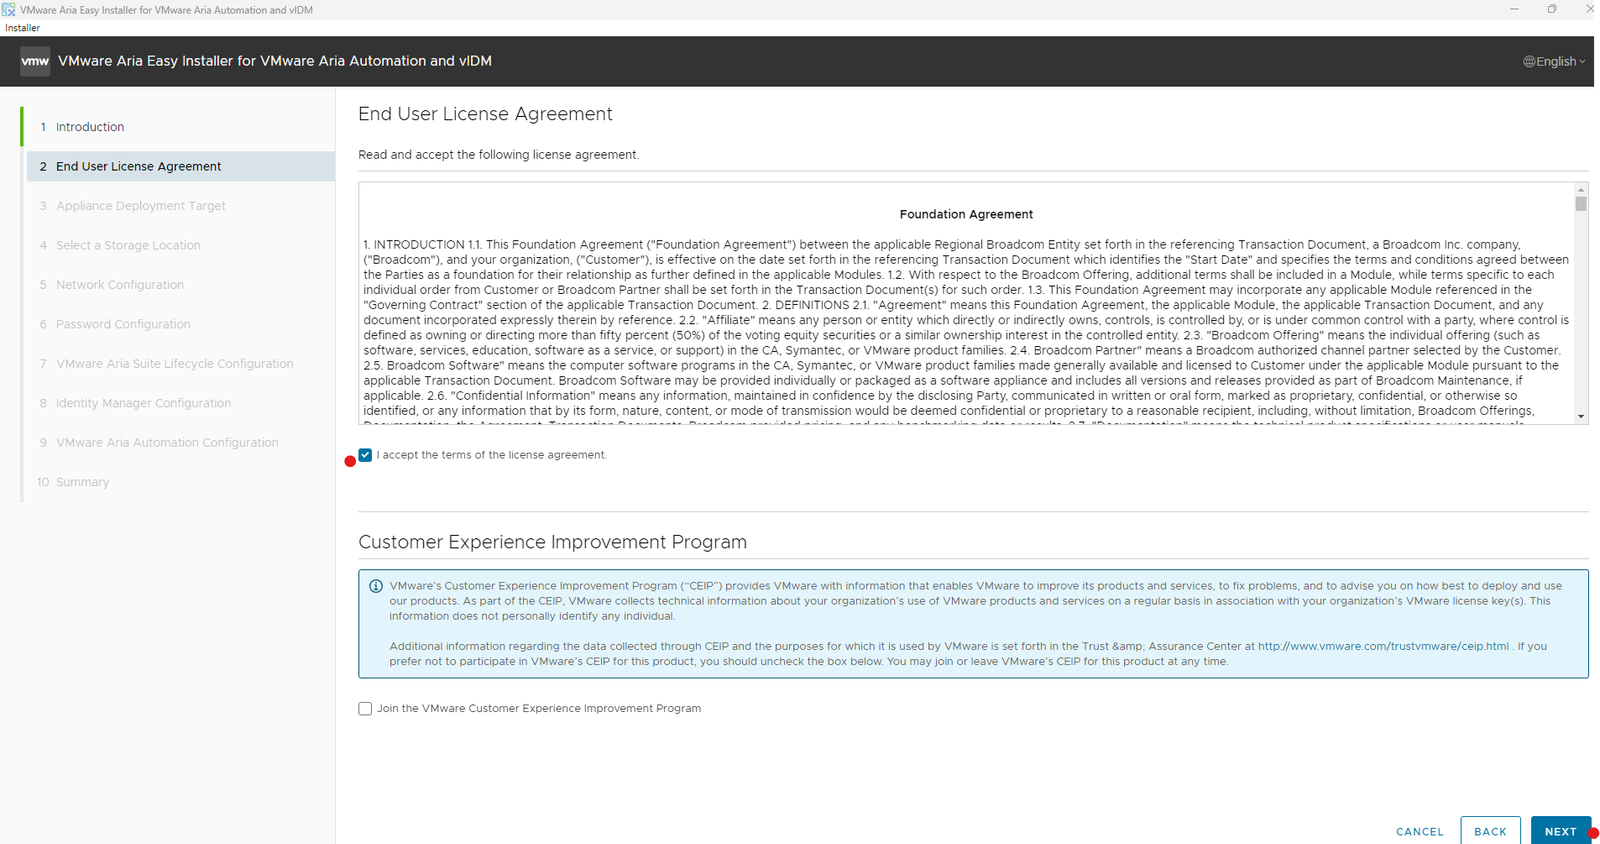
Accept agreement and click next
Put in your vCenter details this will be the target for lifecycle manager vm “vrsclm” identity manager “vidm” and aria automation “vra” and click next
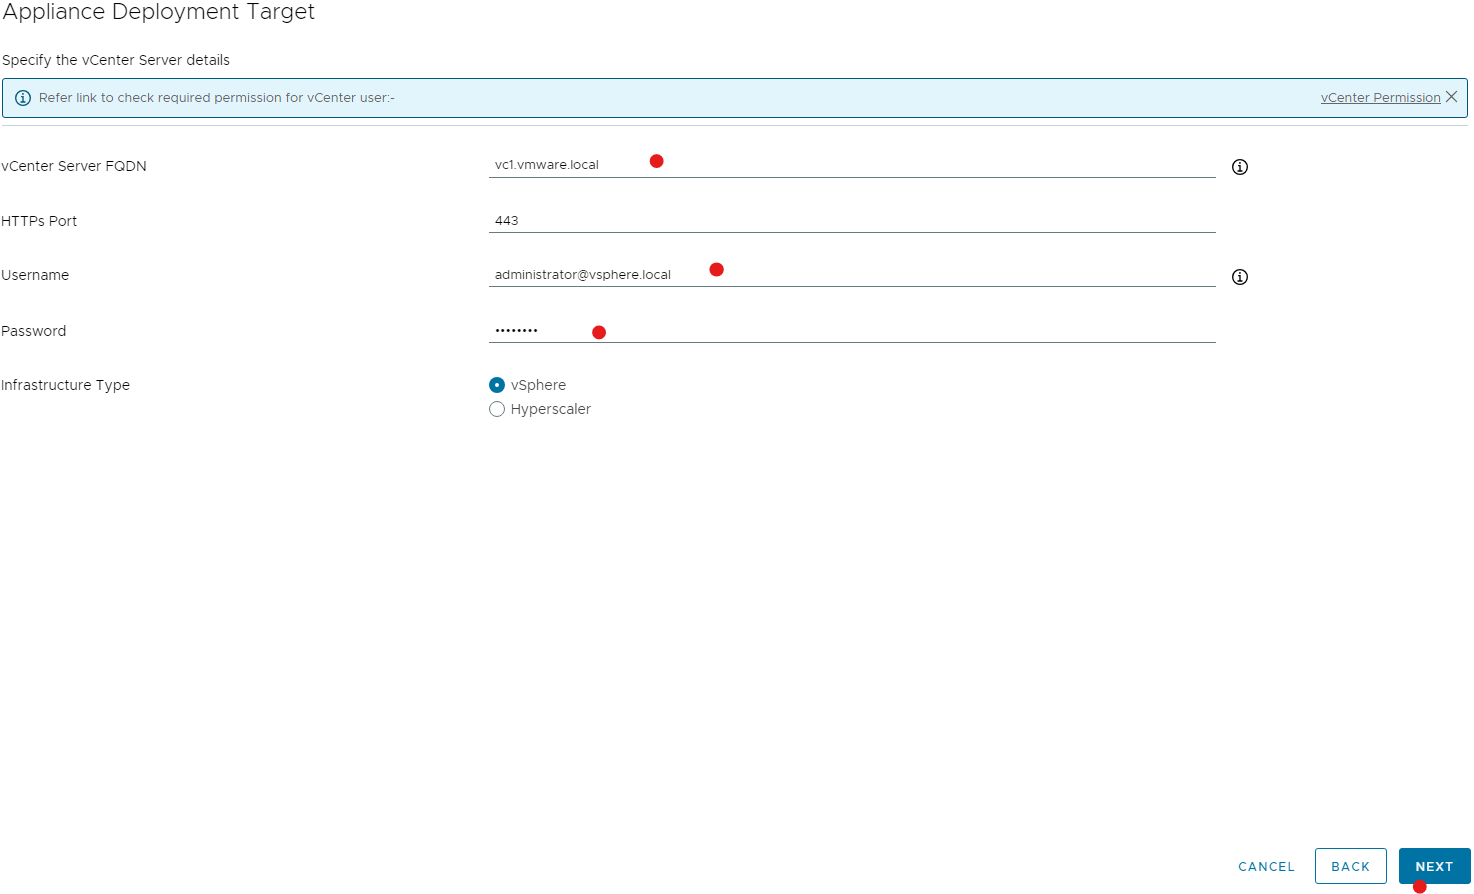
Ensure you have created your forward and reverse dns entries

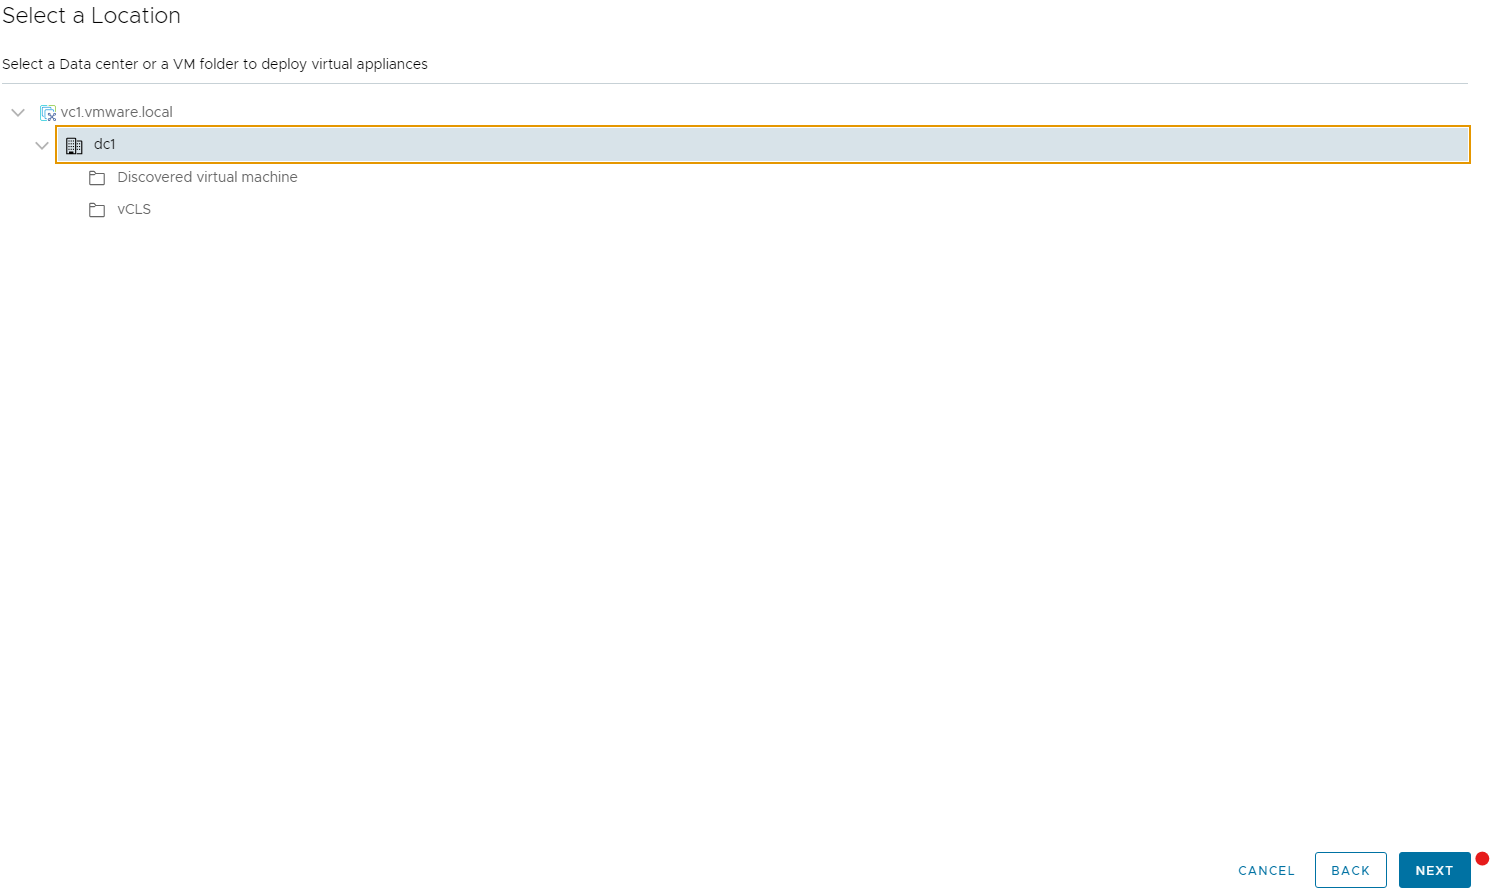
Select the location folder for the deployed vms and click next
Select cluster and click next

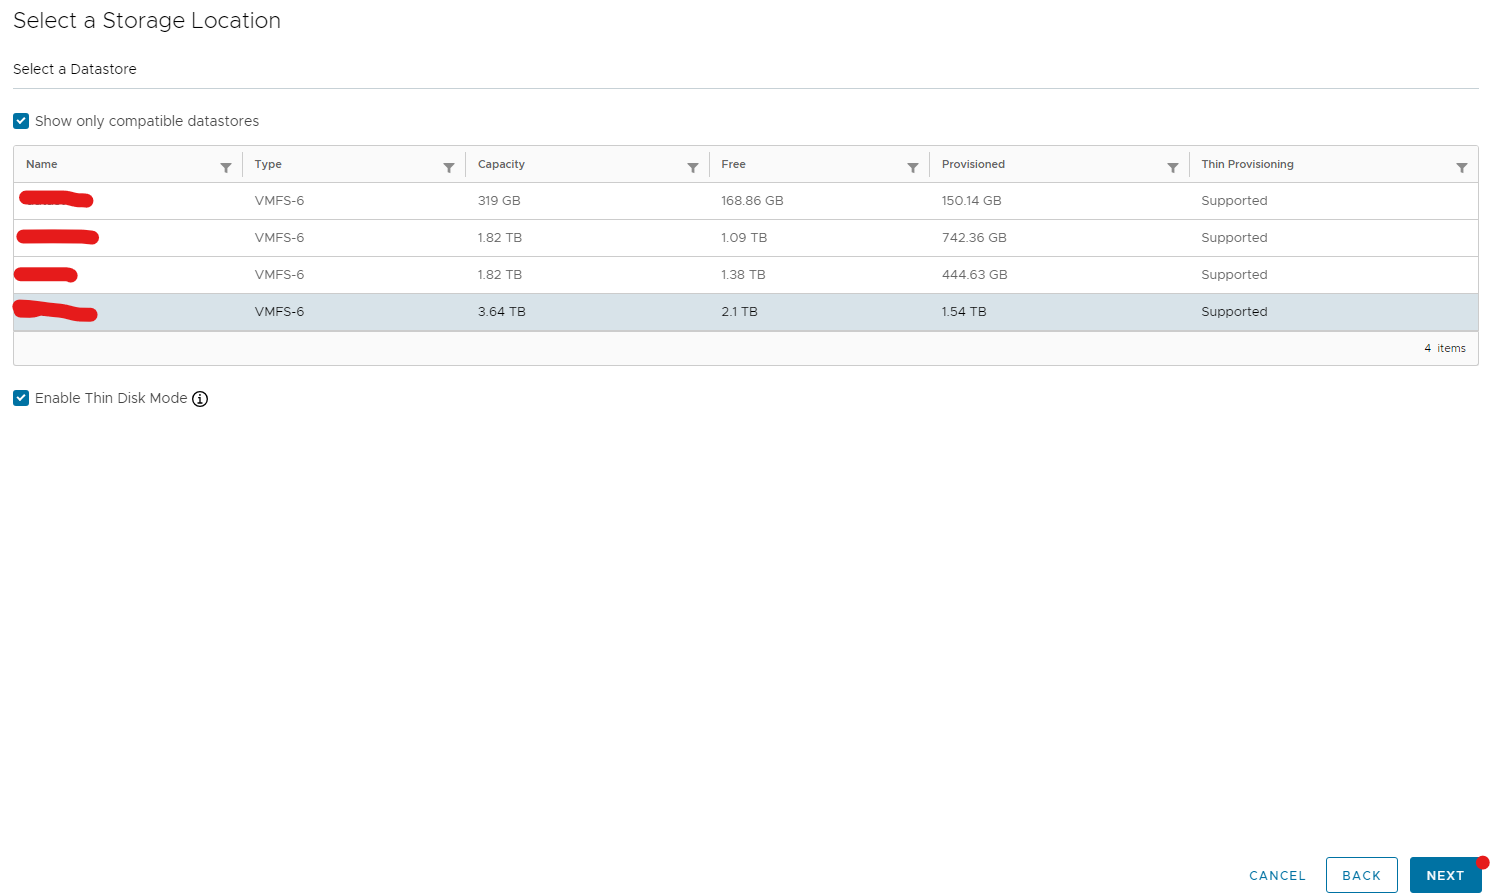
Select storage location and click next
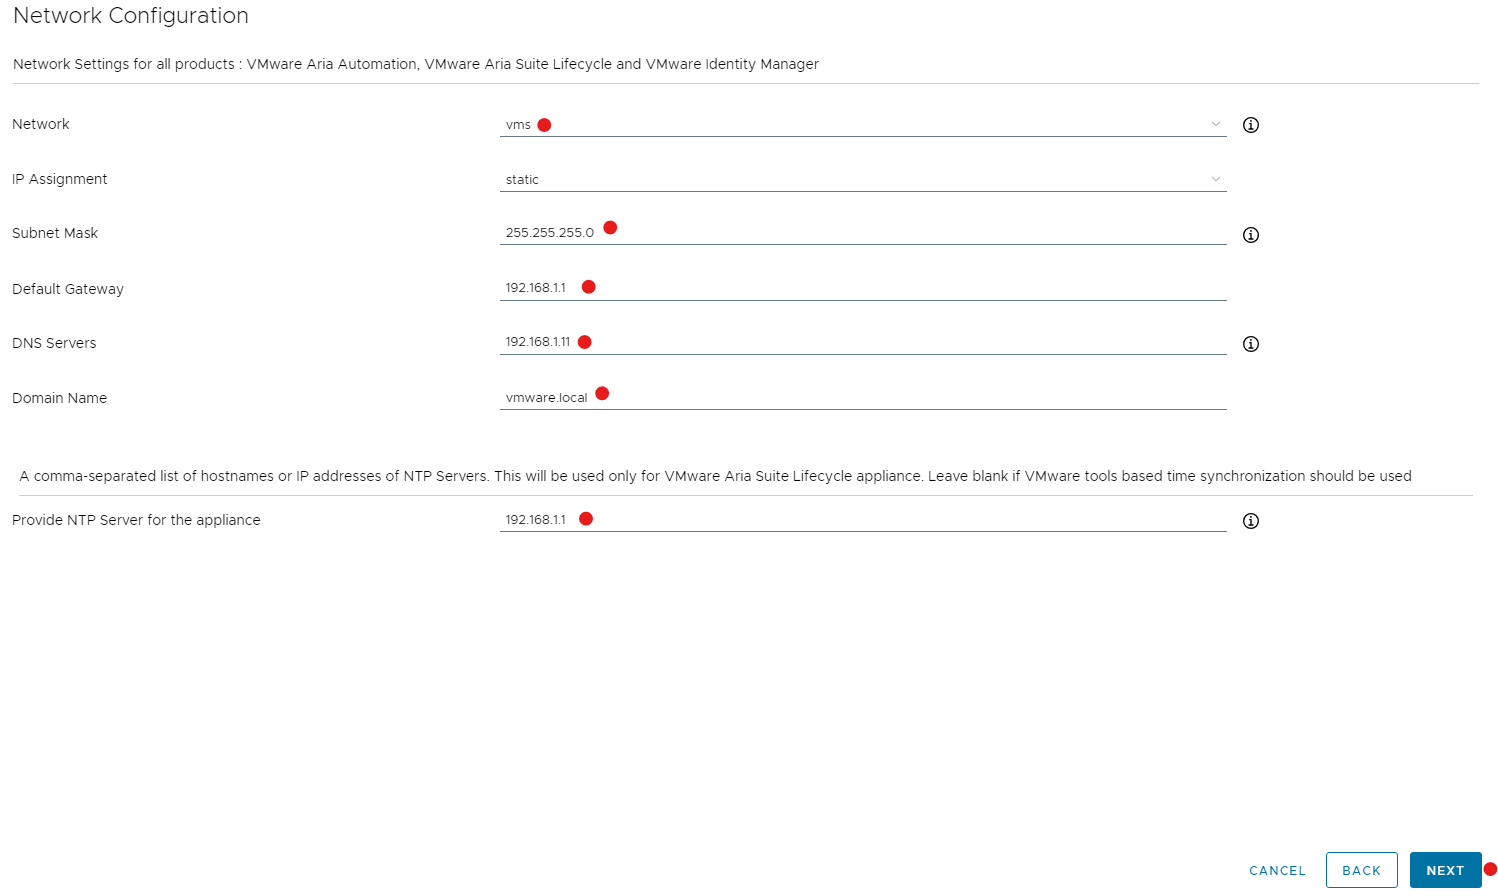
Enter your network configuration for your deployment and click next
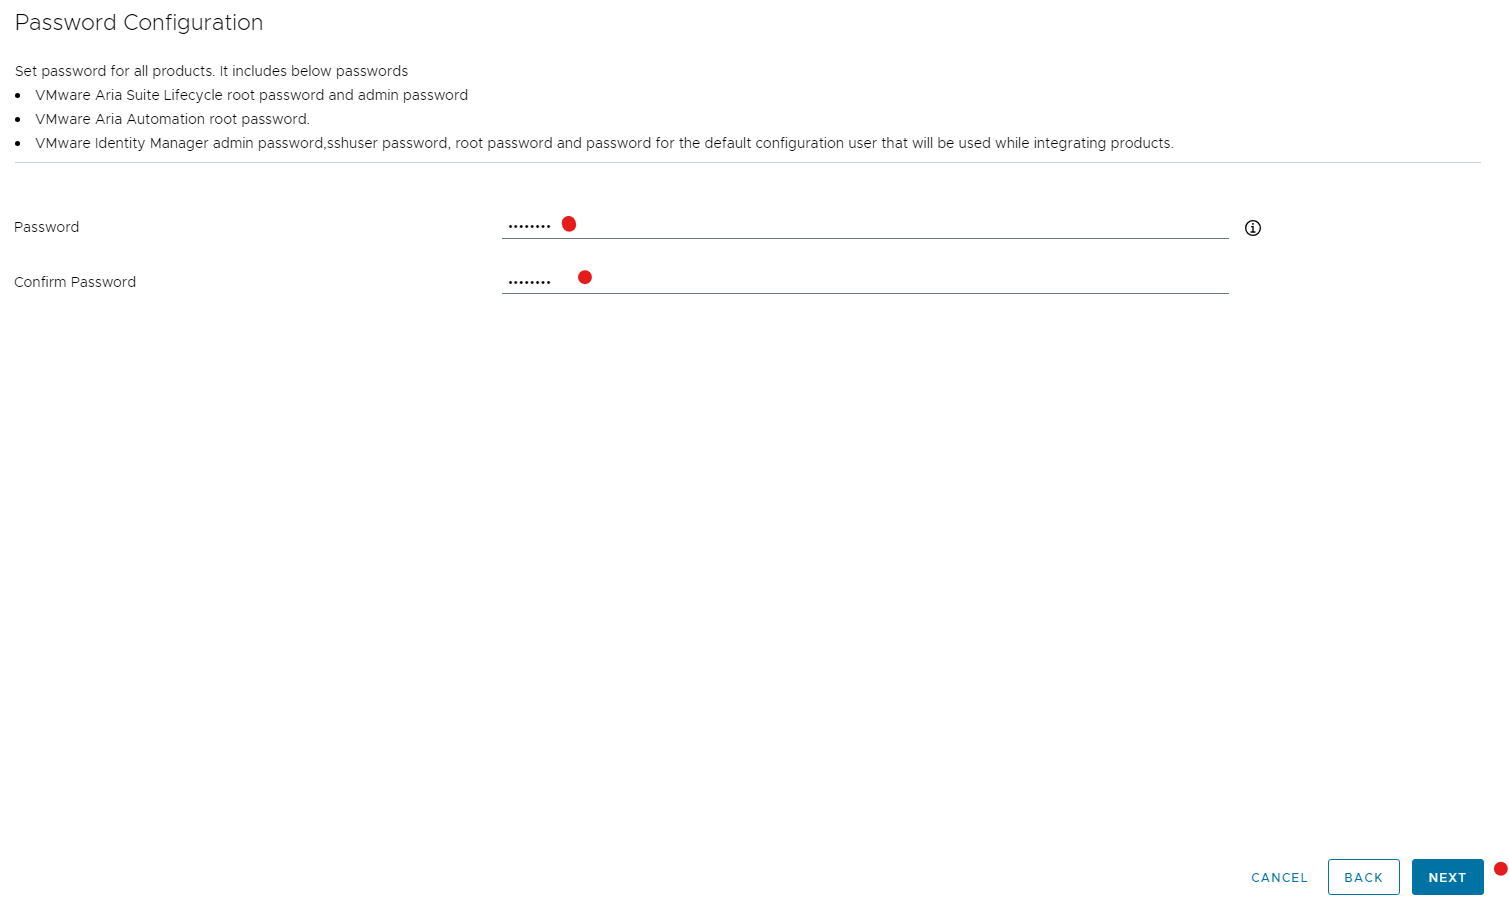
Enter a password for all your products you can change this later and click next
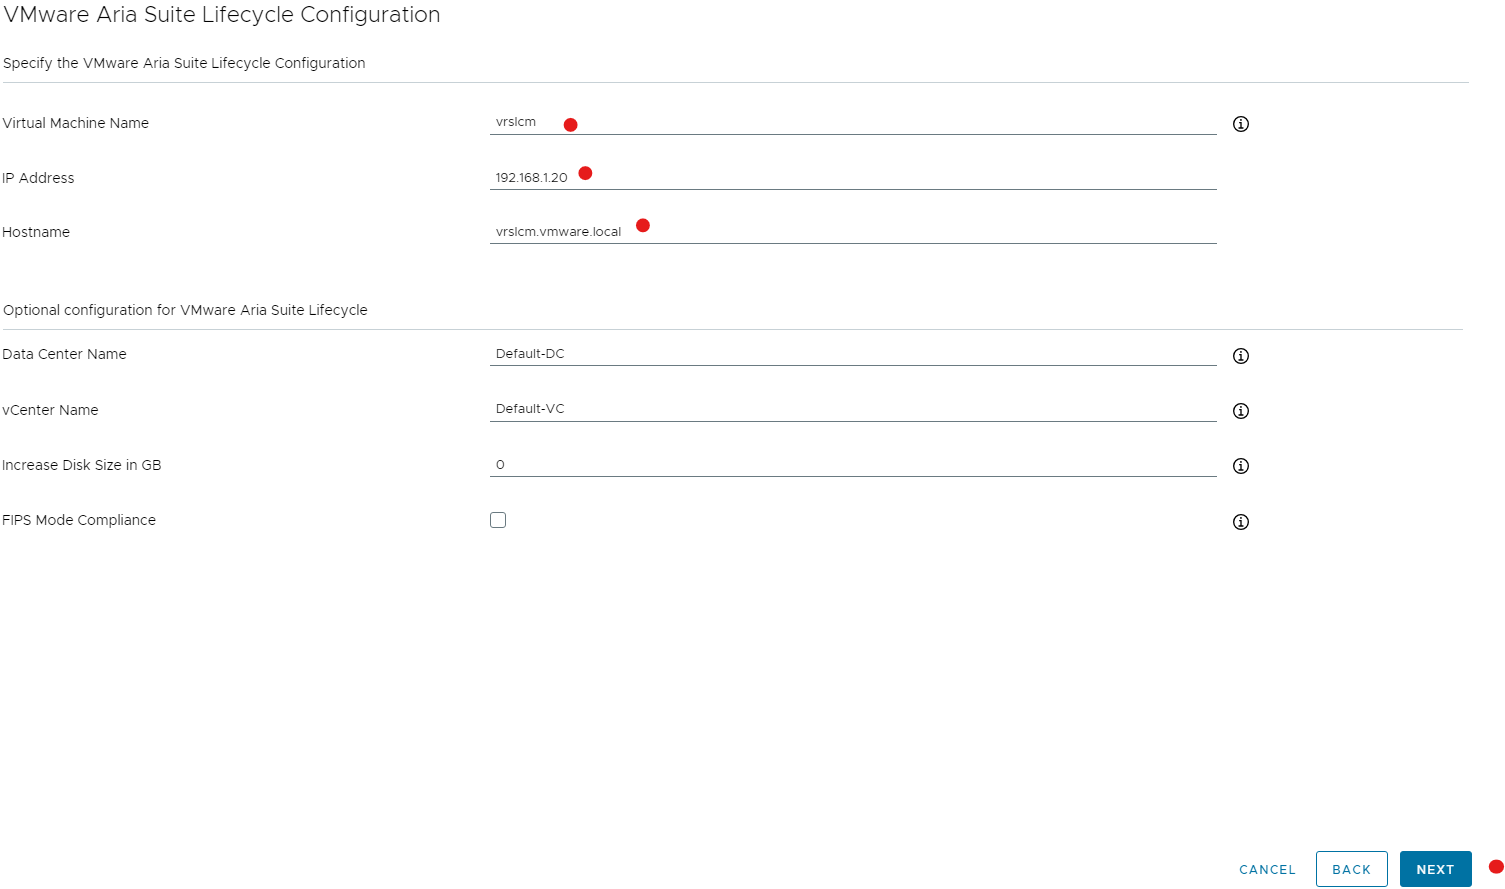
Type in your lifecycle manager “vrslcm” vm details and click next
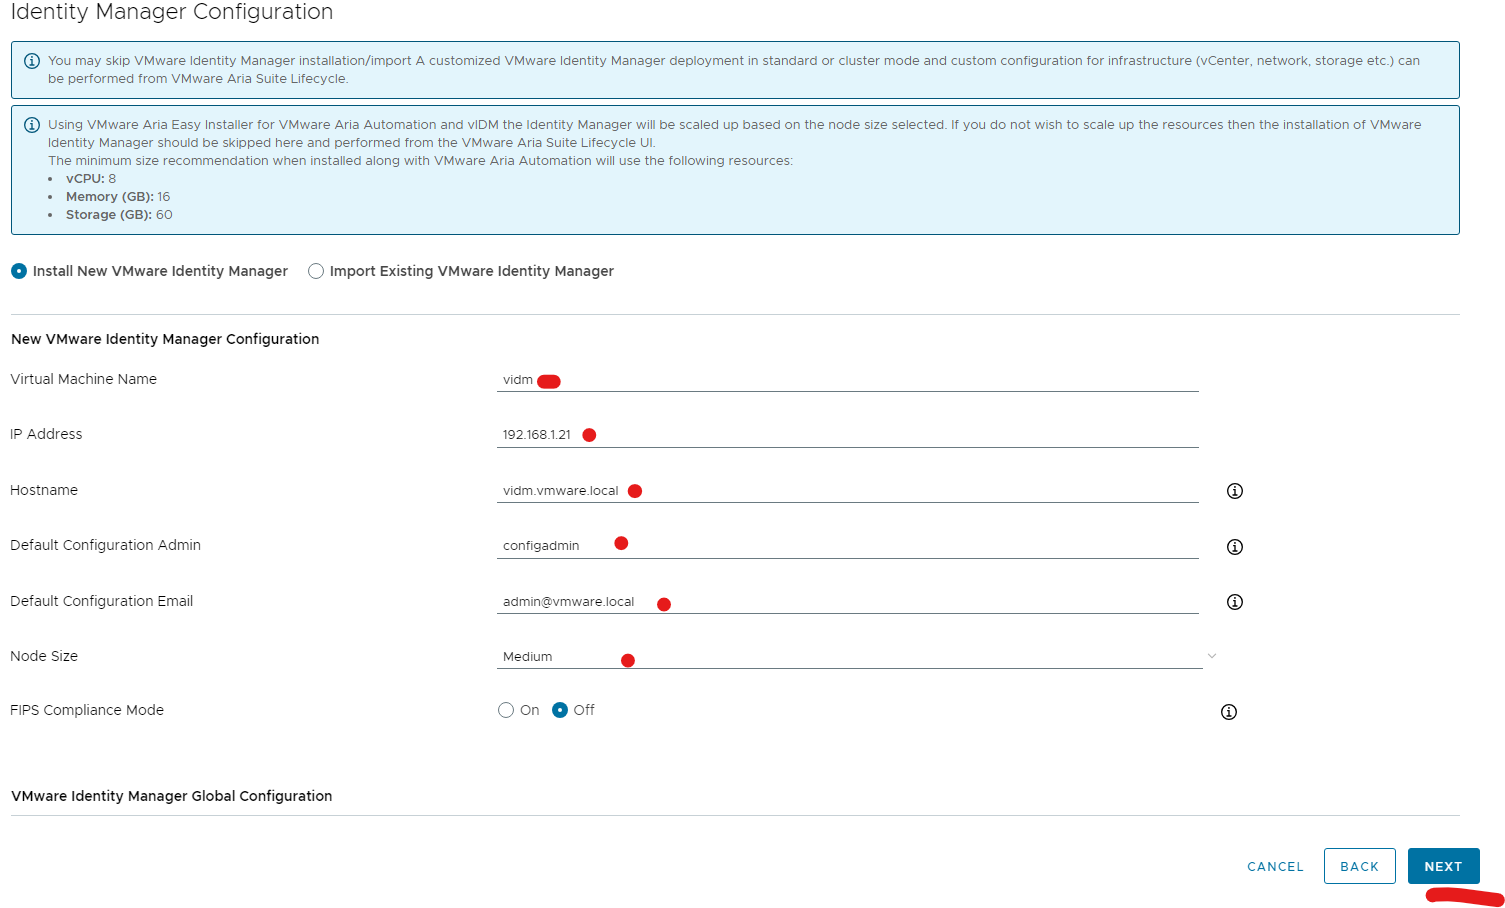
Type in your vidm details use configadmin username as the default configuration admin and click next
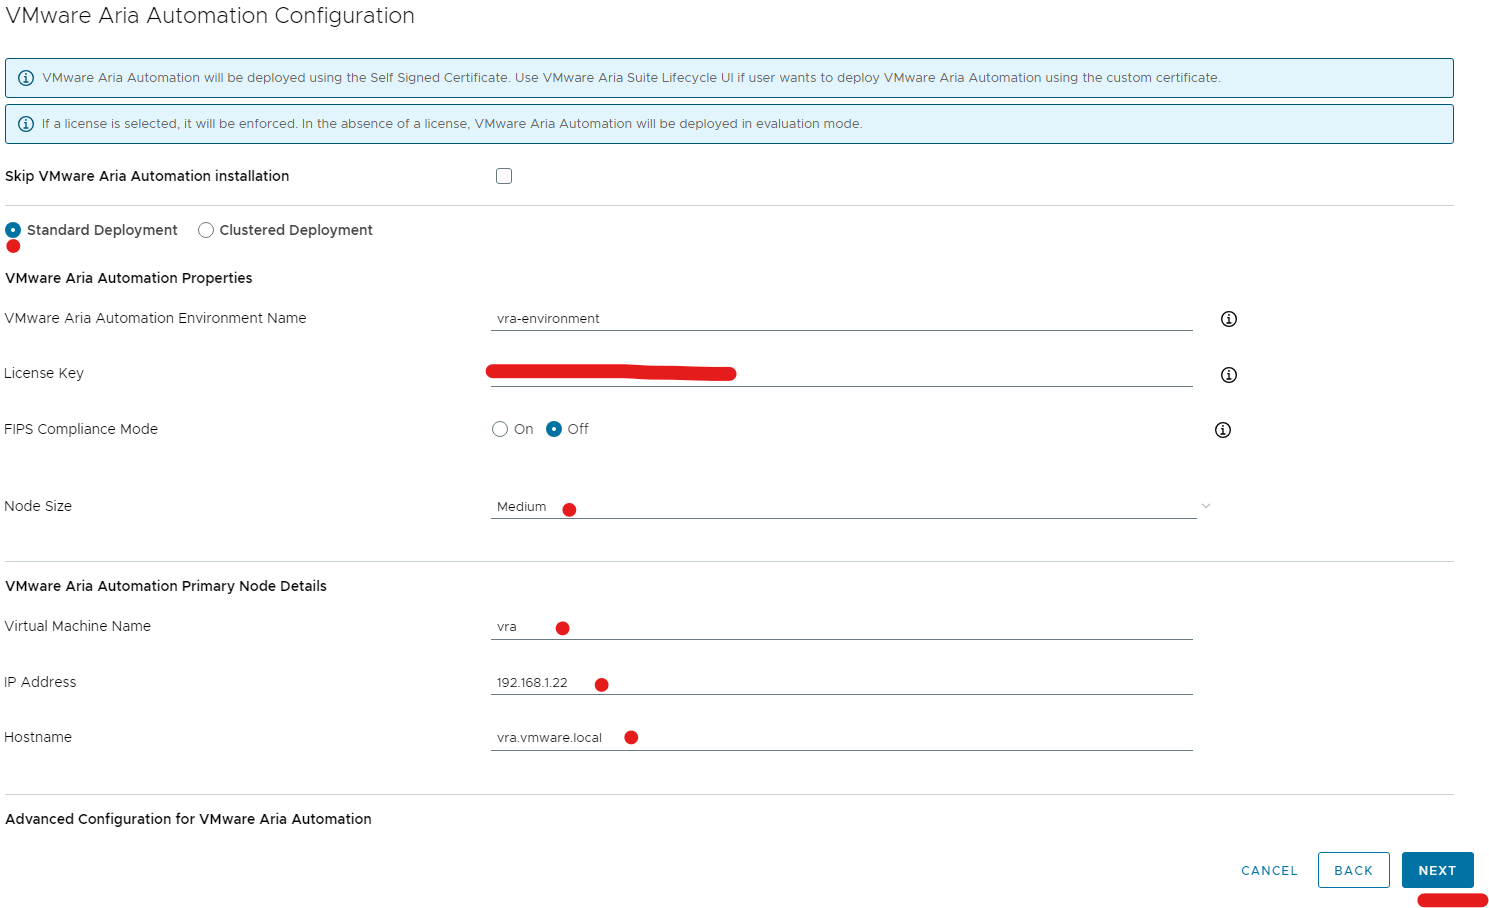
Type in your vra details and click next (can be cluster I would do this in production)
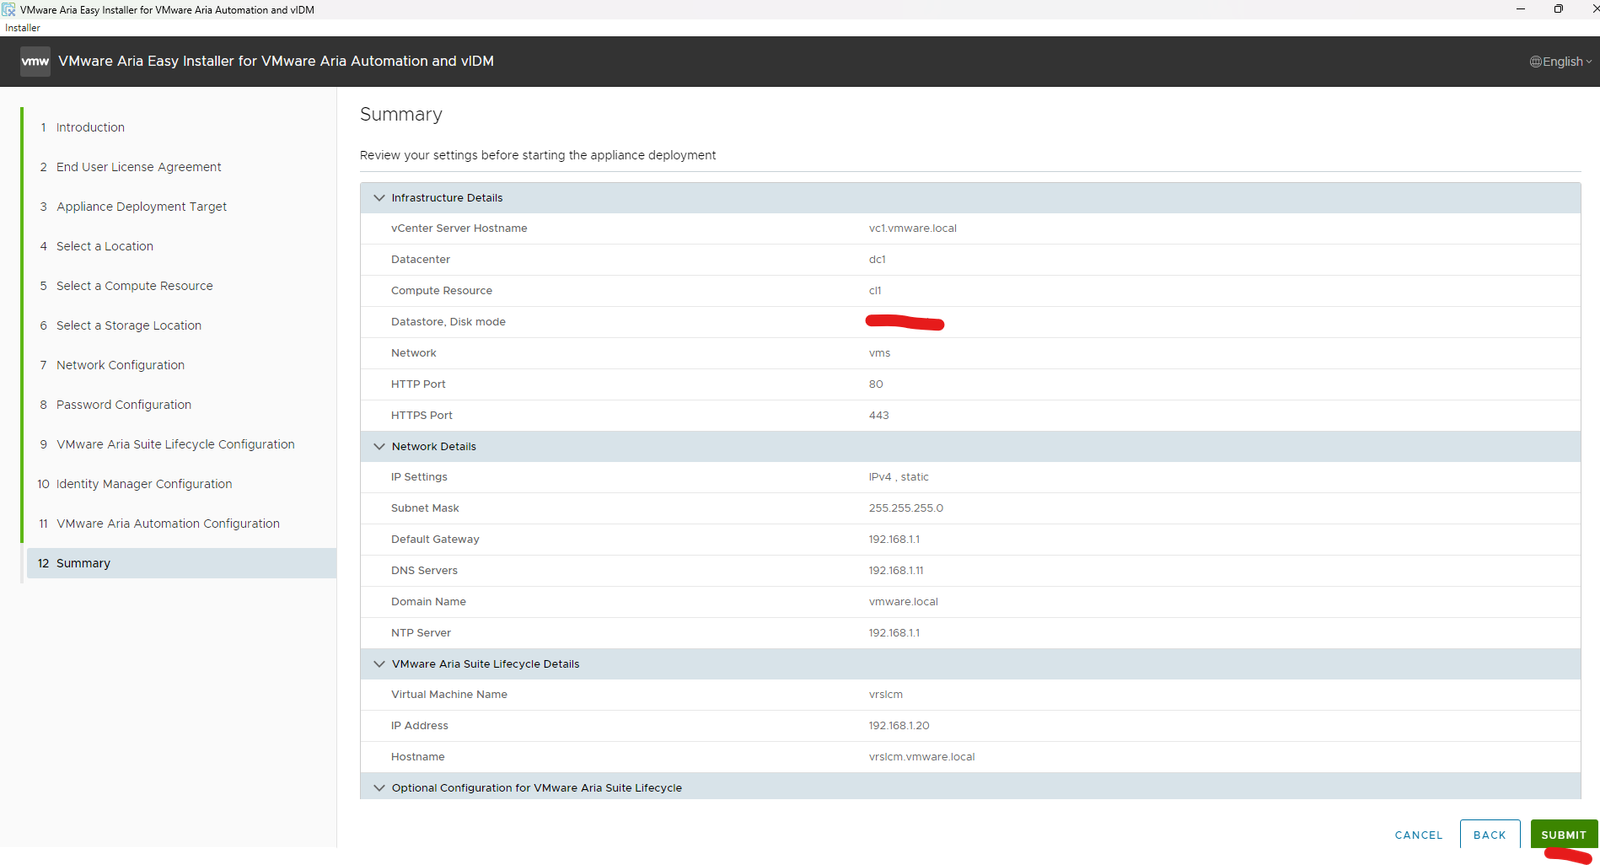
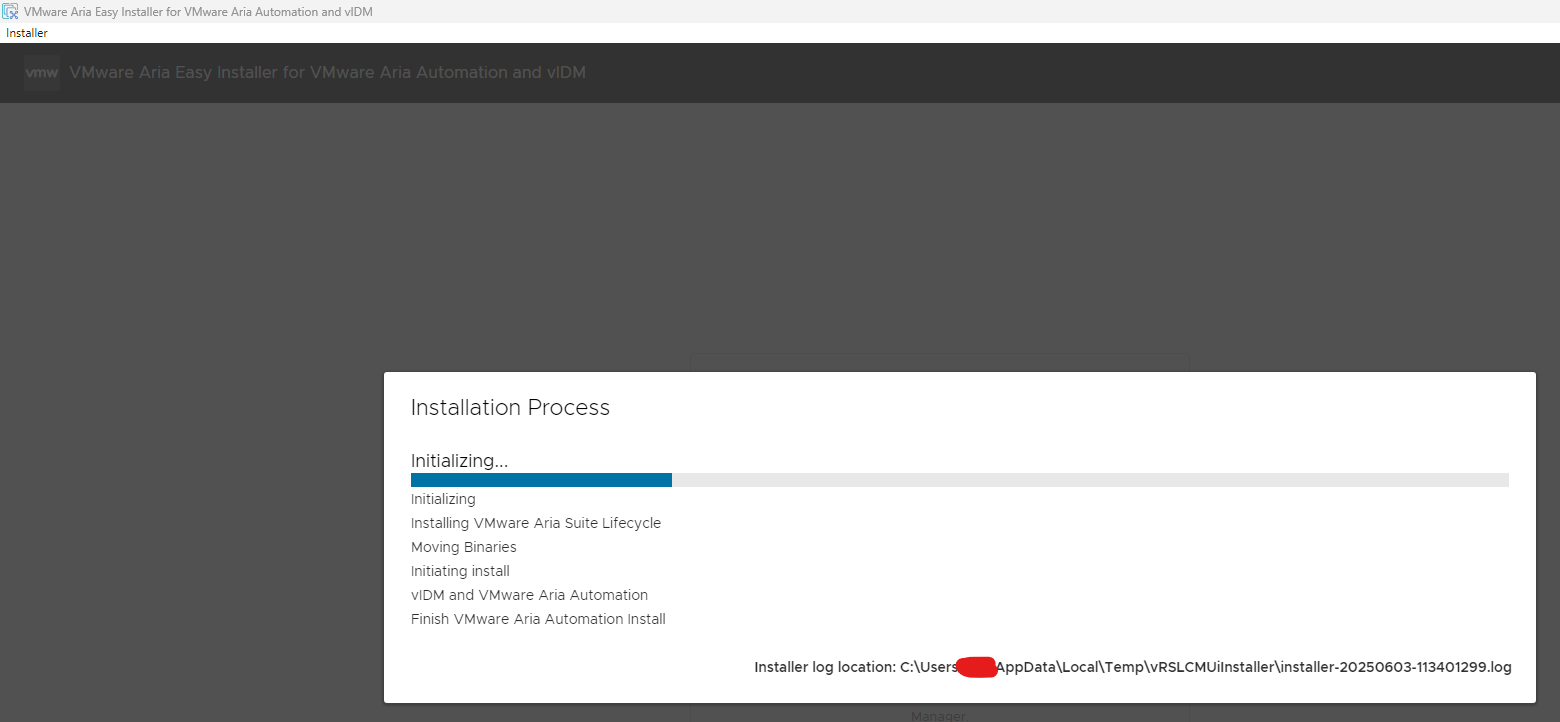
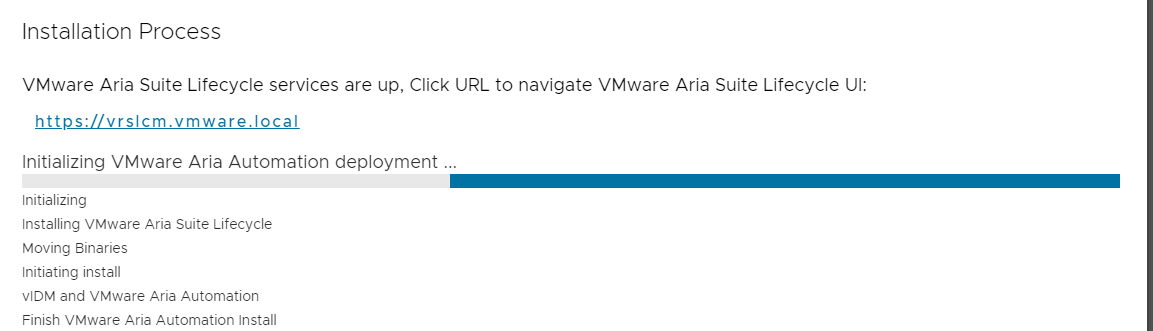
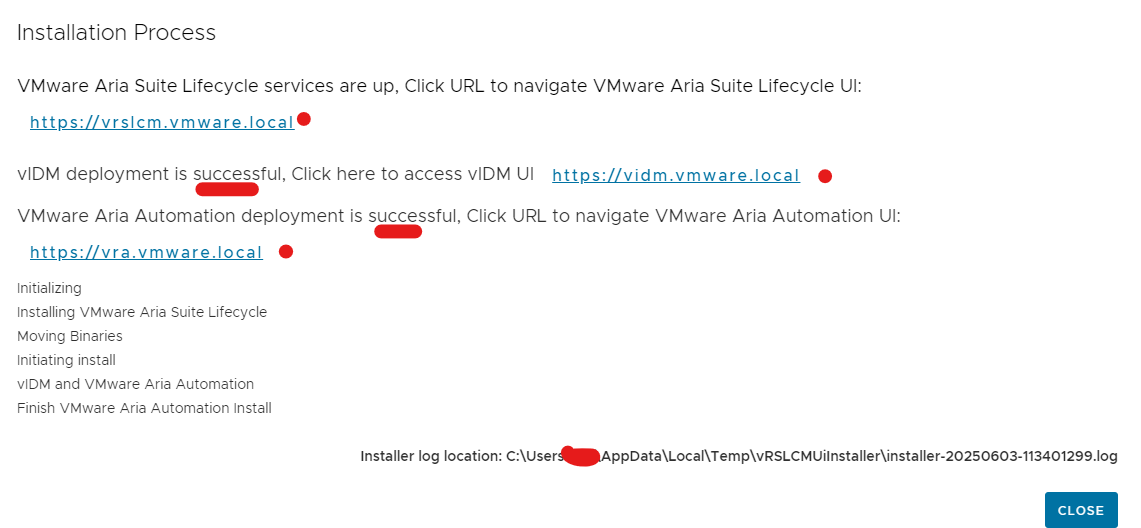
Click submit
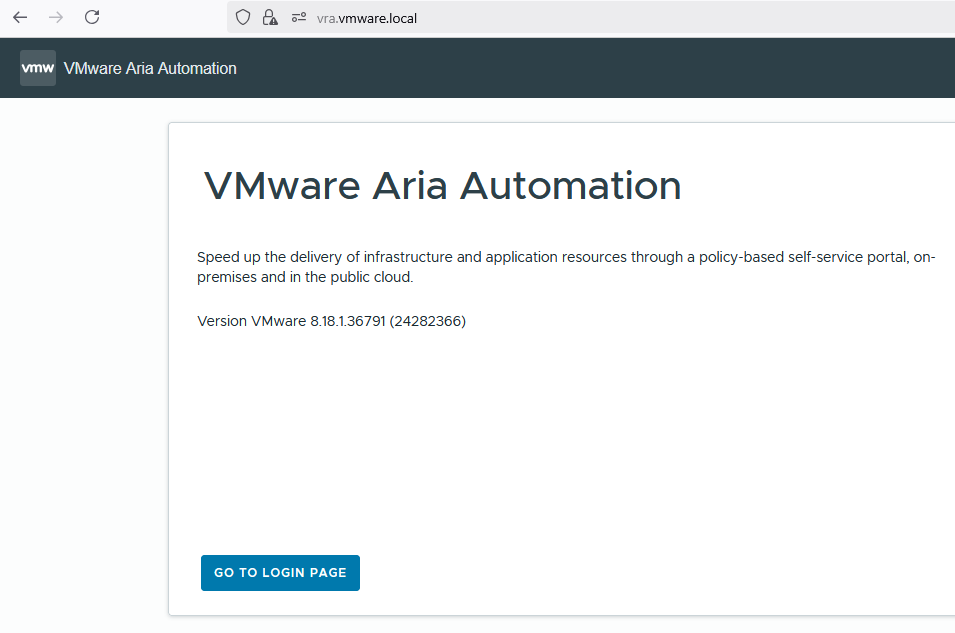
Once completed lets go straight into it and click on the vra link
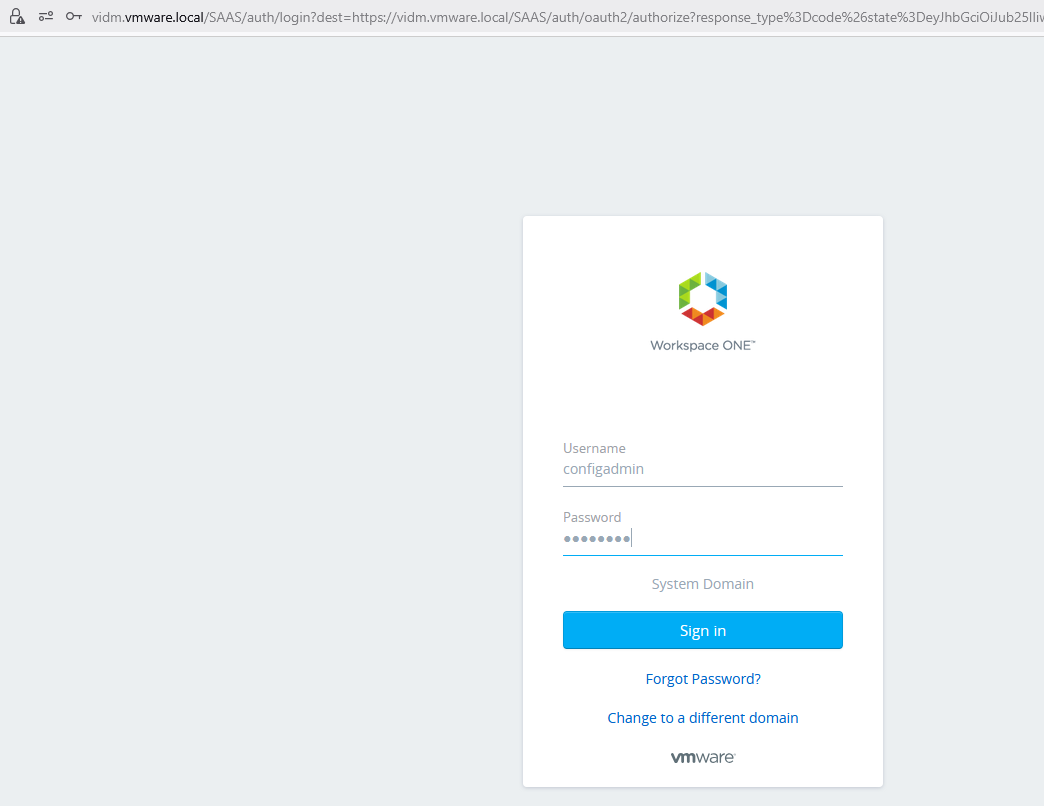
Click login page
vra login still requires vidm, use configadmin to login with the password you typed in the previous page
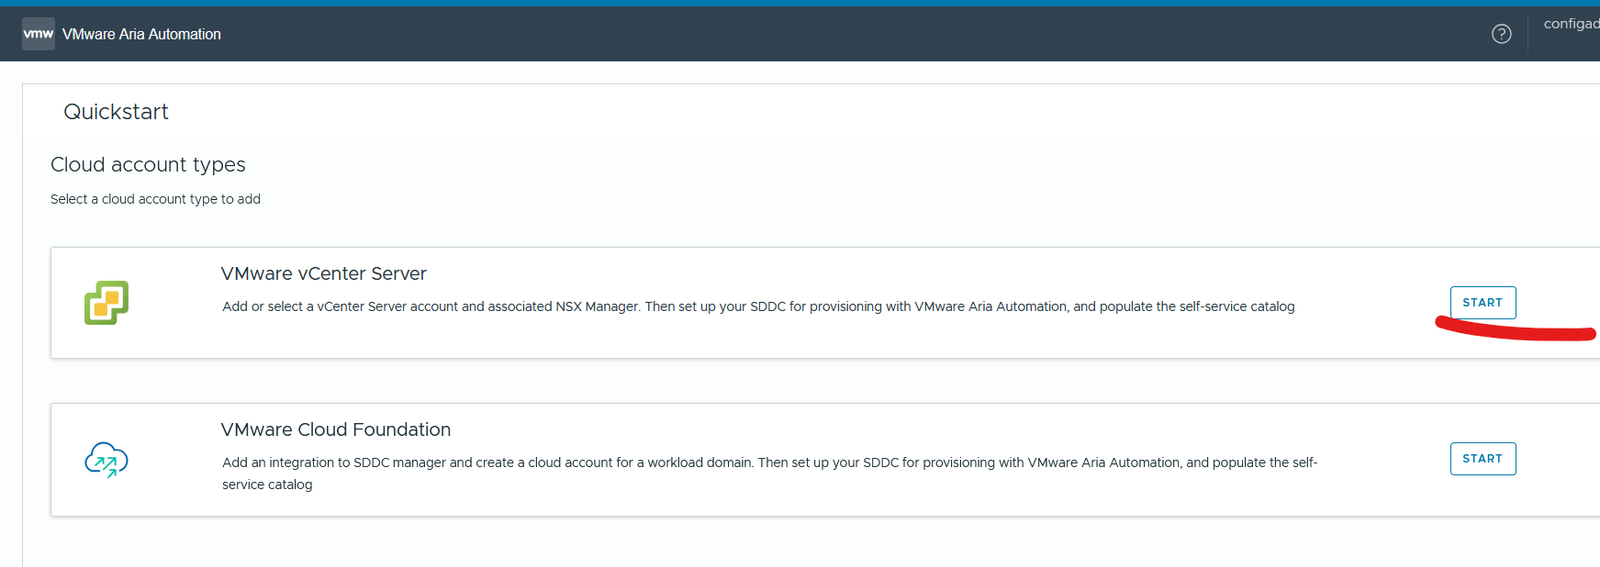
Click QuickStart
Click start next to vCenter (I don’t have a VCF deployment atm so I won’t be using that)
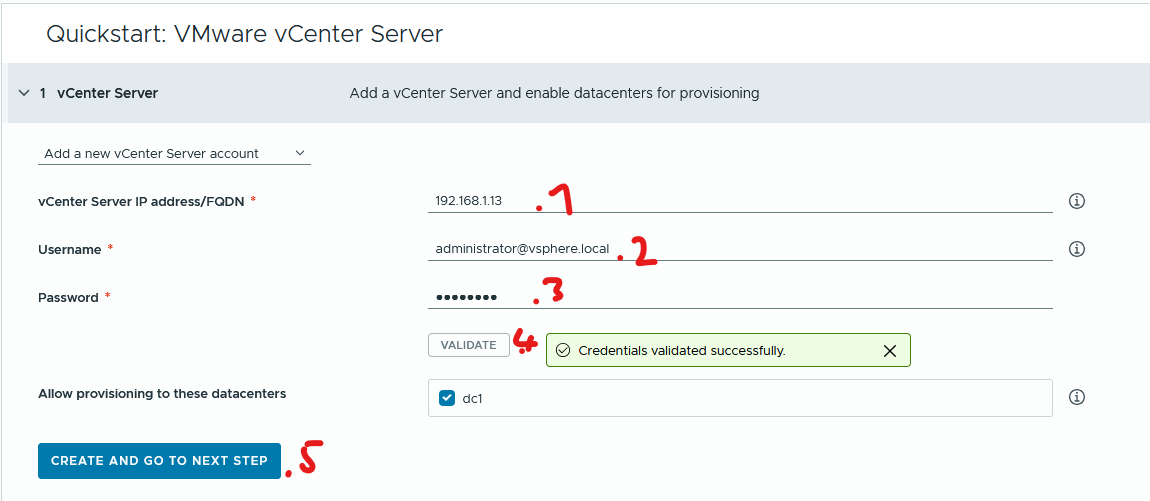
Enter your vCenter details and click validate
click create and go to next step
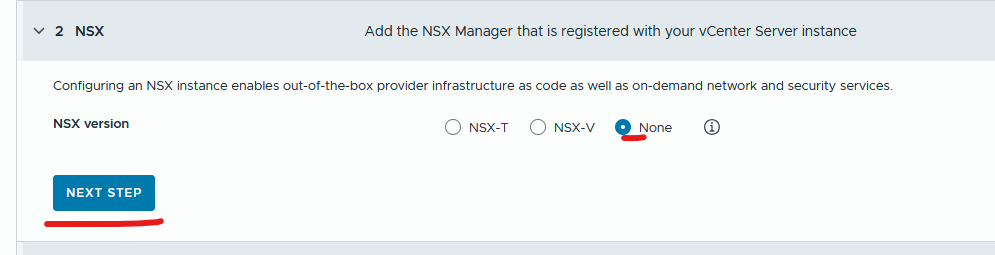
I don’t have nsxt installed so I will click none and click next (will be using port groups)
.
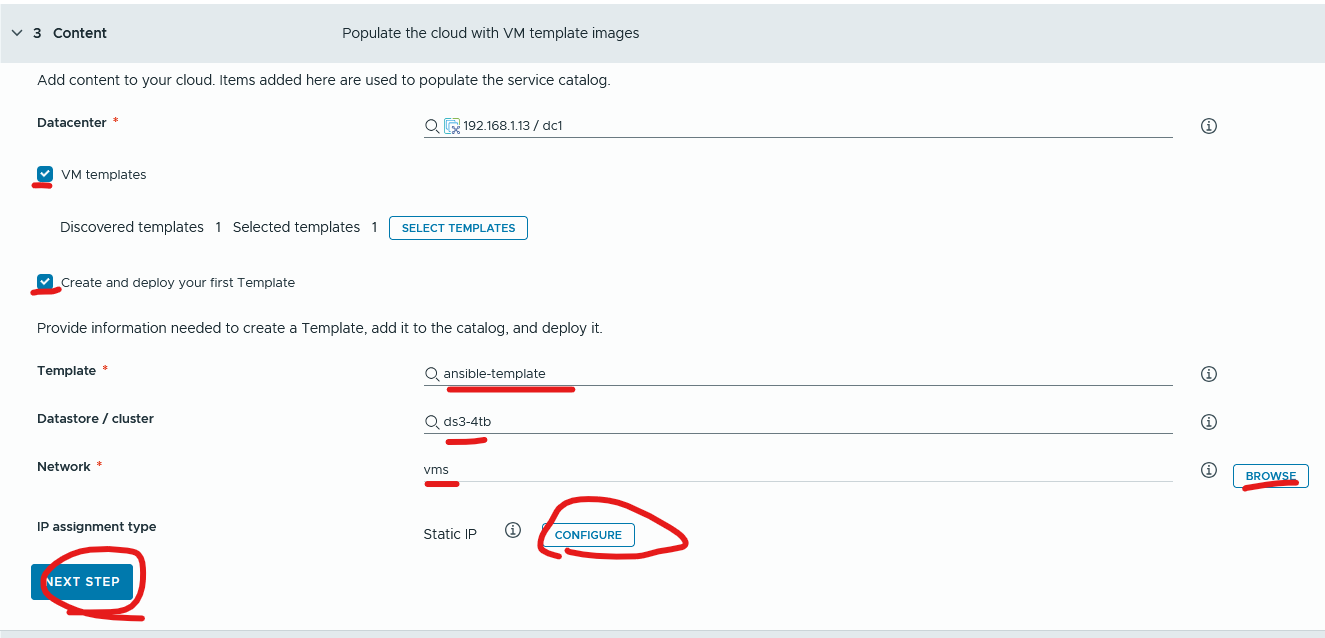
I have a ansible template basically it is a centos 10 deployment with no password for the user account and has vmtools installed, this will allow customization on the virtual machine.
Select vm template and select templates
Select create and deploy your first Template
Update datastore
Update port group
Select configure next to IP assignment type (here you can put in ip ranges if required)
Click next
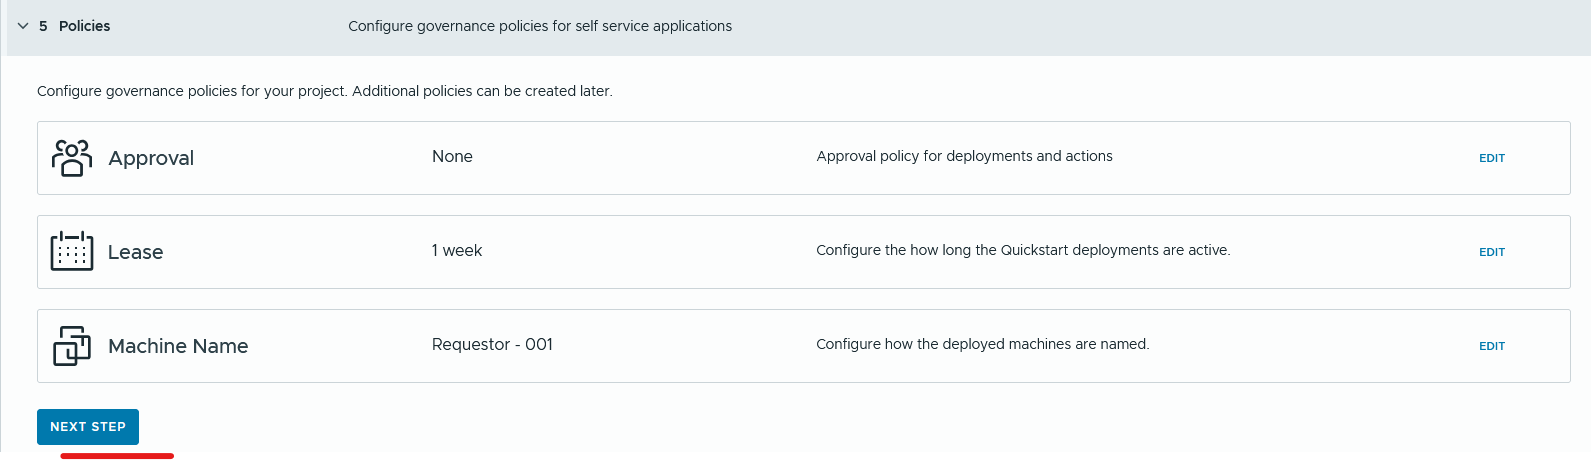
Name the project and users and click next

To make things simple let’s click next, in production environment I would add a team members email for approval
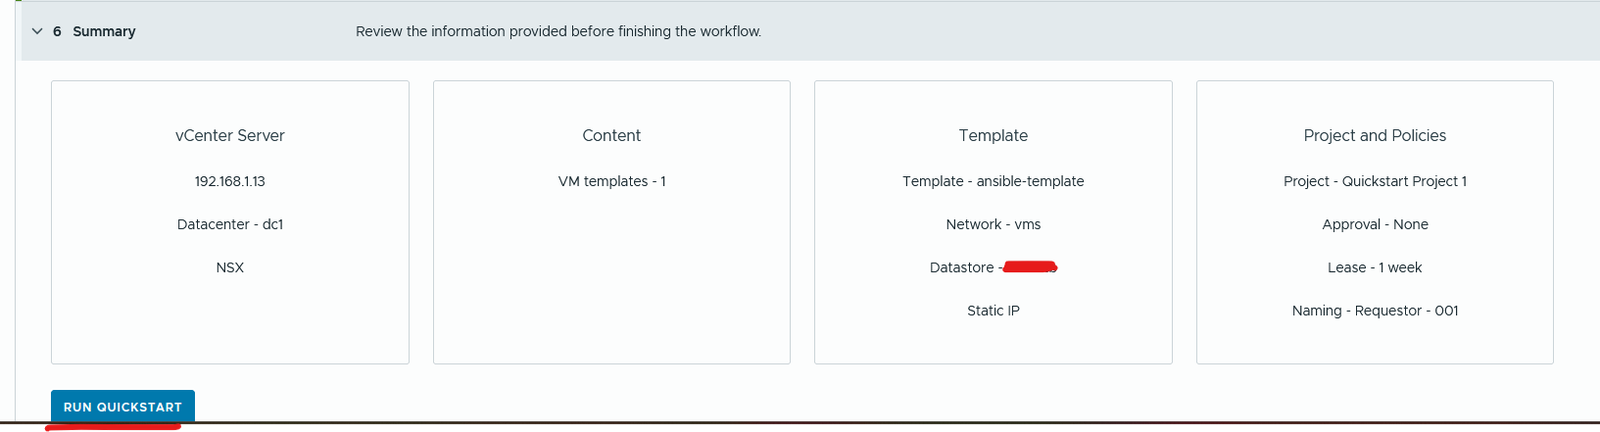
Click run Quick start

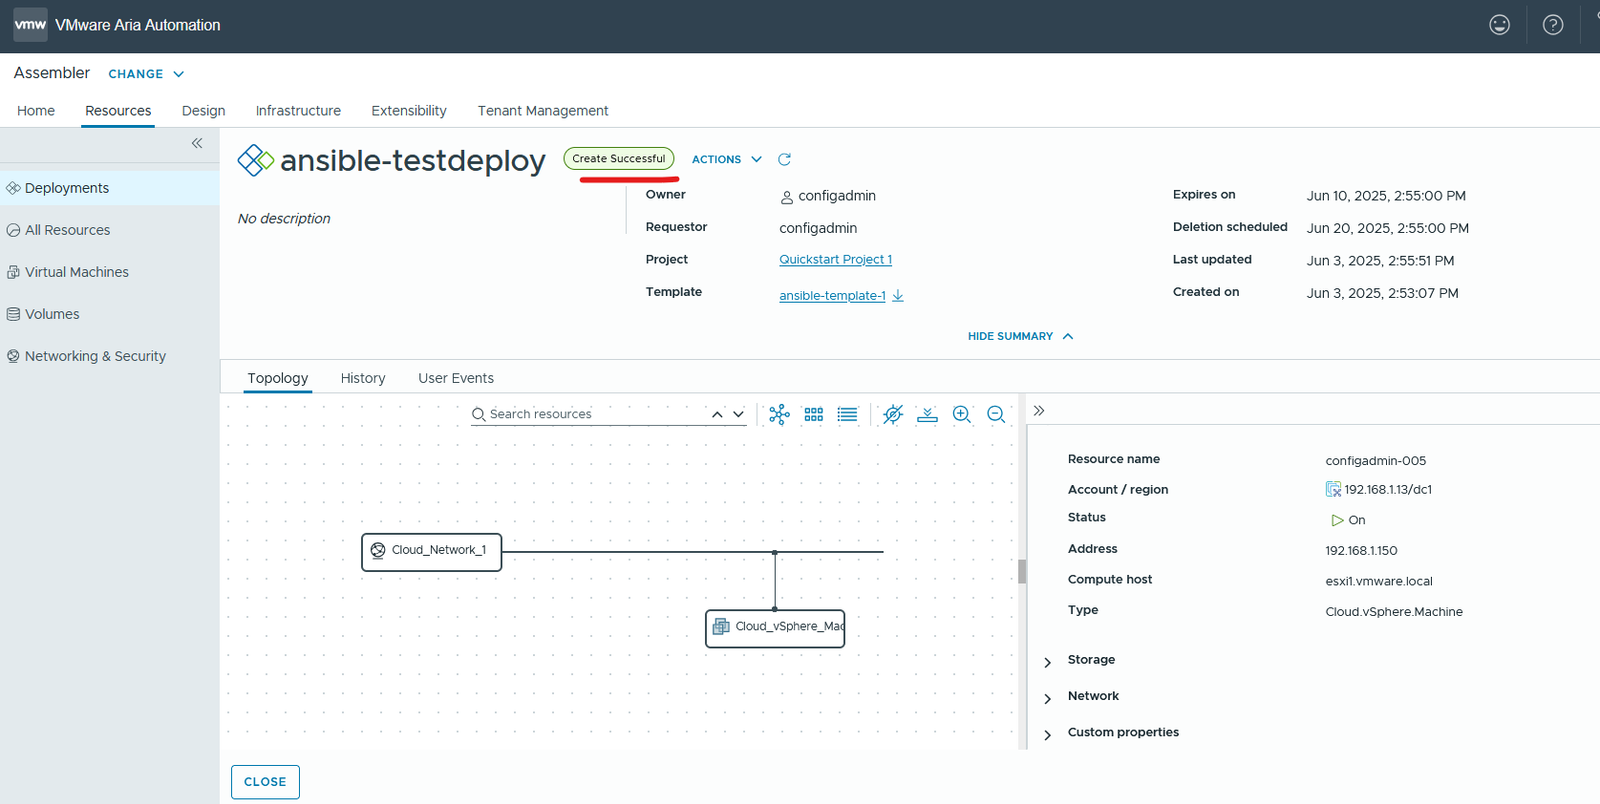
Let check the deployment
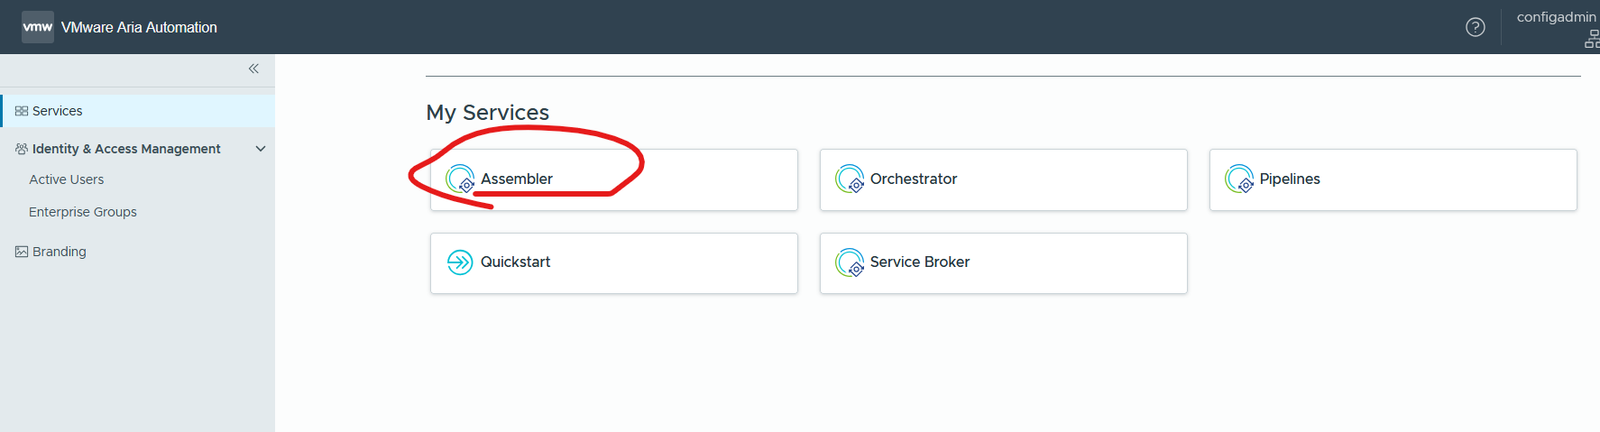
Click assembler
Click resources, click deployments, click the Quick start deployment
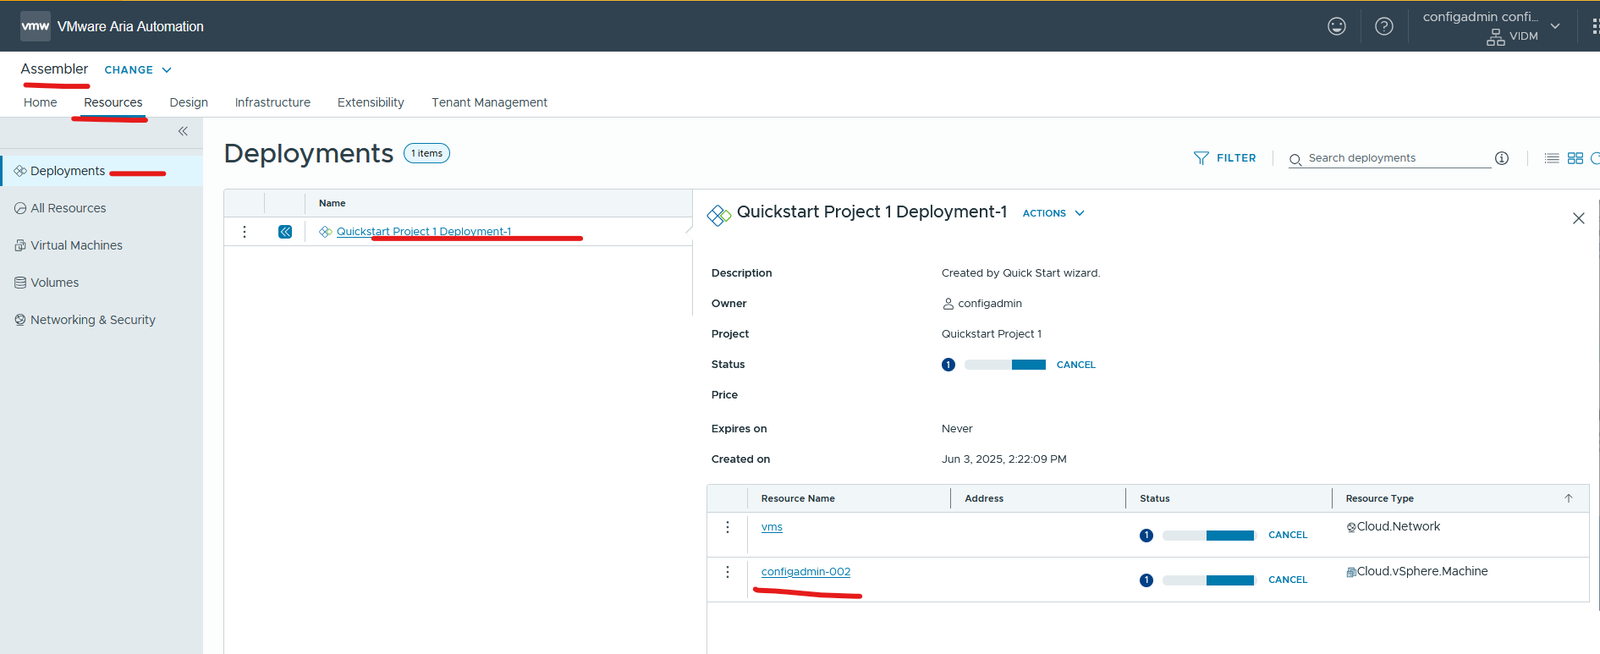
vCenter tasks you can see it cloned the template, reconfigured the vm and power it on

Ip address has been assigned and vm name

completed