This is a three-part post
- First is the installation of Freenas
- Second is the setup of ISCSI on Freenas
- Third is the setup of ISCSI on ESXi host cluster
I am building a Freenas with ISCSI storage so I can present it to my ESXi hosts and add it as a datastore with CHAP authentication. Freenas is a free open source storage operating system. The Freenas version I am using is 11.3-U5 which I will build as a virtual machine but it can be on physical hardware.
INSTALLATION OF FREENAS
Login to your vCenter and create a new virtual machine
Right click you ESXi host or cluster and select a new virtual machine

Click next

Name your freenas server and click next

Select your location you want to put the virtual machine and click next

Select your storage and click next
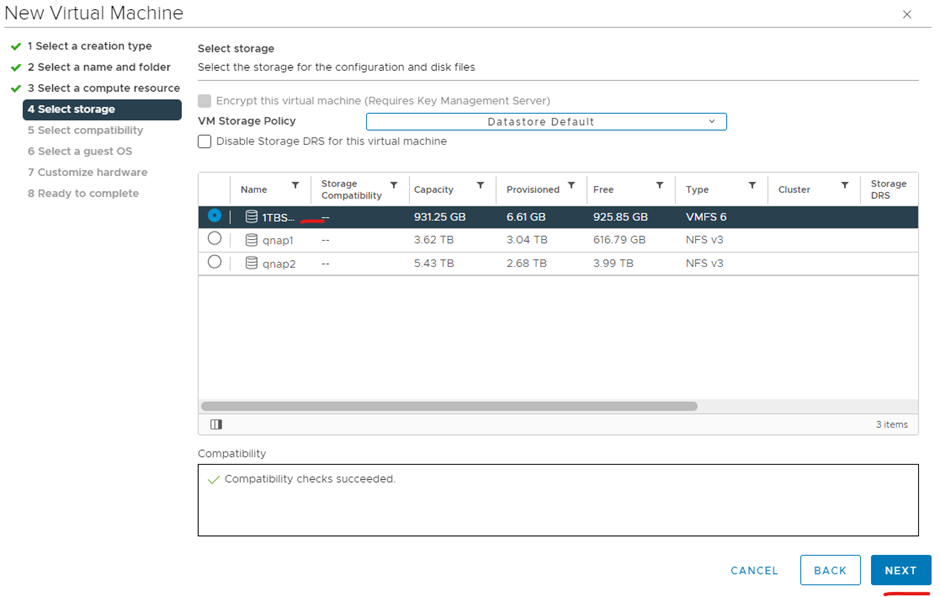
Click next

Select the OS – Linux, Other Linux 64bit and click next

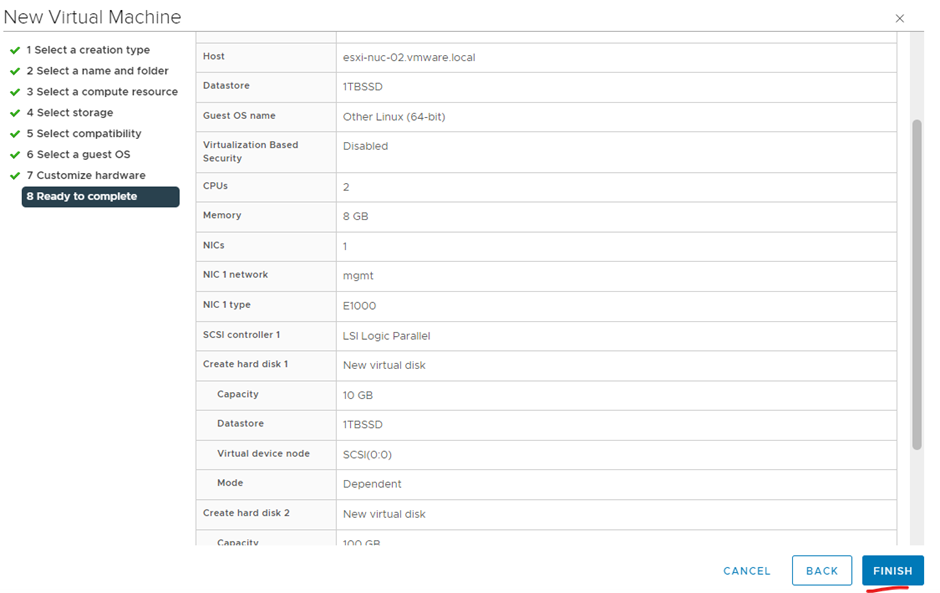
The specs I am using is
2cpu, 8gb memory, 10gb disk for the Operating system and 100gb for ISCSI
Select the network which you want your ESXi hosts to communicate over ISCSI
Attached the ISO
Click next

Click finish
Power on your virtual machine

Select install/upgrade and push enter

Select the partition you want to install the operating system and push enter

Push enter on Yes

Type in the password you want to login with and push enter

Select BIOS boot and push enter


Push enter

Select reboot system and push enter

Once booted select 1 to configure network interface

Push 1 and enter– select the interface
Push N and enter – delete current setting
Push N and enter – not to configure DHCP
Type in interface ‘eth0’ and enter
Type in the ip address and subnet mask in CIDR format and push enter
Push N and enter – not to configure ipv6


Now configure your DNS
Push 6 and enter

Type in the DNS domain and enter
Type in the DNS server and enter
Type in the second DNS server and enter


If required you can reset your root password or add a vlan on the interface

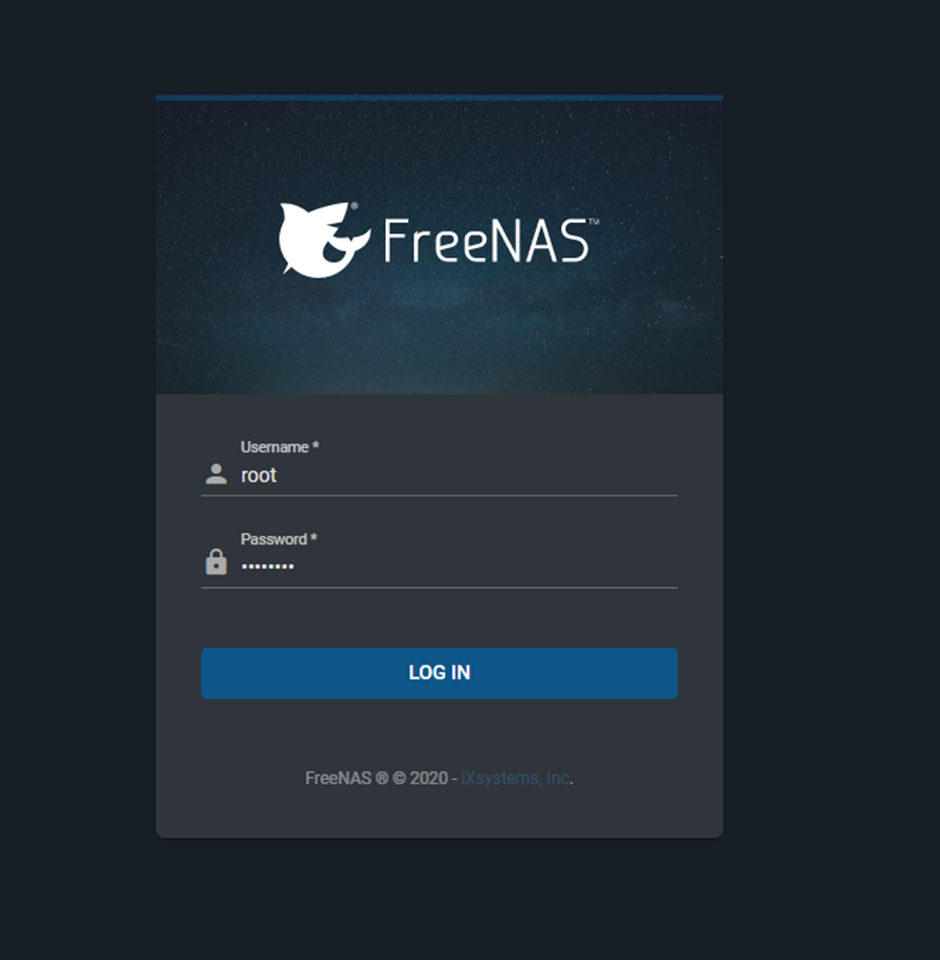
Type in the ip address or fqdn of the server in your browser

Type in root as the username and the password you setup previously
Done

1 of 3 is now completed
Click below link for 2 of 3 post