When deploying vrni the sizing requirements are large and the vms do make reservation ‘1tb storage’. You should also turn on lldp or cdp to capture that information in vrni. That Platform cluster is not a HA cluster but a performance cluster, that the UI is accessed from the first platform server you deploy.
Have a read of these url’s to get started.
Sizing
for the ports you need open
https://ports.esp.vmware.com/home/VMware-Aria-Operations-for-Networks
Troubleshooting and know limitations.
Download vrni platform and collector ova files.

I have created the following DNS entries.
ni-p.vmware.local – 172.168.1.101 – Platform 1 – UI
nic-p-02.vmware.local – 172.168.1.104 – Platform 2
ni-p-03.vmware.local – 172.168.1.105 – Platform 3
ni-c-01.vmware.local – 172.168.1.102 – collector – connect vcenter and nsx-t
ni-c-02.vmware.local – 172.168.1.103 – collector – connect to any physical devices
ni-rc-03.vcf.sddc.lab – 10.0.0.113 collector – connect to a remote vcenter and nsx-t
The recommended network latency between platform and collector VMs for optimal performance is up to 150ms. The recommendation is to keep your platform servers in the same datacenter but can be on different storage.
Deploy the ovf into your vcenter (platform server first)

Select your ova file you downloaded earlier and click next

Give it a virtual machine name and click next

Select a host or cluster and click next

click next

Accept agreement and click next

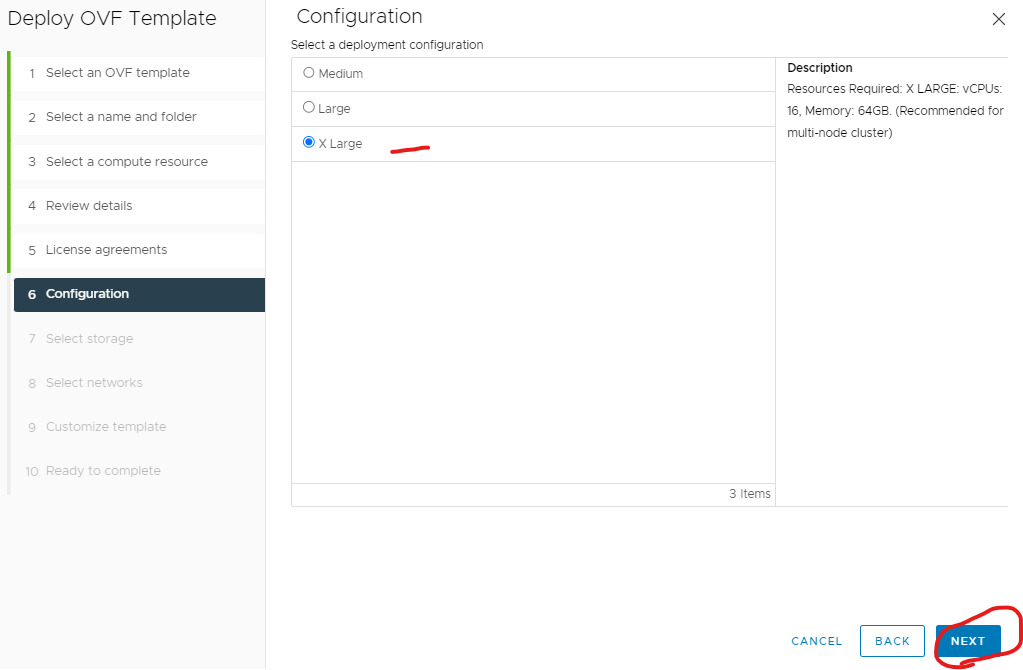
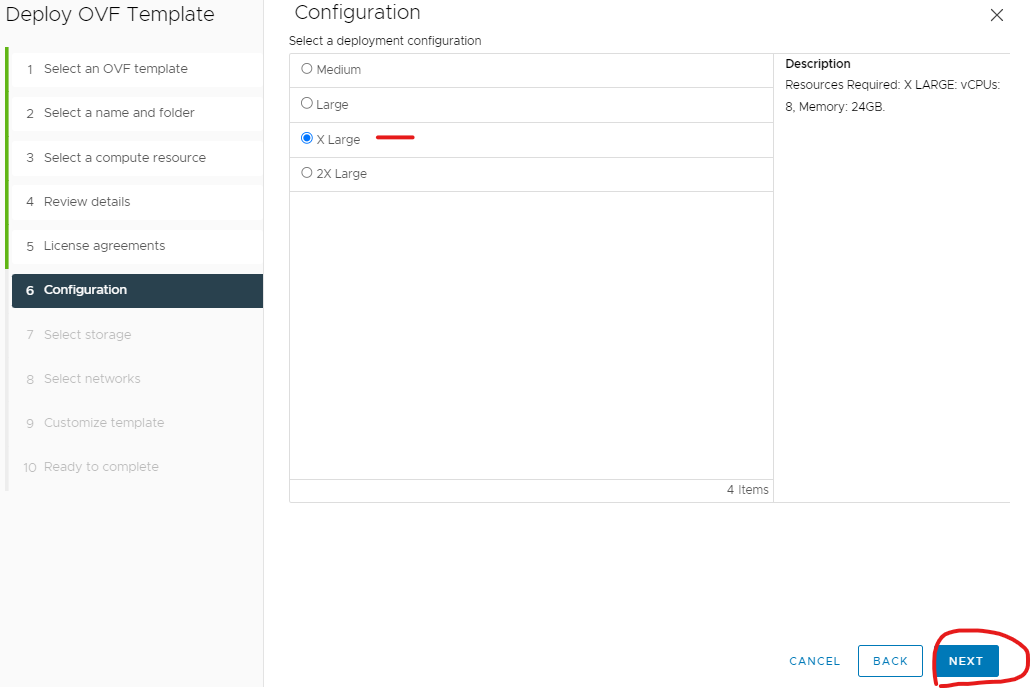
I always recommend X large for production and multi-node cluster.
(The Network Verification and Assurance (Network Map and Intents) and Flow Based Application Discovery (Flows) features are available only for Extra Large brick size only.
Click X Large and click next
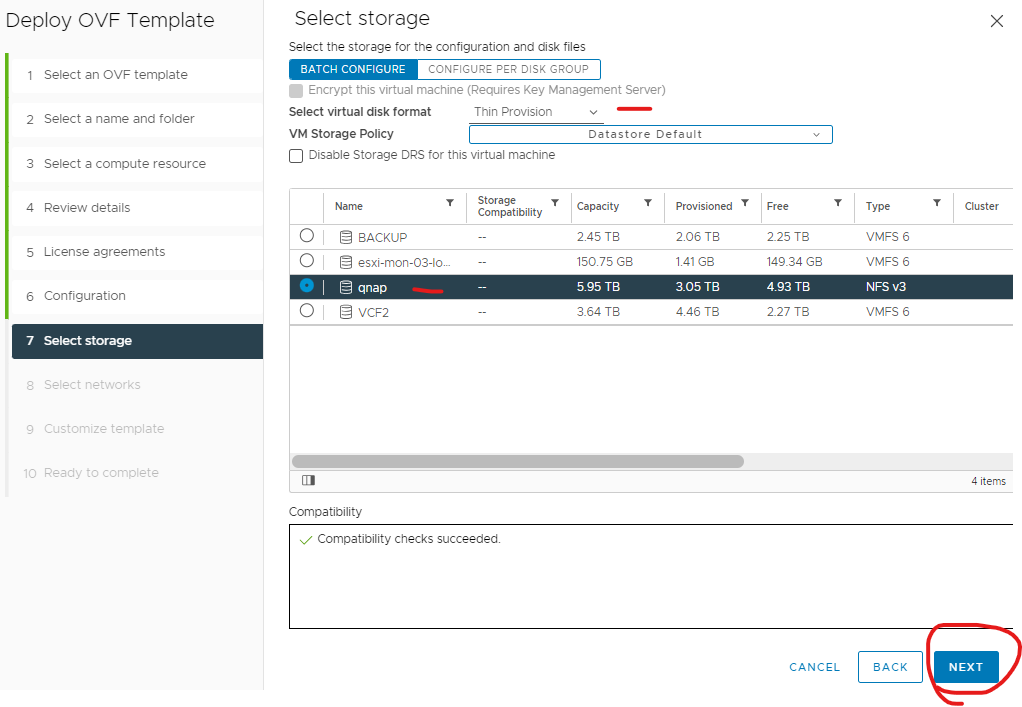
Select thin and storage location and click next

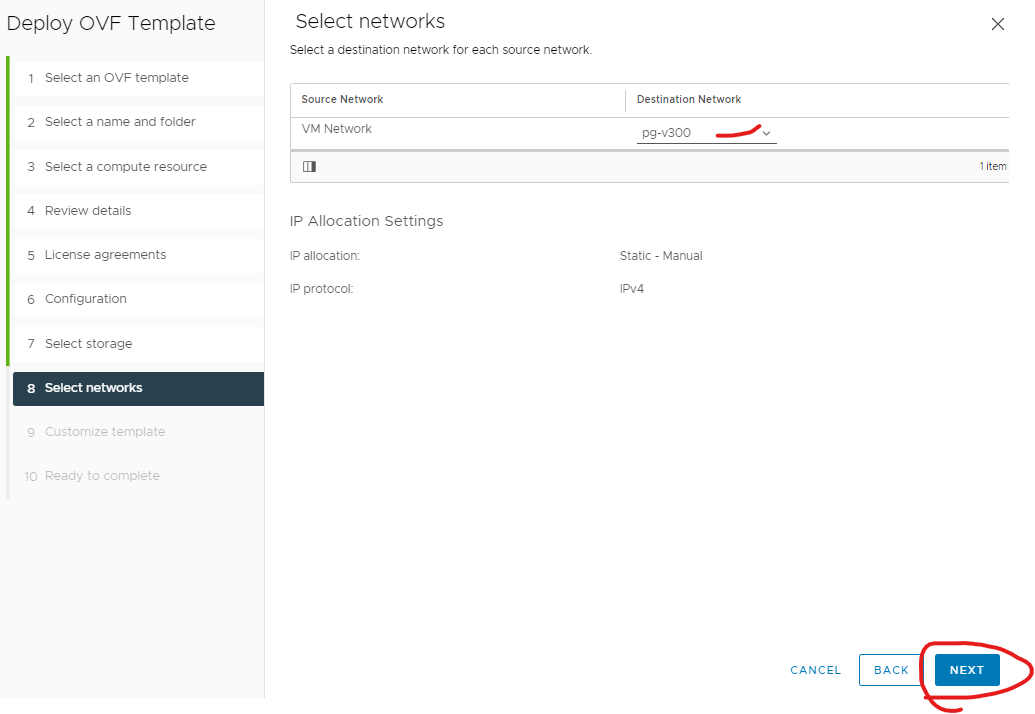
Select a network (recommend one that can access the internet for support and upgrades) and click next
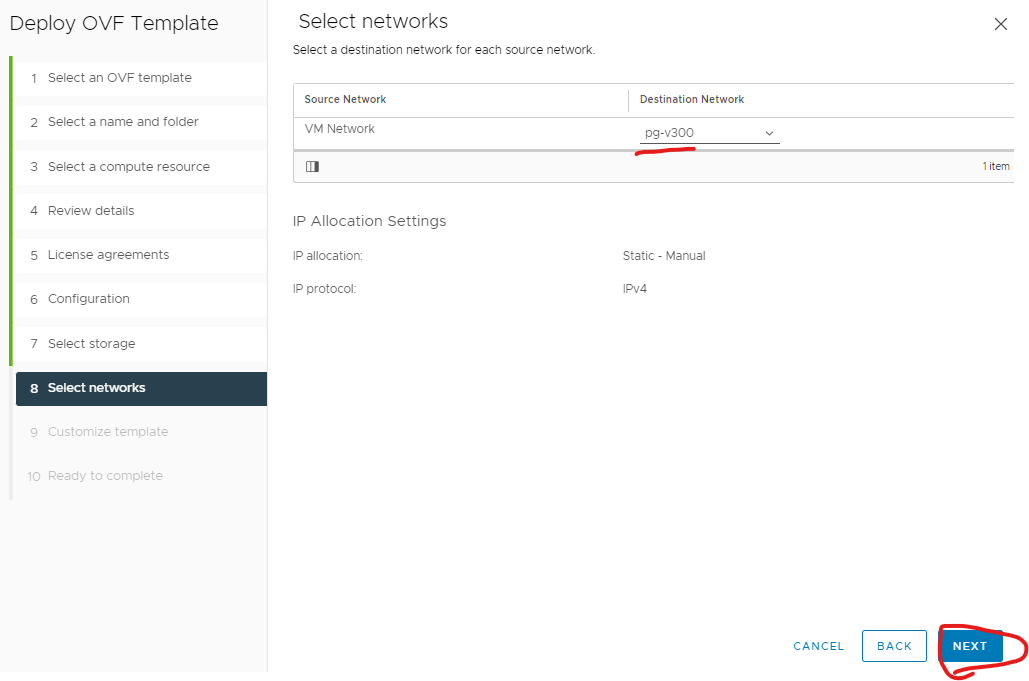
Click next
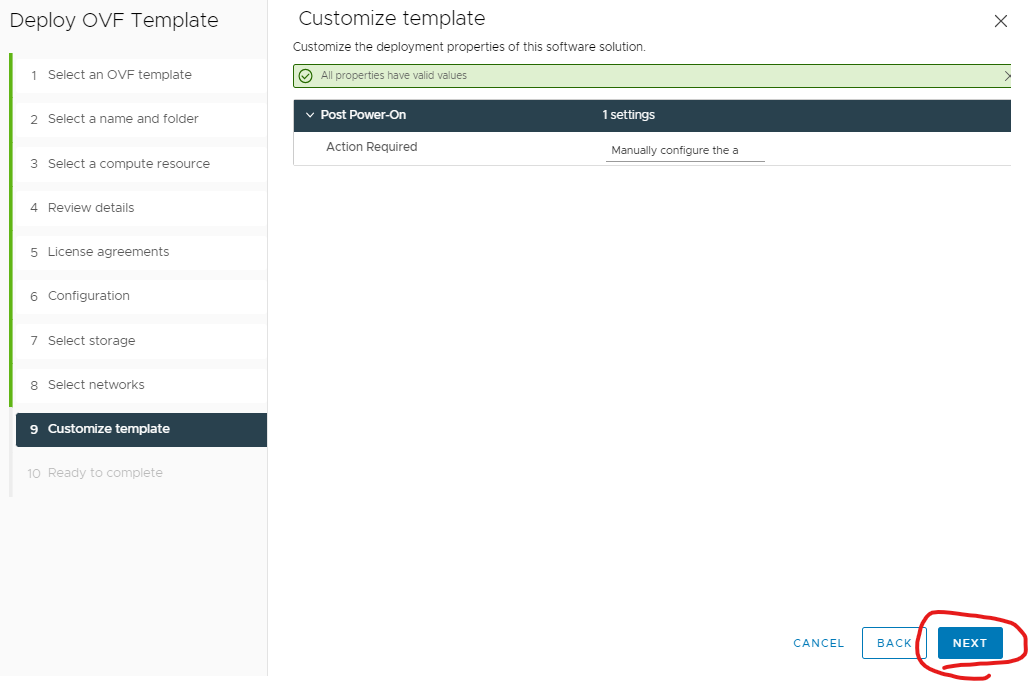
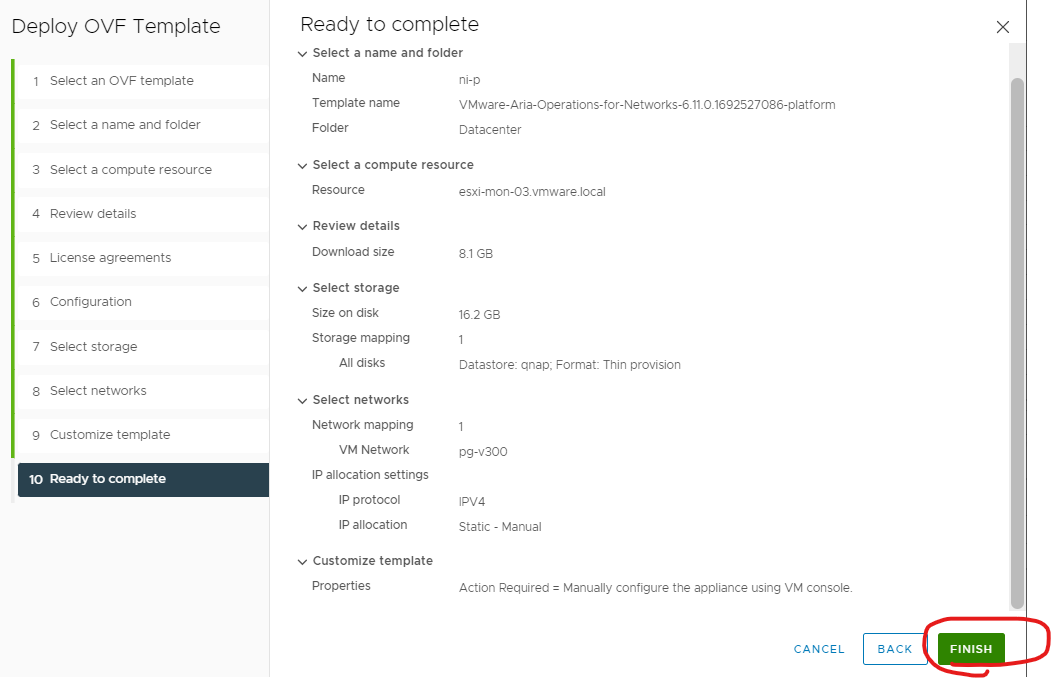
Click finish
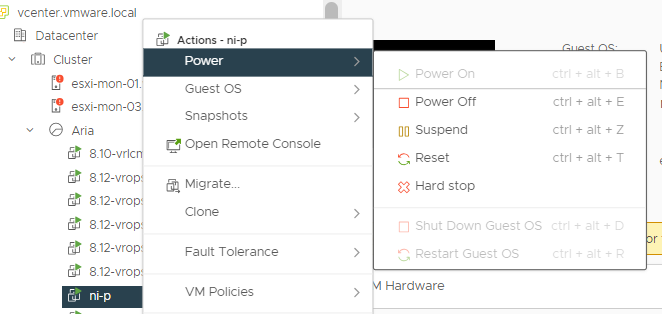
Power on once deployed
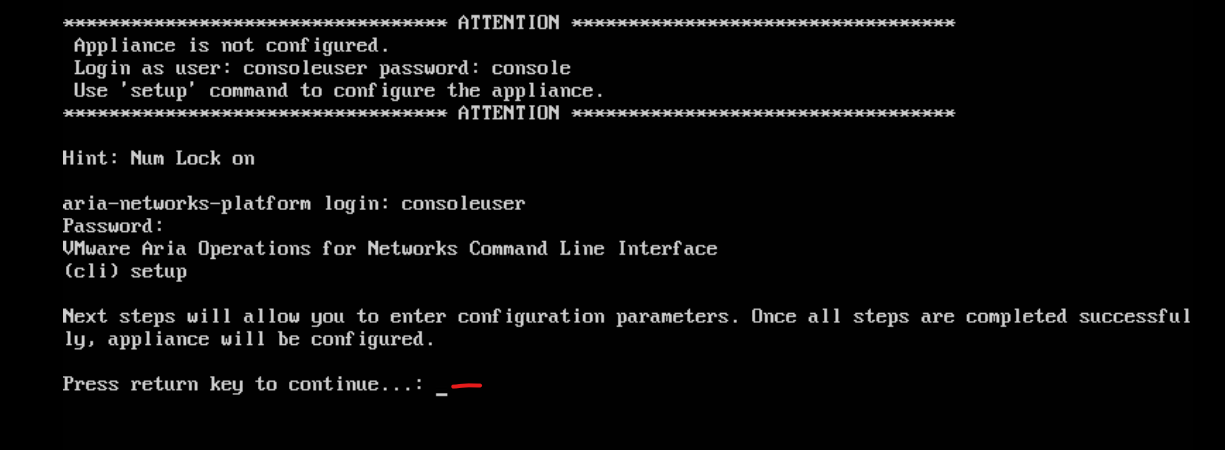
Login in as ‘consoleuser’ and ‘console’ as the password
Type ‘setup’
Push any key to continue

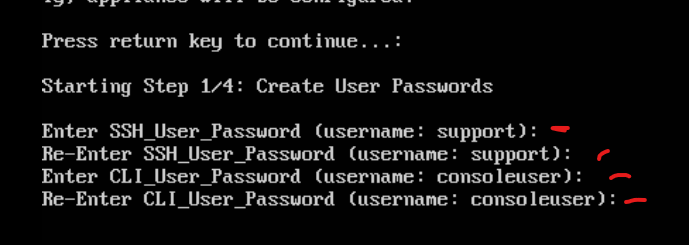
Type in the passwords for the support account and consoleuser account
Enter ipv4.
Enter the ip address of the platform 1.
Enter subnet mask.
Enter gateway.
Enter DNS
Enter domain.
Y to save settings
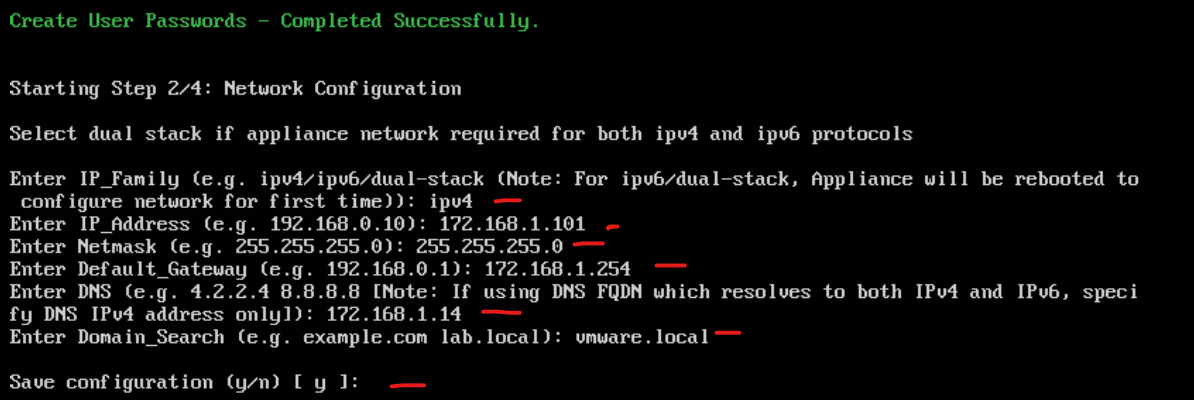
Enter Y
Enter NTP server (NTP is very important for VRNI for timestamp and time shew has to be less than 30 seconds between platform servers and don’t reboot any nodes if ntp is down)
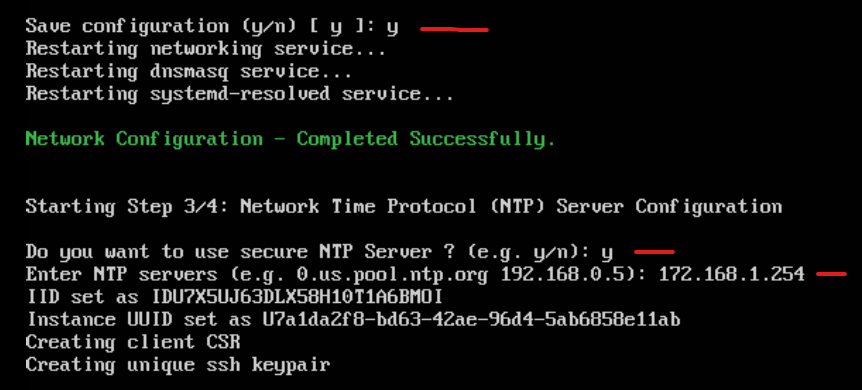
Configure a web proxy if available for support and upgrades.
I will enter N in my LAB


NTP failed to sync so I rebooted and forced a sync.
Command ‘ntp set –ip-fqdn 172.168.1.254’


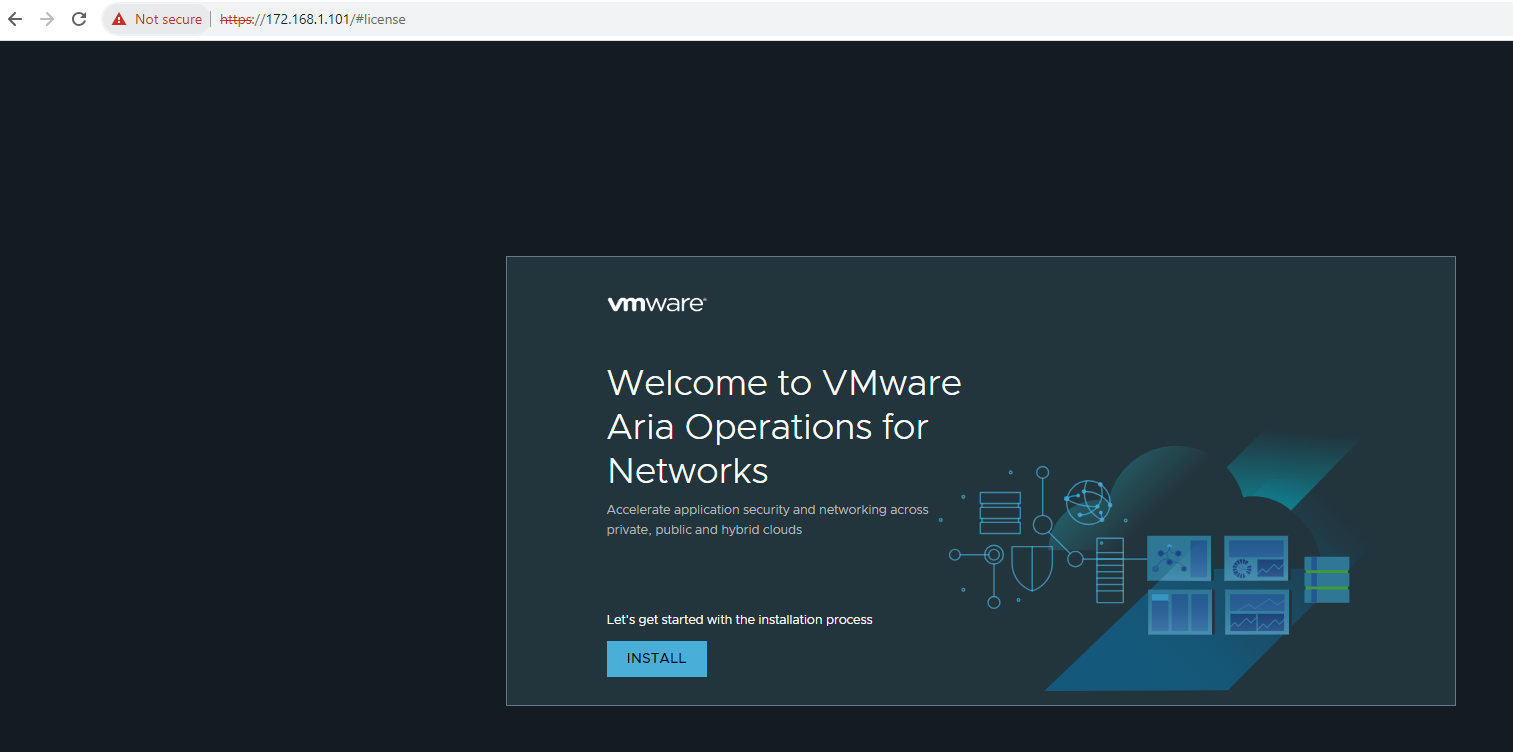
Login to the URL of the platform server
Click install
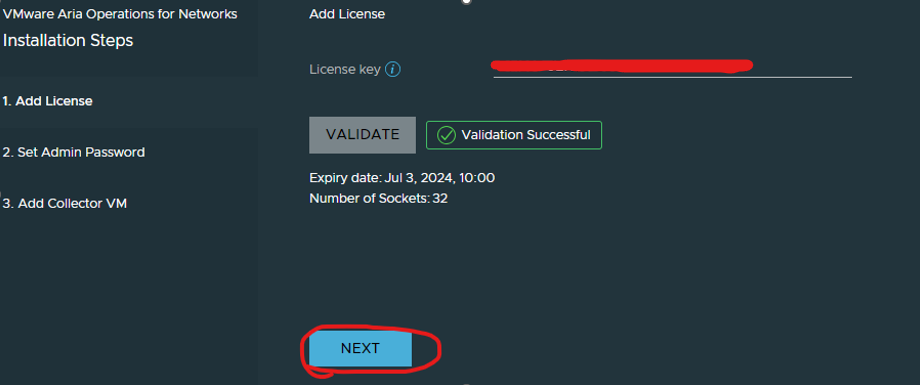
Enter license key and click validate.
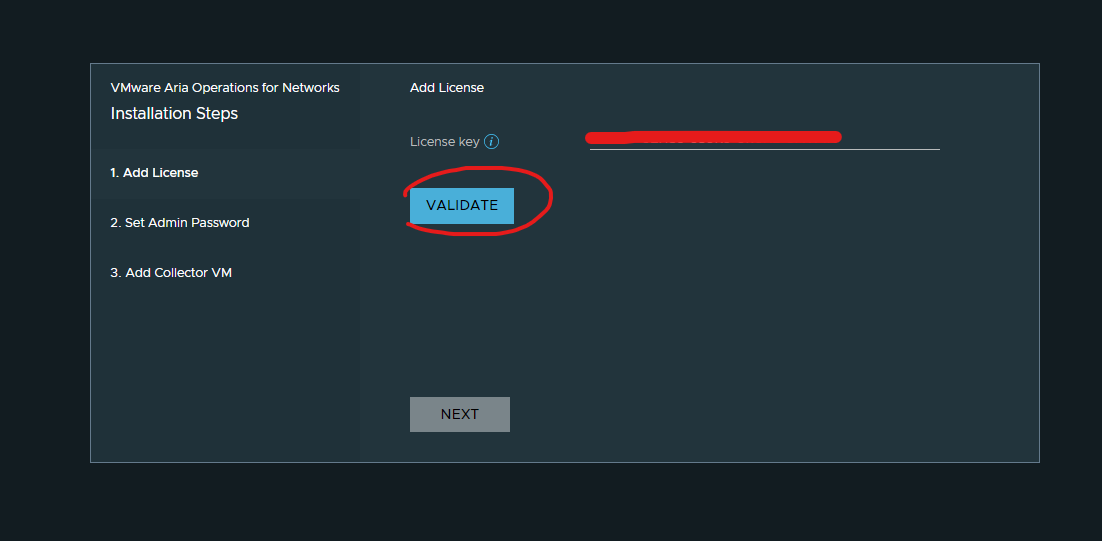
Click next
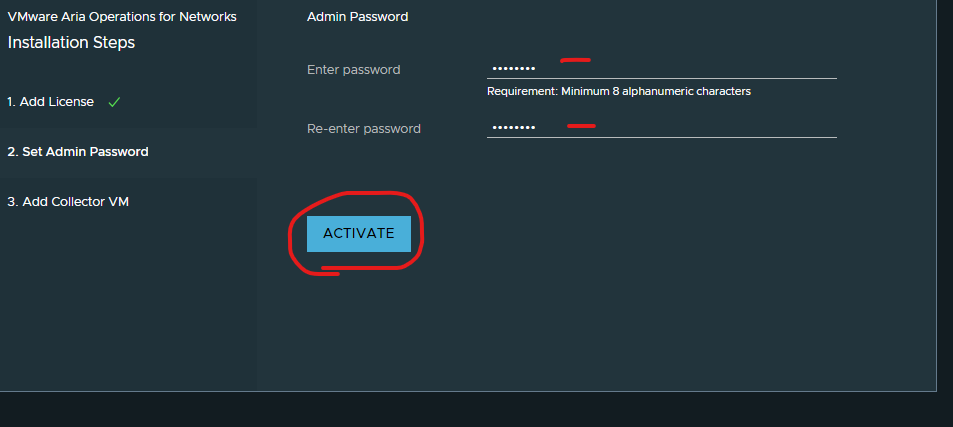
Enter an admin password and click activate (password for the admin@local account)
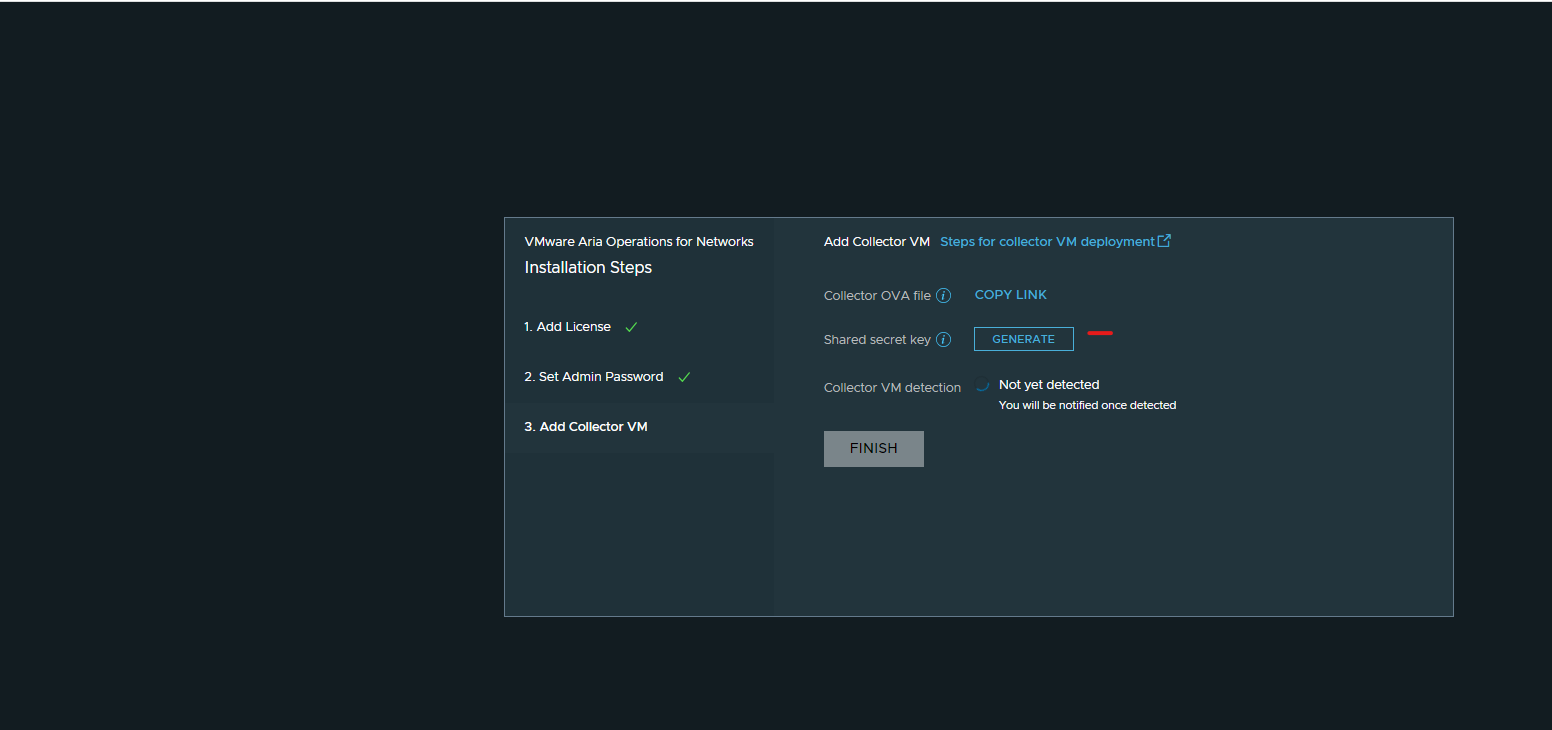
Click generate and copy secret key (used for when deploying your first collector)
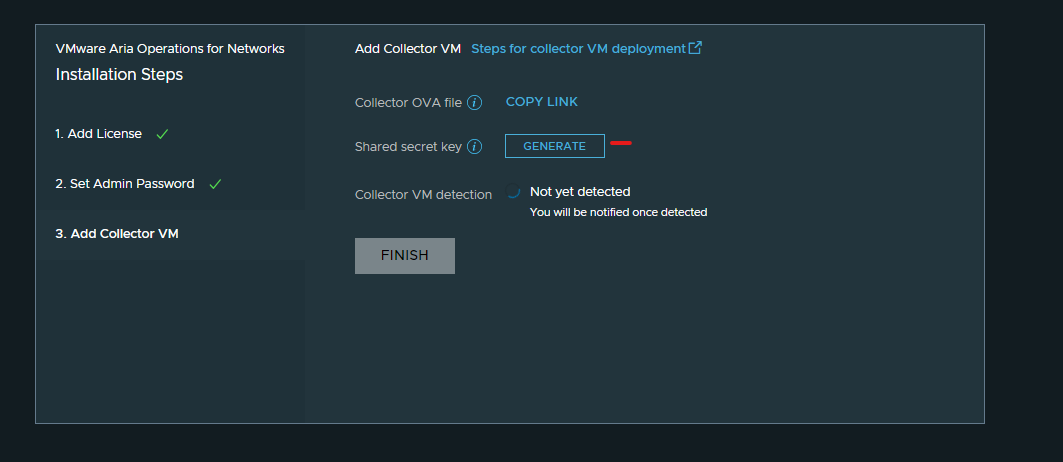
Deploy your first collector.
Go back to vCenter and deploy an ovf
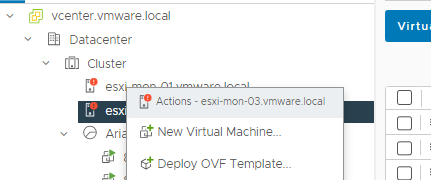
Select your ova collector you downloaded previously and click next
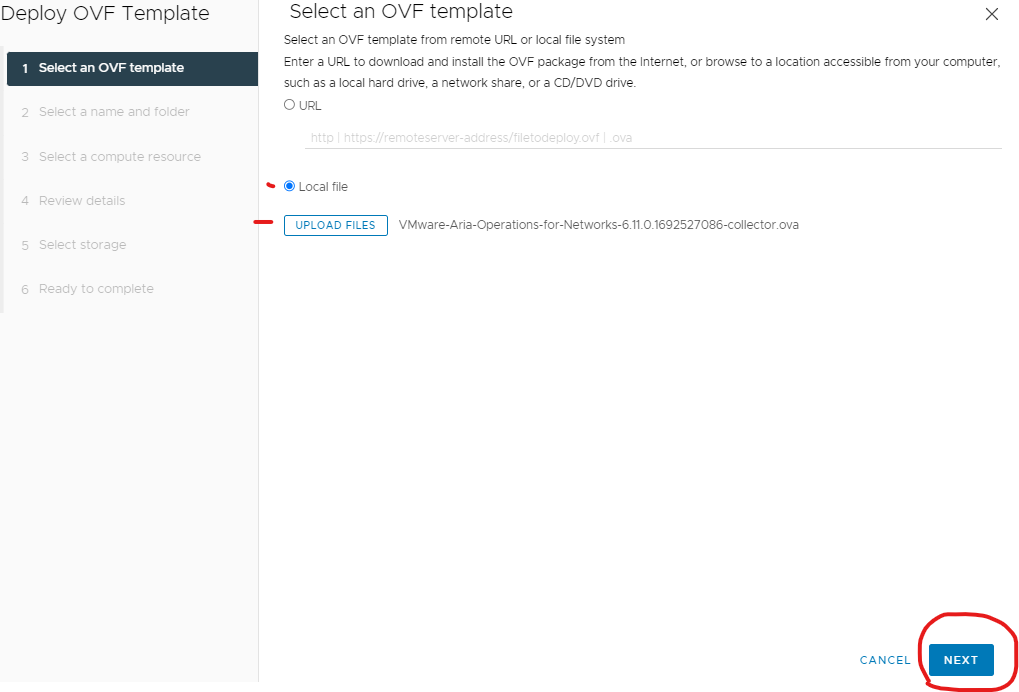
Type in a virtual machine name for your collector and click next
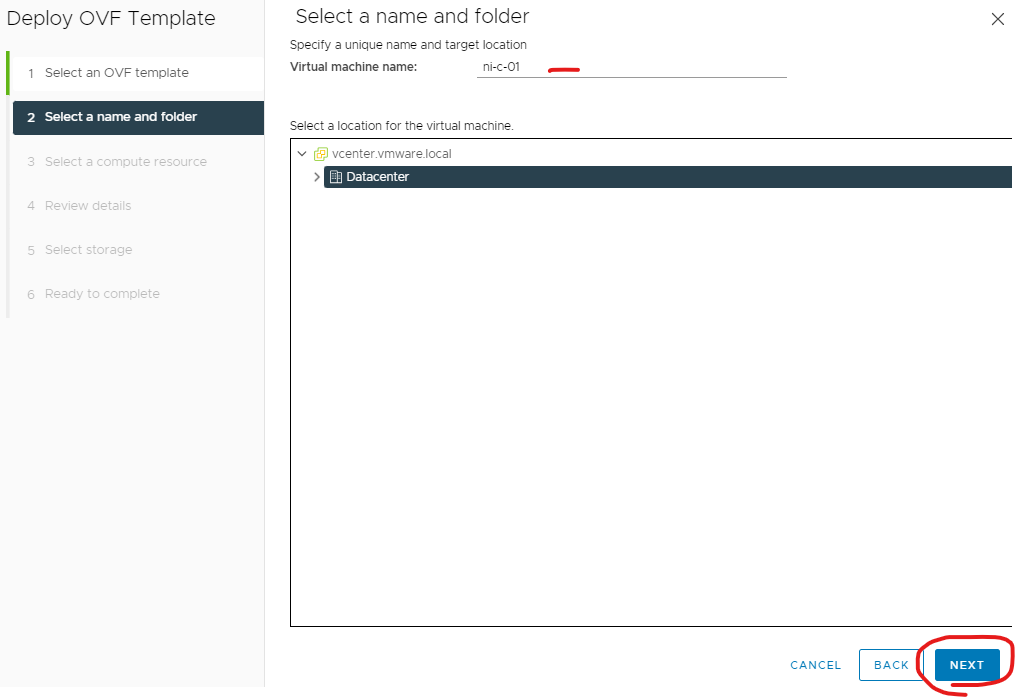
Select a host or cluster and click next
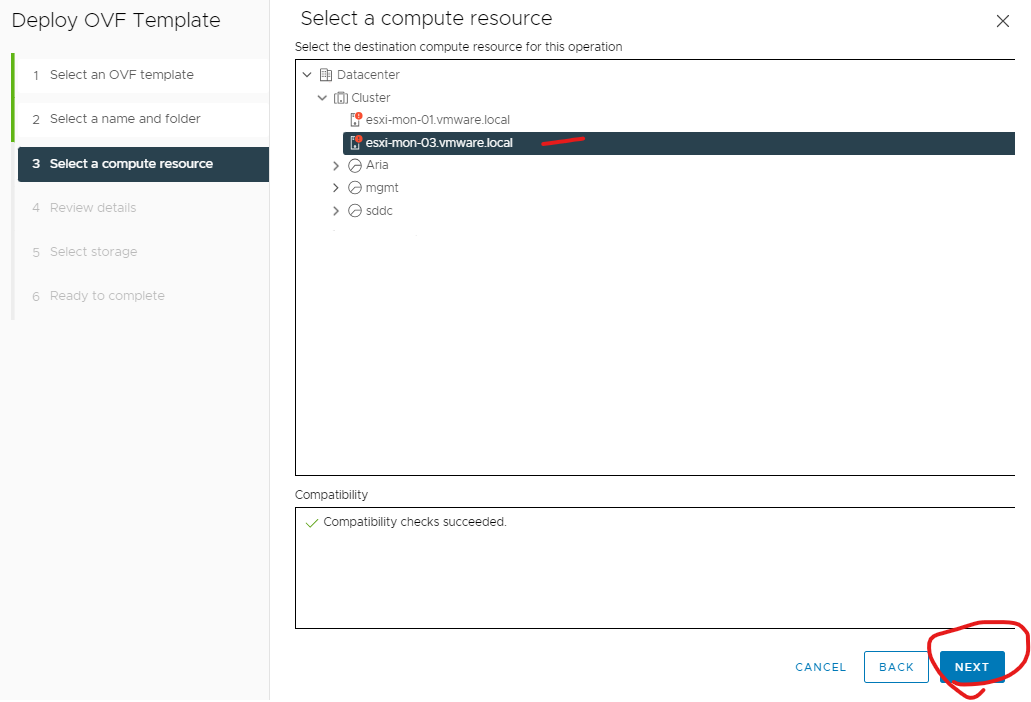
Click next
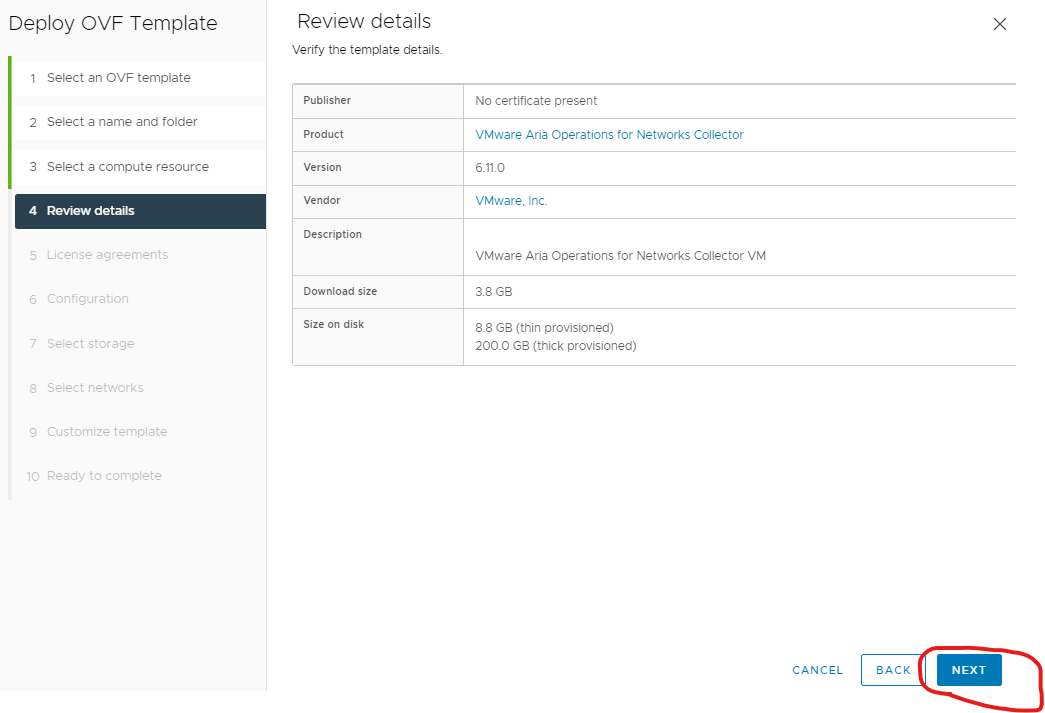
Accept agreement and click next
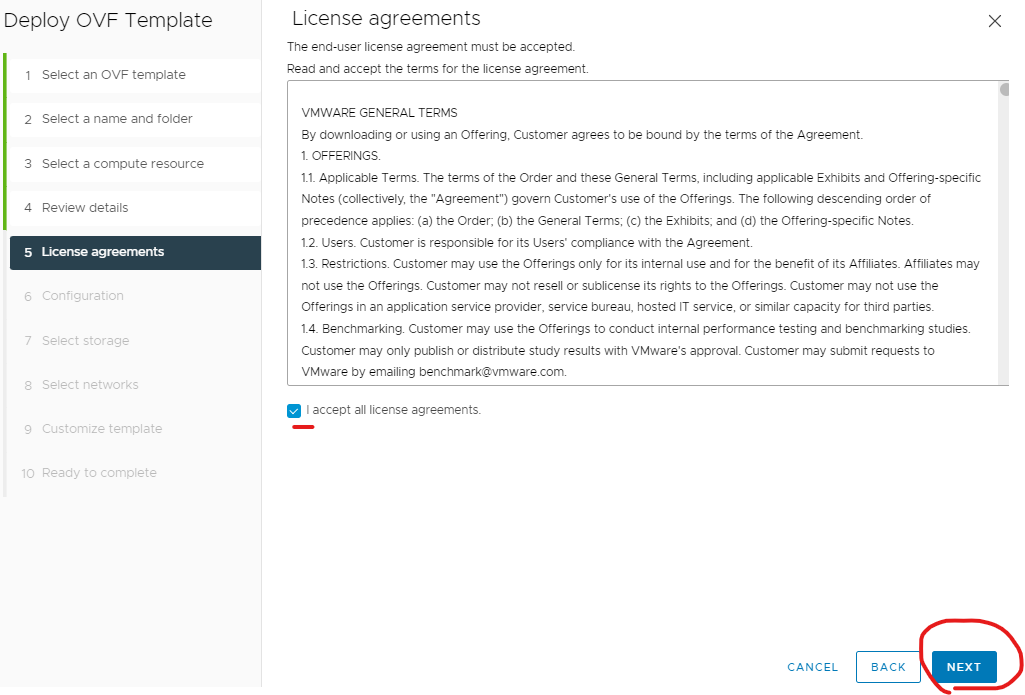
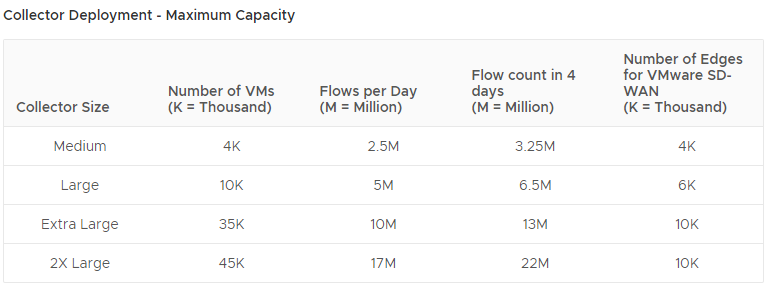
I usually select the same size as my platform node below is the maximum capacity of each size.
Select X Large and click next
Select thin and storage location and click next
Select a network and click next
Get the secret key if you haven’t already from platform UI
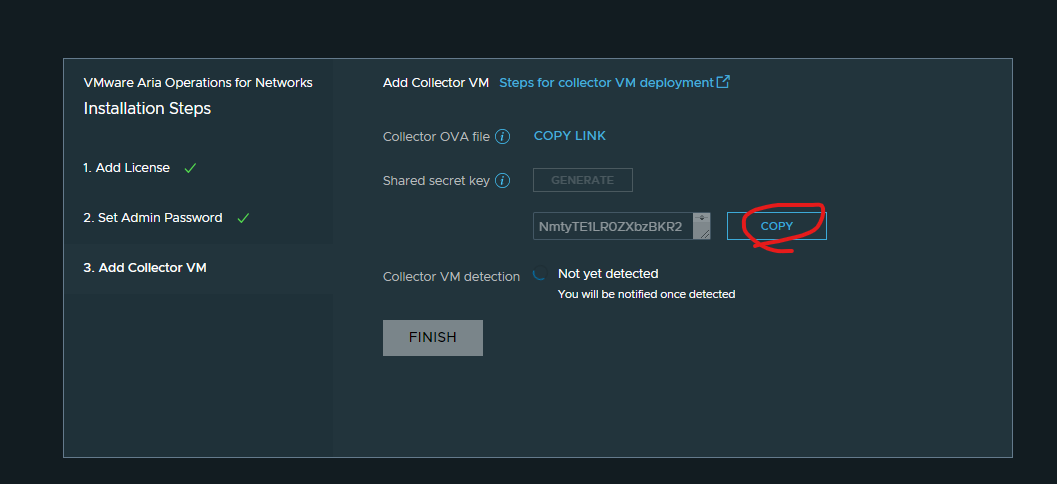
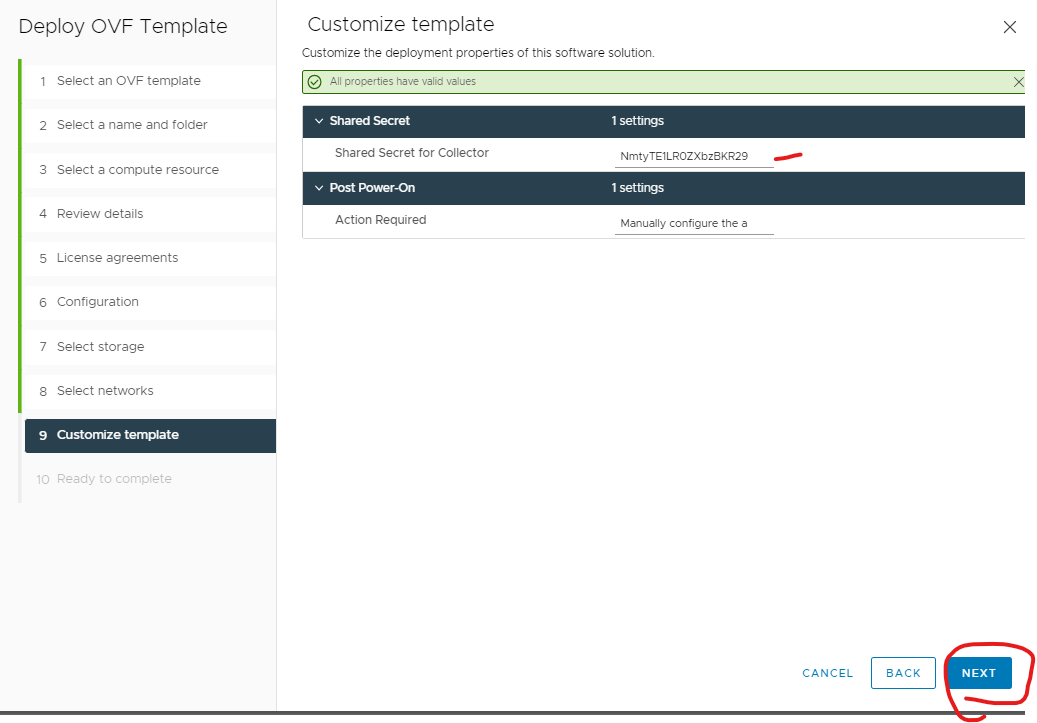
Paste your secret key in the shared Secret for collector and click next
Click finish
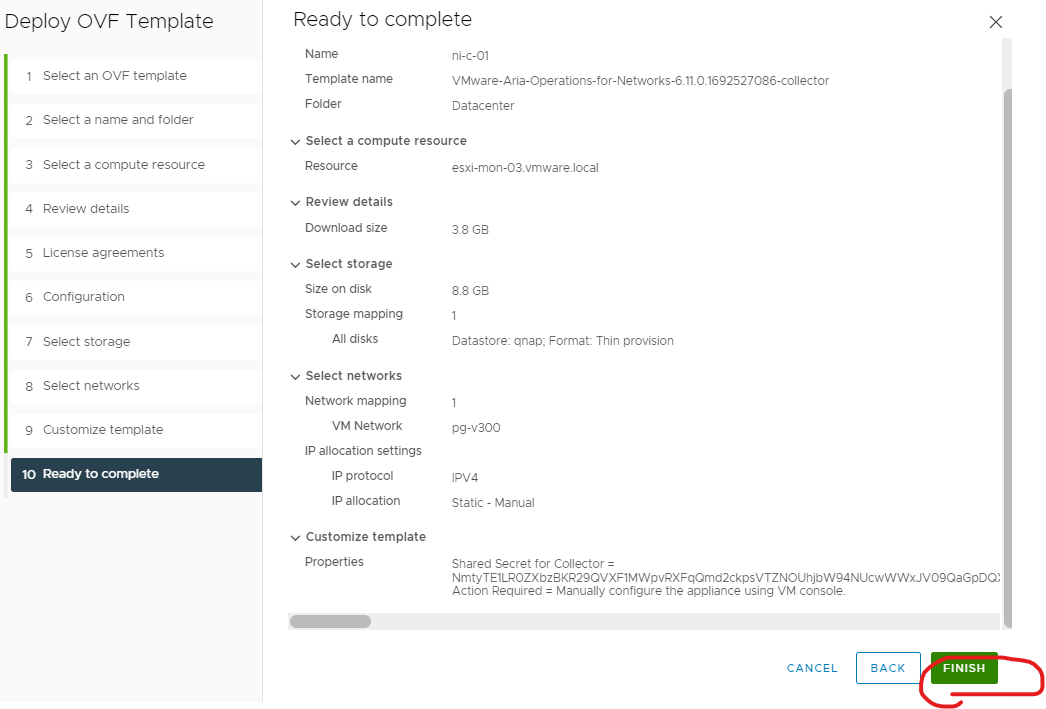
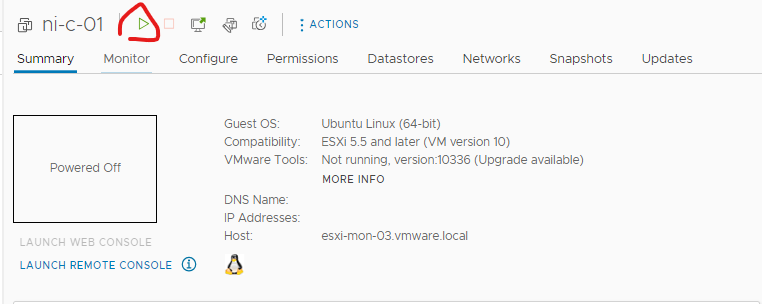
Power on your collector
Login as consoleuser and console as password
Type setup
Push anykey to continue
Type in the password for the support account and consoleuser account
Enter ipv4.
Enter the ip address of the collector 1.
Enter subnet mask.
Enter gateway.
Enter DNS
Enter domain.
Y to save settings
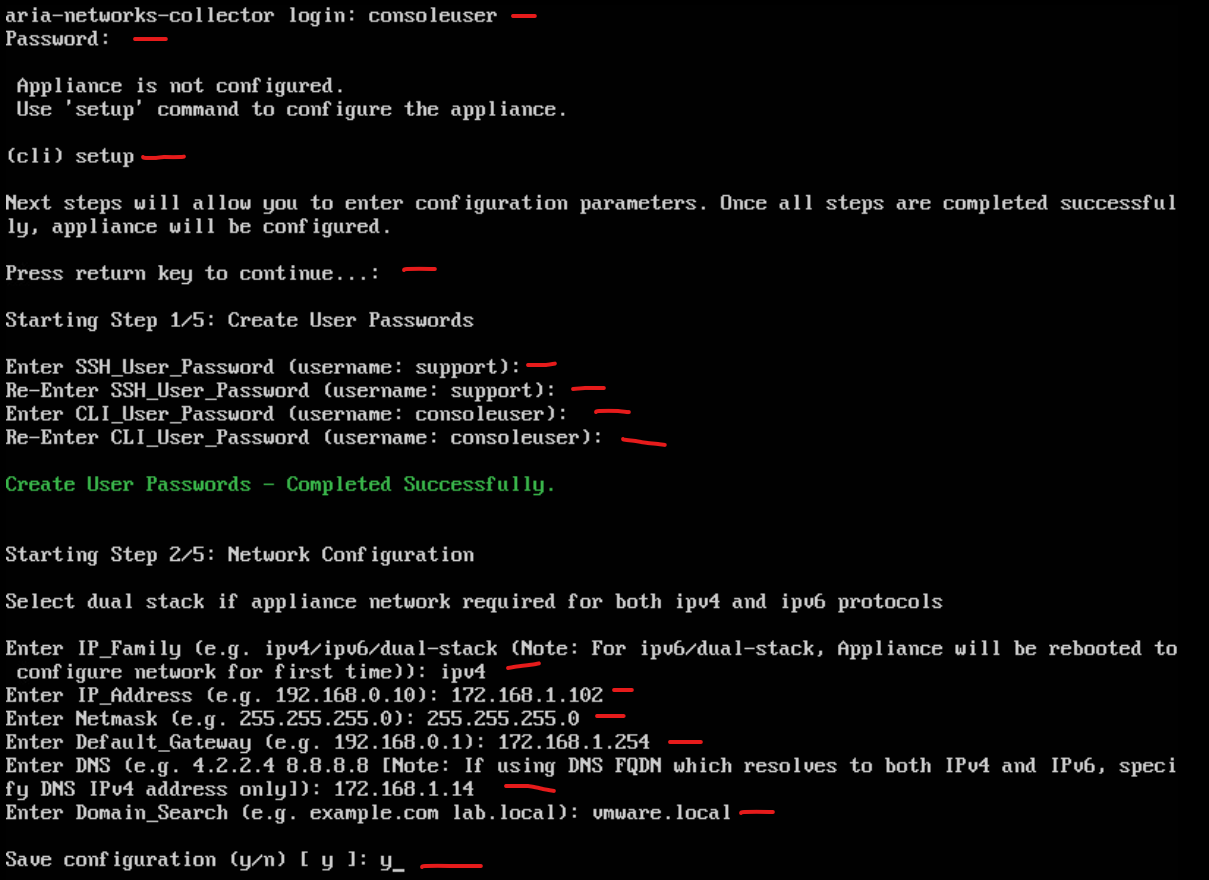
Enter Y and enter.
Enter NTP server and enter.
Enter web proxy information if available. Otherwise N and enter
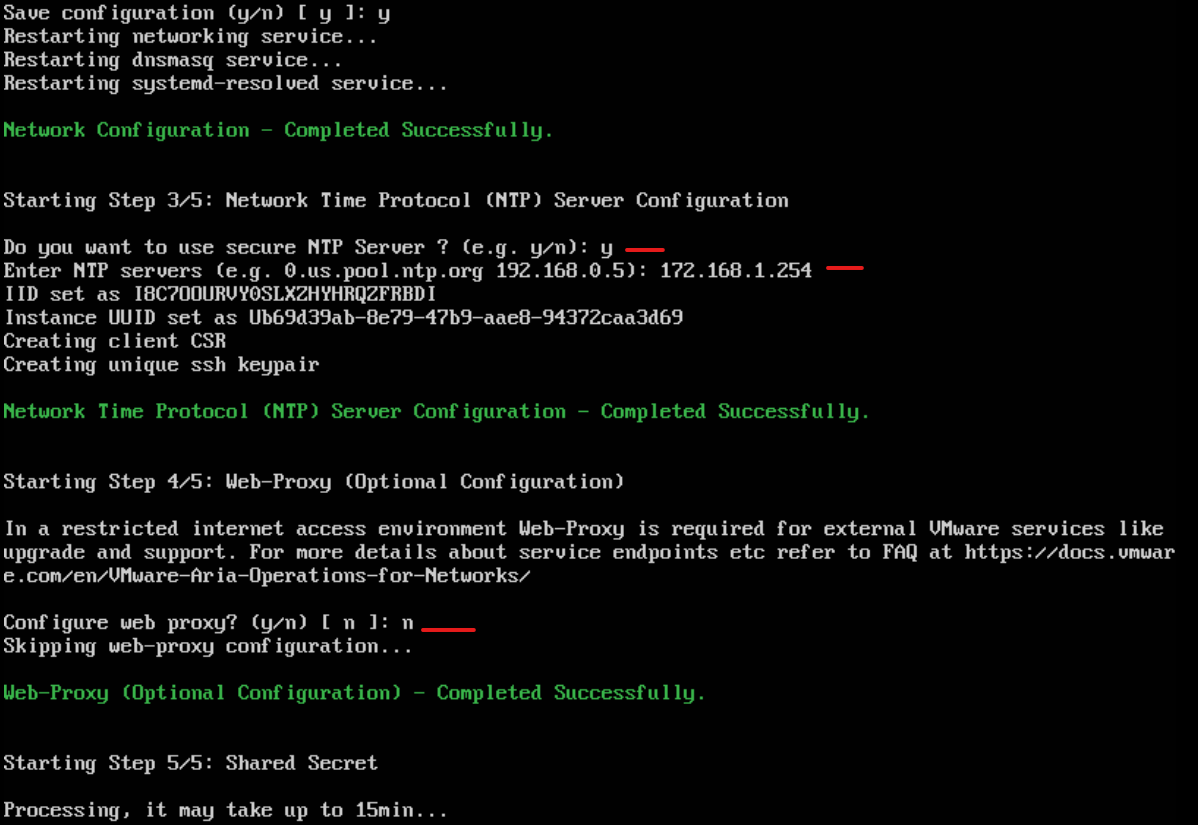
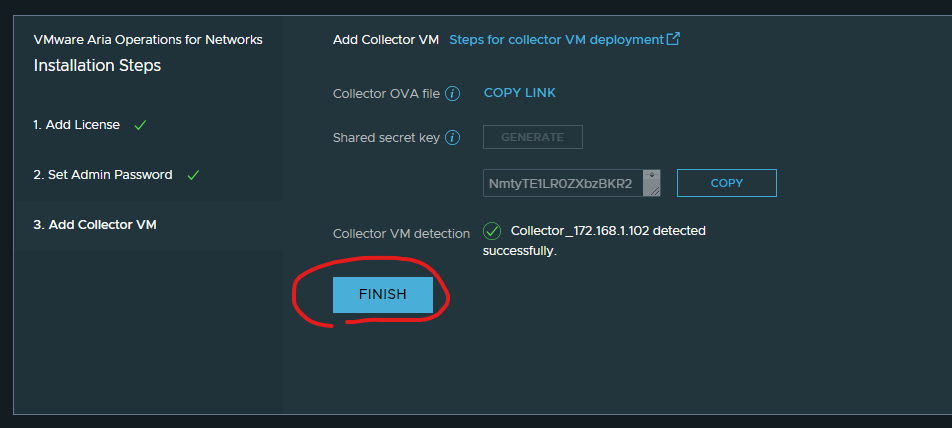
The platform UI should update may take a few minutes
Click finish
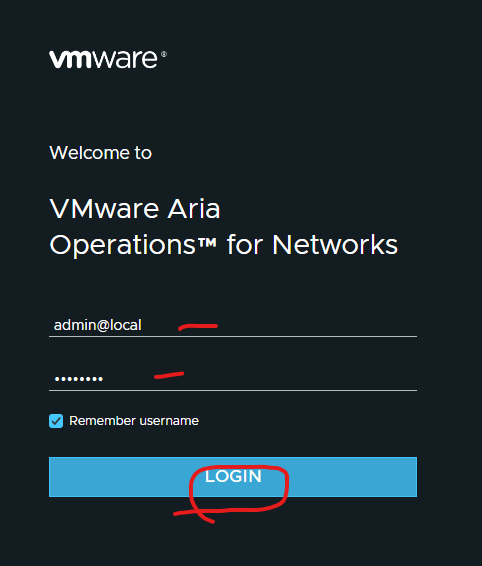
Login as admin@local
Join CEP and click submit

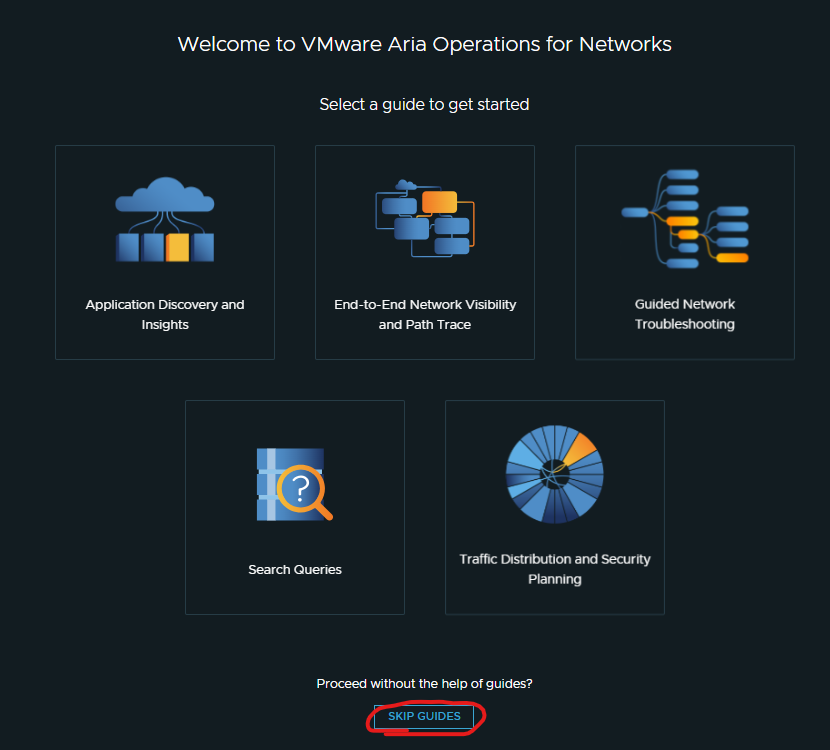
Click skip guides
