The vSAN file service creates file shares on a vSAN datastore that clients can connect too and it supports SMB and NFS. This is a walk-through I did in my lab.
First download VMware vSAN files services appliances

Should be 6 files for 7u3f

Ensure you have created a dns entry for your vSAN file service (you can have multiples)

First create a port group, I am using an existing distributed switch
Right click your distributed switch > click distributed port group > click new distributed port group

Name your port group and click next

Change VLAN type to VLAN and add a VLAN id and click next

Click finish

Now we will deploy the vSAN file service
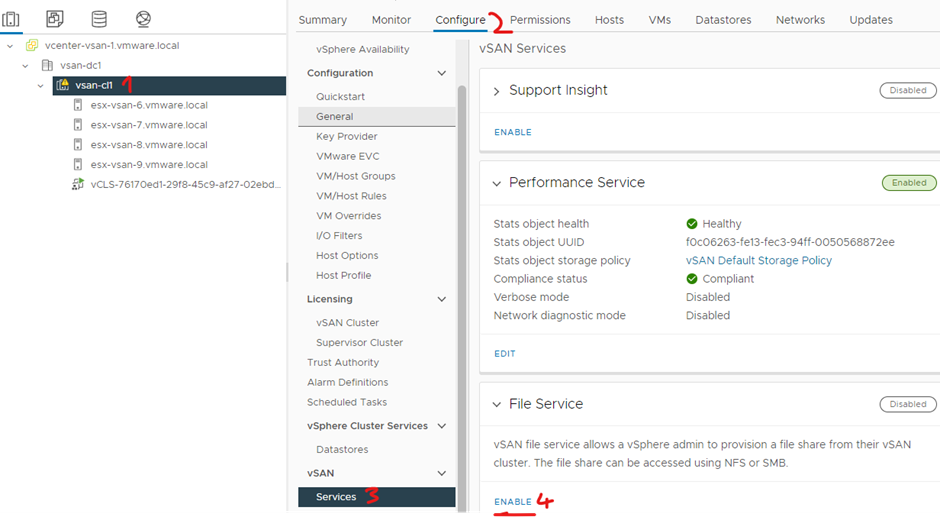
Click your cluster > click configure > under vSAN click services > under file service click enable
Click next

Click browse

Select your 6 files you downloaded before

Click next


Fill in the details of your environment and click next
File service domain – vsan.vmware.local
DNS servers – 172.168.1.14
DNS suffixes – vmware.local
Directory services click active directory
AD domain – vmware.local
AD username – administrator
Password


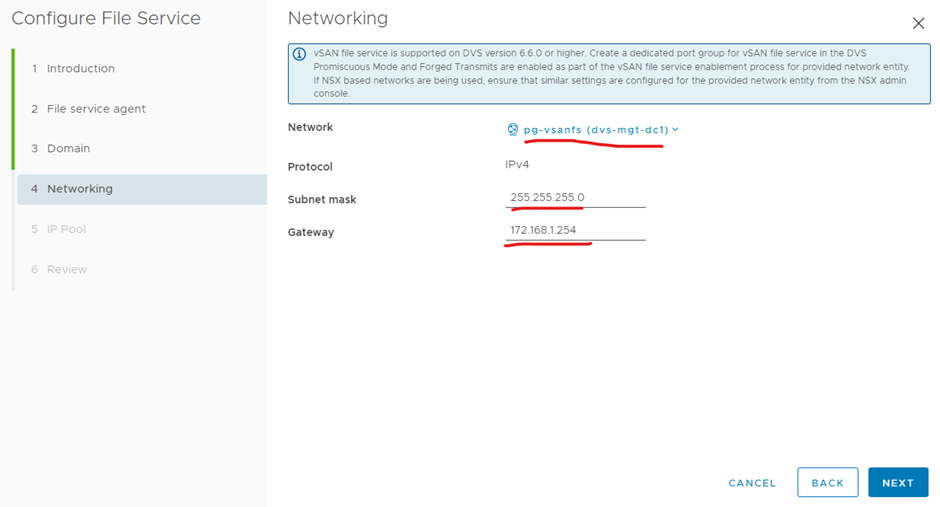
Network select your port group you created before and enter the subnet mask and gateway of that port group
Click next
Put in the details you added to your DNS server you can have more than one by clicking the + sign
172.168.1.103
vsanfs.vmware.local
click next

Click finish


Its created


Now we will create the shares
Click your cluster > click configure > under vSAN click file shares > click add

Type in the name of your share
Protocol – SMB
Click next

Click finish

Its created
Click add again

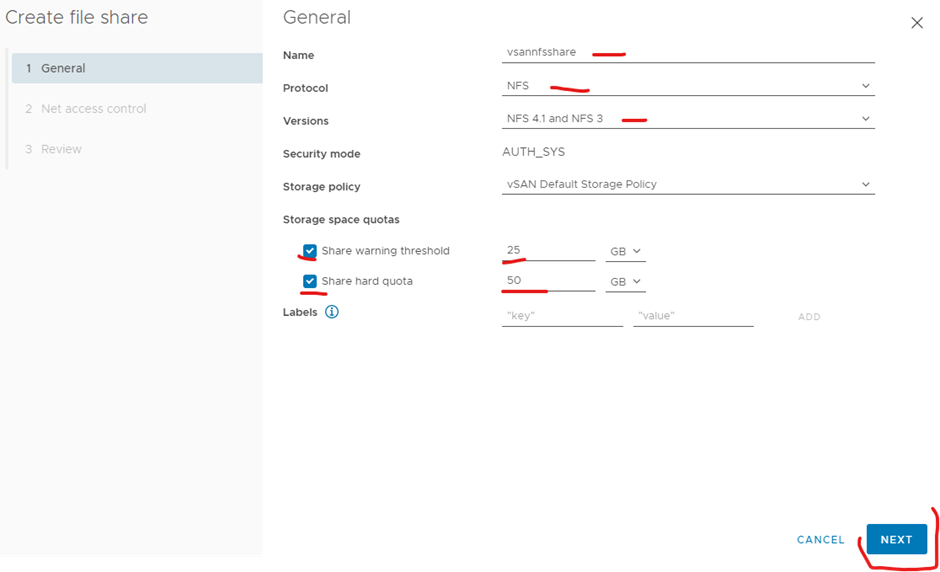
This one will be a NFS share, put in a name
Protocol – NFS
Version – NFS 4.1 and NFS3
Add some space quotas
Click next
Allow access from any ip or choose your own preference
Click next

Click finish

Its Created

Now let try to connect to the SMB share first then the NFS share
Right click the start button on windows > click run
type
\\fqdnfromdns or \\ipaddress

or

Type in the credentials you setup when you deployed the vSAN file service


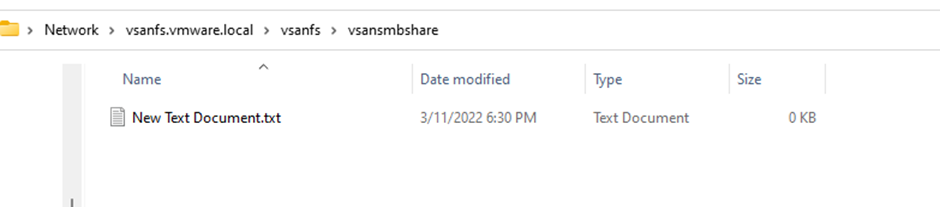
I created a file on it as a test
Now you will need your path for your NFS share
Click your cluster > click configure > Under vSAN click file shares > select your NFS share and click copy path > then click NFS 4.1

Copy the path (you will need the end of it for your mount highlighted in red)

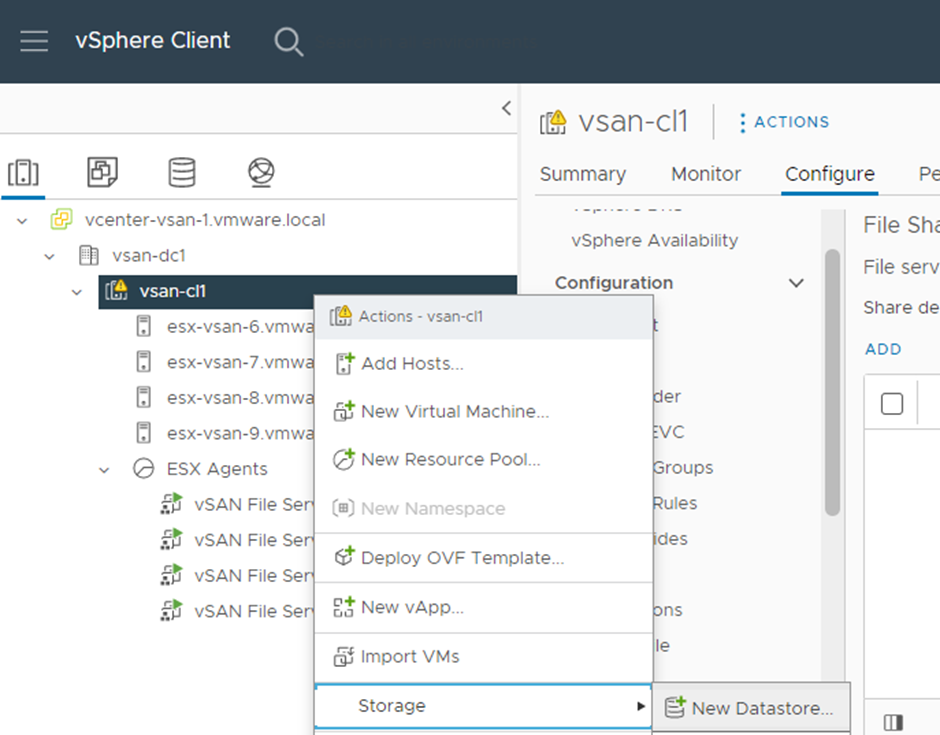
Right click your cluster > click storage > click new datastore
Select NFS 4.1 and click next

Type in the name of the share, your preference
Put in your mount in folder
Put in your ip address or fqdn in server
Click next

I won’t use Kerberos authentication, click next

Select the ESXi hosts you want NFS share on and click next
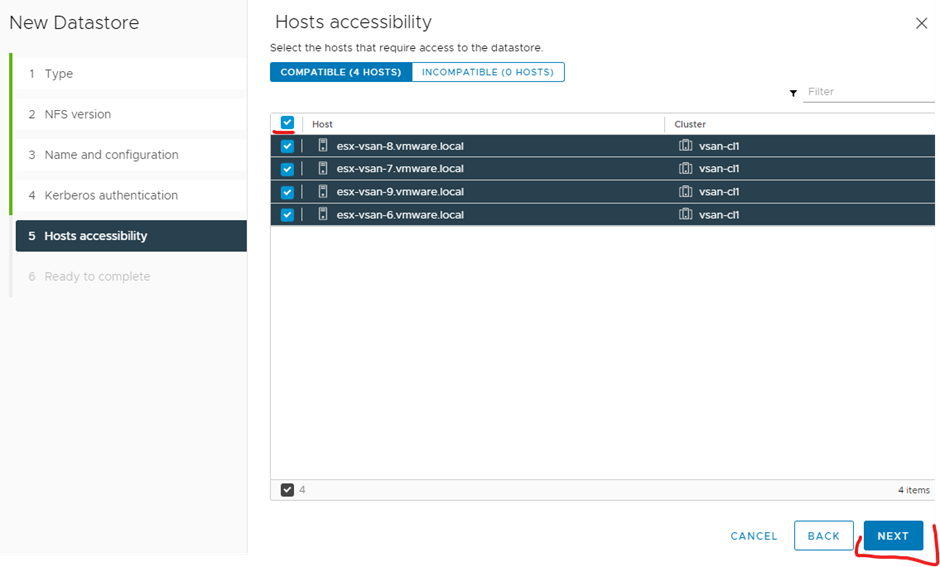
Click finish

Ok it is now created
