You can integrate NSX-T with VMware Identity Manager (vIDM), which provides identity management. The vIDM deployment can be either a standalone vIDM host or a vIDM cluster.
Get the fingerprint of vIDM
vIDM servers have openssl installed, so ssh to one of them and run the below
openssl s_client -connect vidm3.vmware.local:443 >> /tmp/vidm3.vmware.local.crt
openssl x509 -in vidm3.vmware.local.crt -noout -sha256 -fingerprint

I have the fingerprint now, save this somewhere
SHA256 Fingerprint=E7:AF:5B:3C:8C:F6:62:EF:3B:12:42:32:31:ED:7B:2E:14:3F:10:CB:6D:03:BE:0A:6F:F1:0C:B8:12:E4:29:55
Login to vIDM

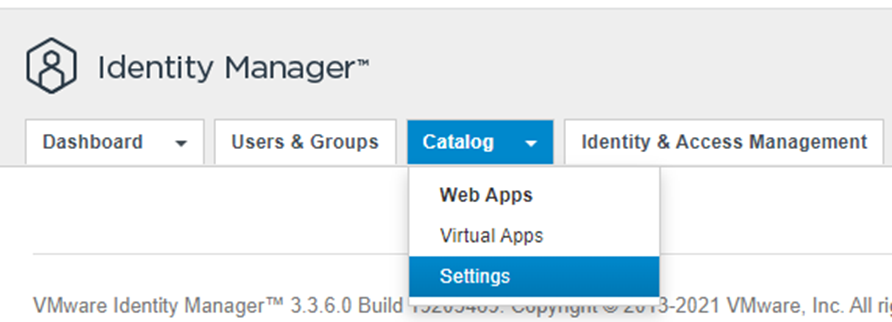
Click catalog > click settings
Click remote app access on the left > Click create client

Change access type to service client token
In the client id put in a name
Click the down arrow next to advanced
Click Generate shared secret (save this somewhere) then Click add

My shared secret
Cgi9sy9CnTbOc2pdp4WrAuorNnbvtZ4CiKIWg5vqzCtGFa3s

Login to nsx-t manager > click system > click user management under settings > click authentication providers > click VMware identity manager > click edit

Click enabled for VMware identity manager integration
Put in the VIP or the fingerprint of the vIDM server you obtained from openssl into VMware identity manager appliance
Type in the oauth client id you used in vIDM
Paste in the oauth client secret from vIDM
Paste in the fingerprint you got from openssl into SSL thumbprint
Type in the nsx-t manager FQDN in NSX appliance
Click save


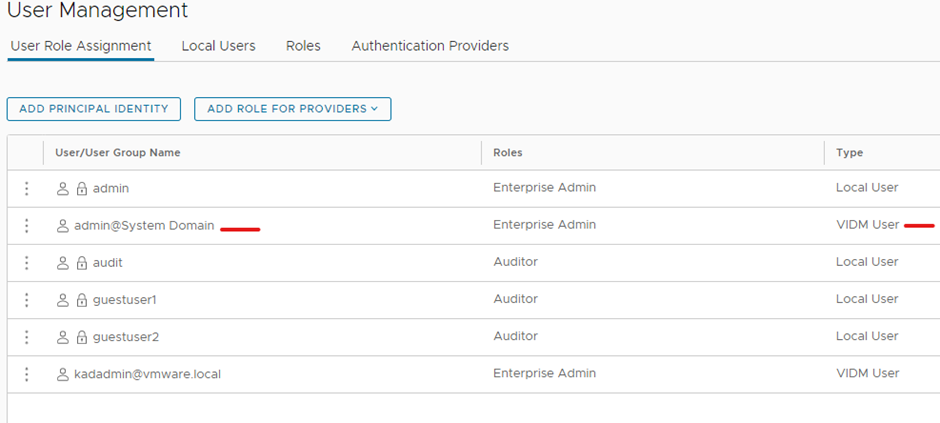
Now we need to add a account into NSX-T manager from vIDM
Login to nsx-t manager > click system > click user management under settings > click user role assignment > click the down arrow on add roles for providers > click vIDM

Type a user account that exist in vIDM > Select a role > click save

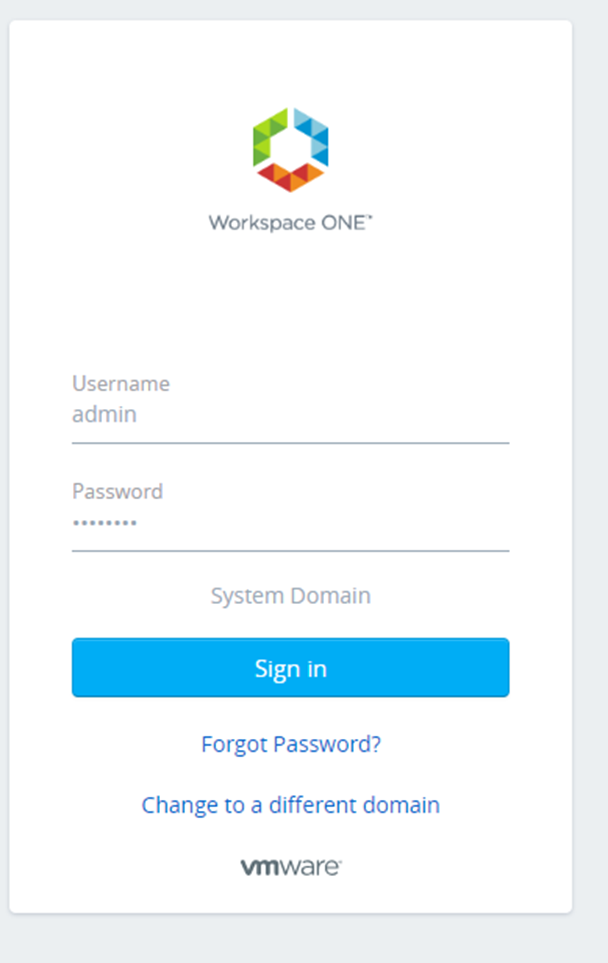
Logout & in again into nsx-t manager and you will notice a login for vIDM
Click sign in with vIDM
Select your domain and click next

Type in the username and password > click sign in
Done
