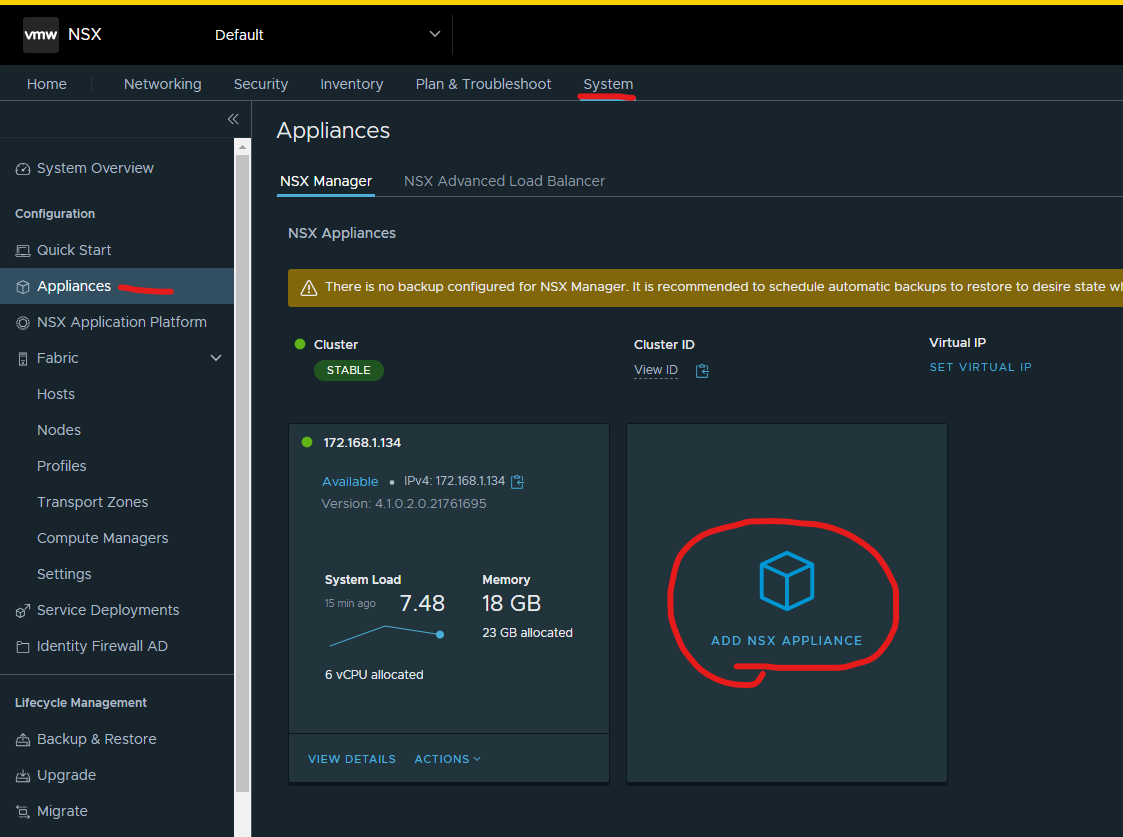
Login to NSX-T Manager > Click system > click appliances > click add nsx appliance.
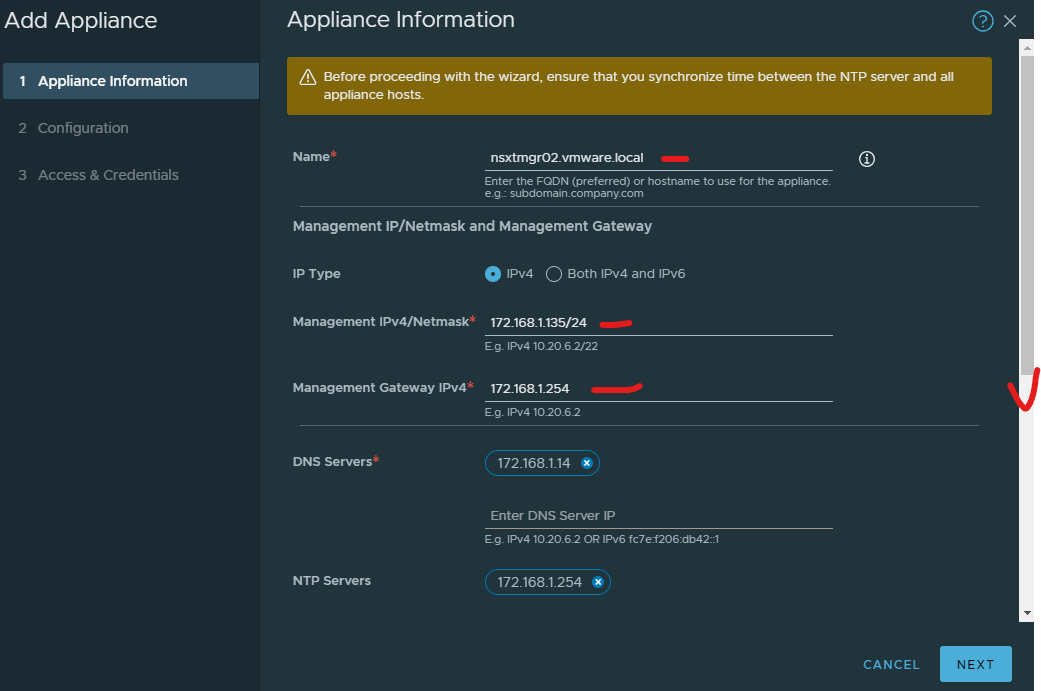
Enter FQDN of your second NSX-T manager – nsxtmgr02.vmware.local
Select IPv4
Type in the IP address of the new nsx-t manager with your subnet mask prefix
Type in the gateway of the new nsx-t manager
Add a DNS server
Add a NTP server
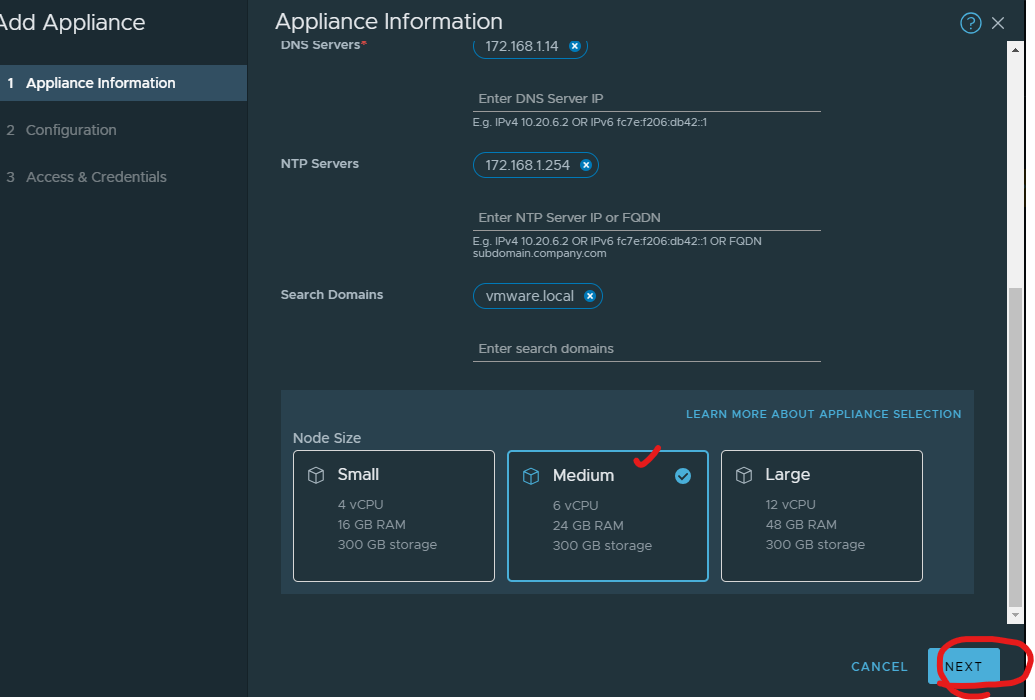
Add search domains – your domain name
Select Medium > click next
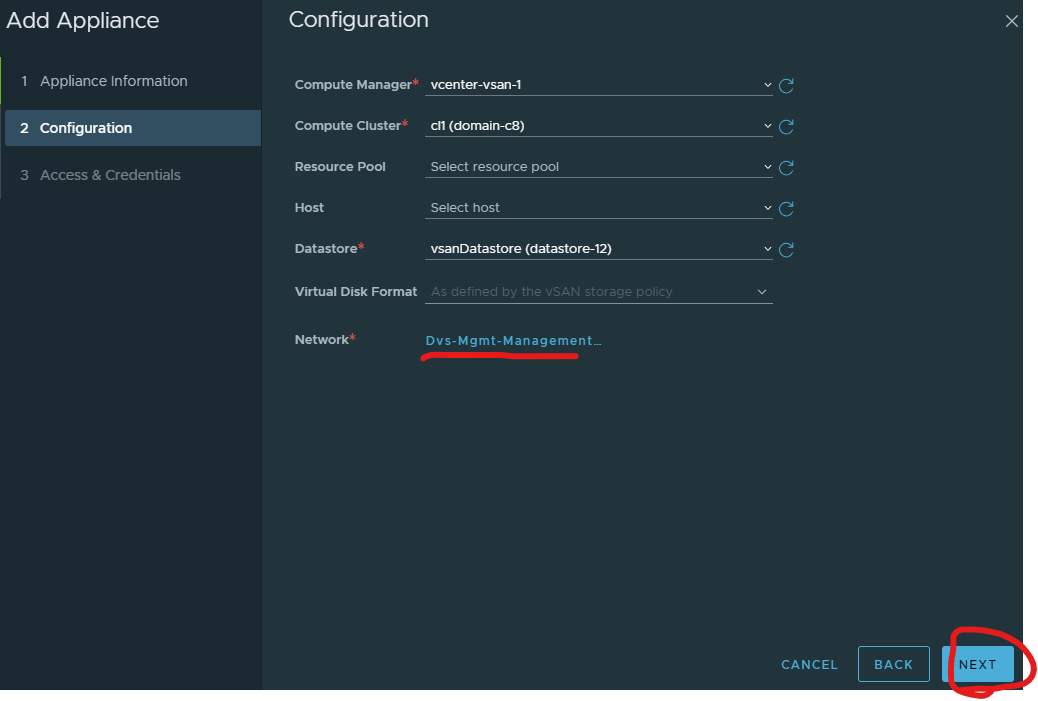
Select compute manager
Select a cluster
Select a datastore
Select a network – port group for management
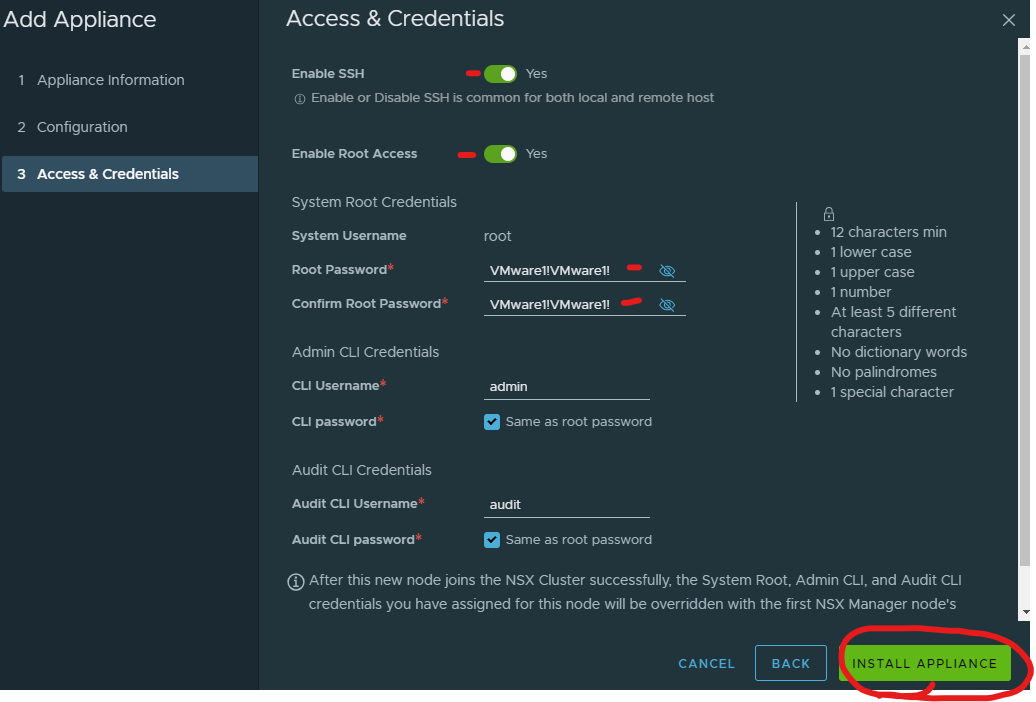
Enable SSH and root access
Type in a root password
Add admin as username for Admin CLI credentials
Click same as root password
Add audit as username for audit CLI credentials
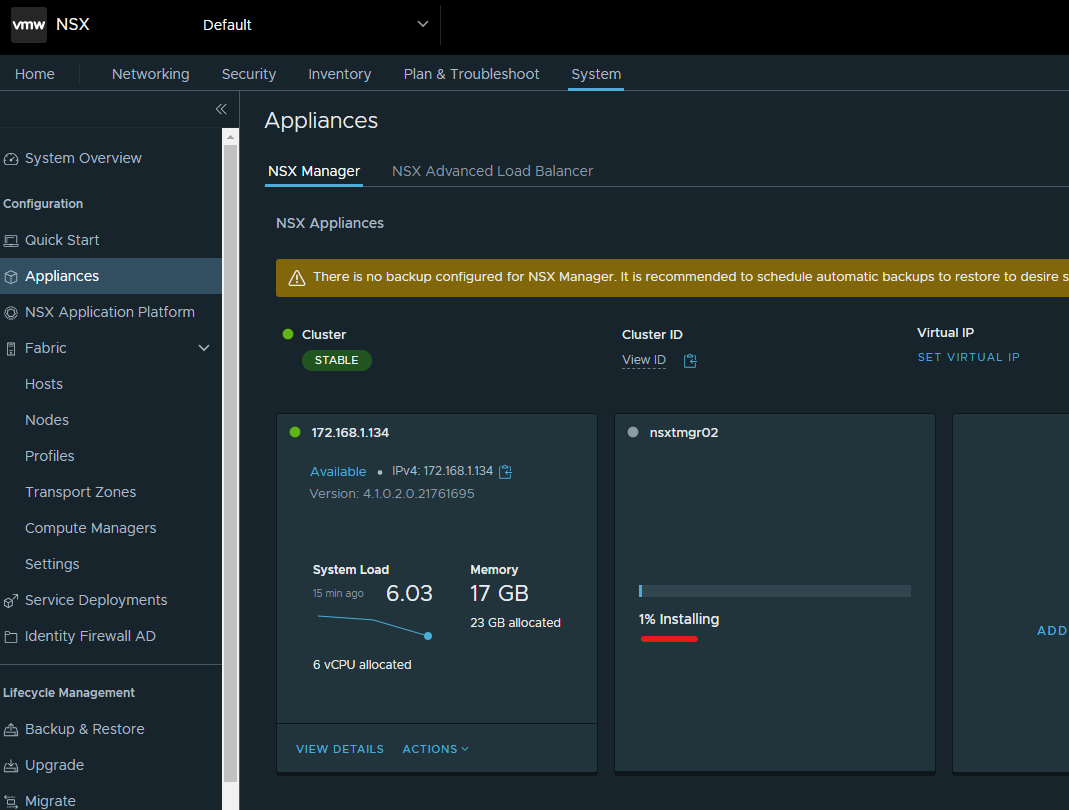
Click Install appliance
This will take a little while
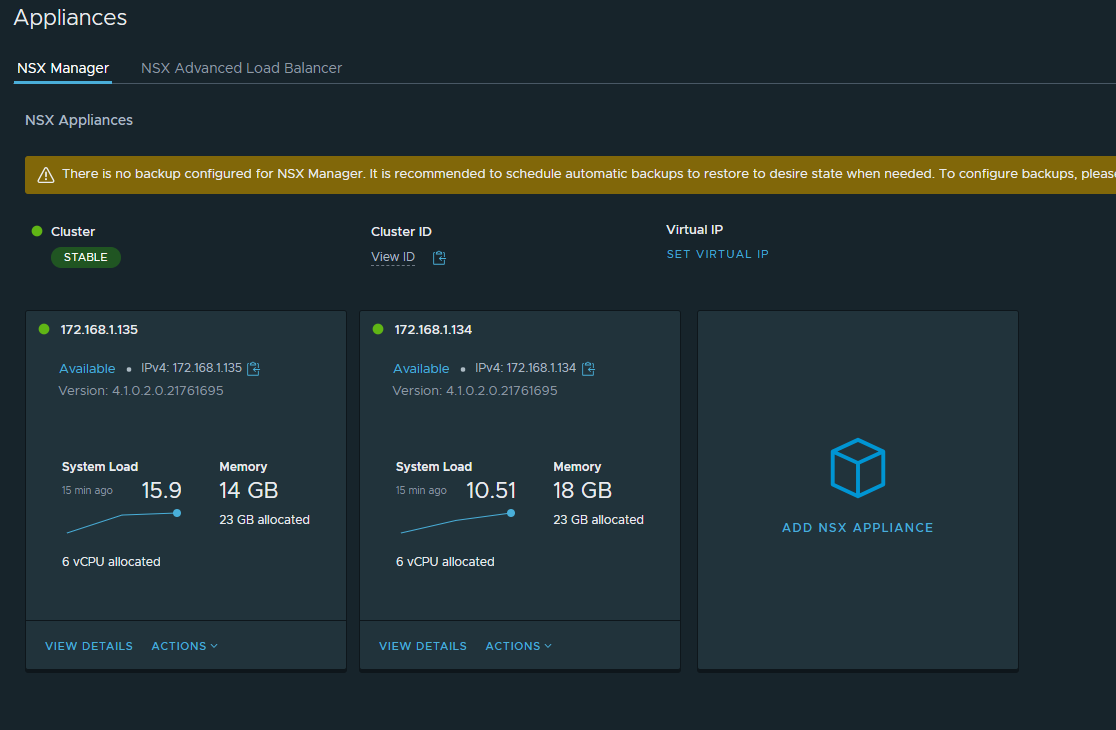
Done – I would add another NSX-T Manager if its for a production environment
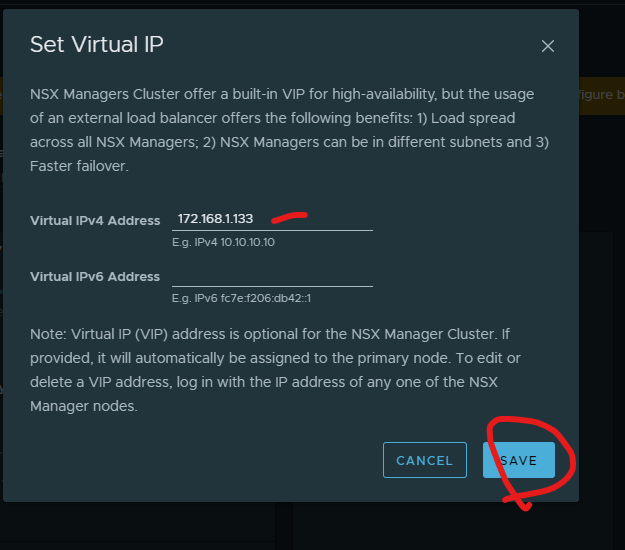
Click set virtual ip (configure a dns entry on your dns server for this virtual ip)
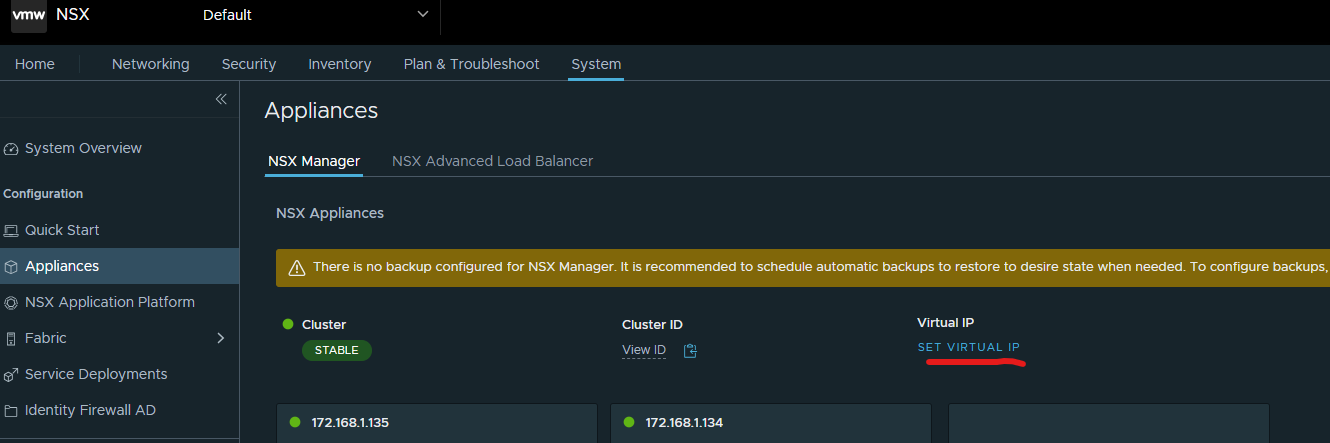
Type in the ip address for ipv4 > click save
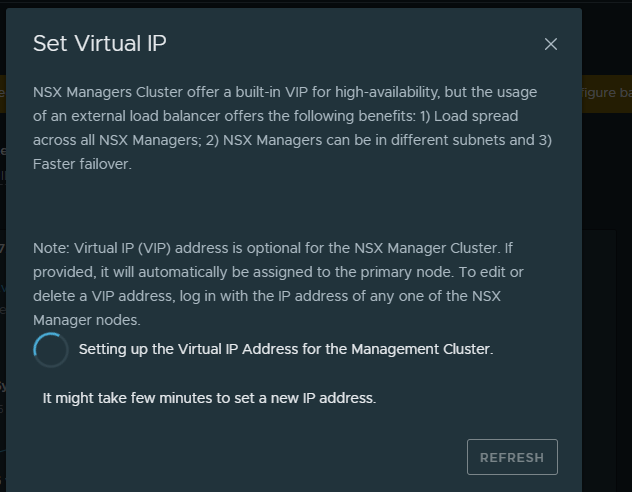
Now you should be able to access your virtual ip or your dns entry for your virtual ip in your browser
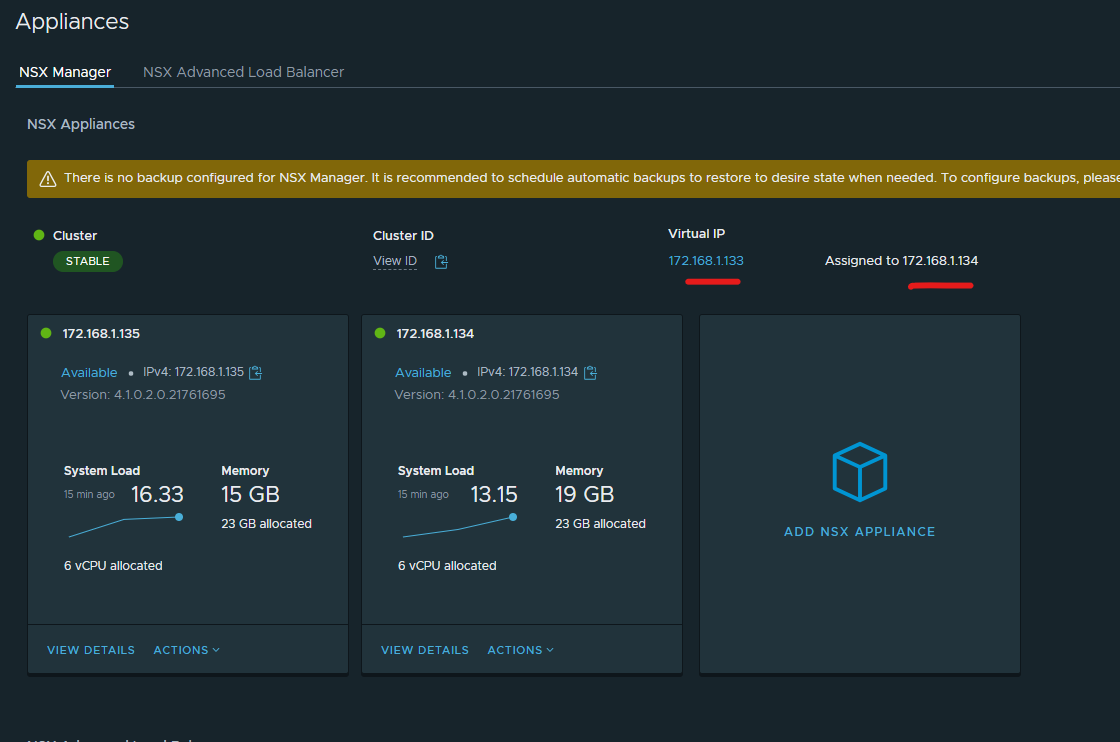
If you lose one nsx-t manager the other will take over the role