You can use existing vds or create a new one, MTU has to be 1600 or higher. It will be used for your overlay network. I will use two port groups and two uplinks and make them active / standby.
High-level
- Create a new vds – ‘nsx-t’ with two uplinks
- Create two port groups – ‘pg-nsxt-1’ & ‘pg-nsxt-2’
- Add hosts to new vds – using vmnic 2 and 3 / uplink1 and 2 (using spare vmnic’s)
- Change port groups to VLAN Trunking.
- Change port groups to use explicit failover and active and standby uplinks. (‘pg-nsxt-1’ – active – uplink 1 / standby – uplink 2) (‘pg-nsxt-2’ – active – uplink 2 / standby – uplink 1)
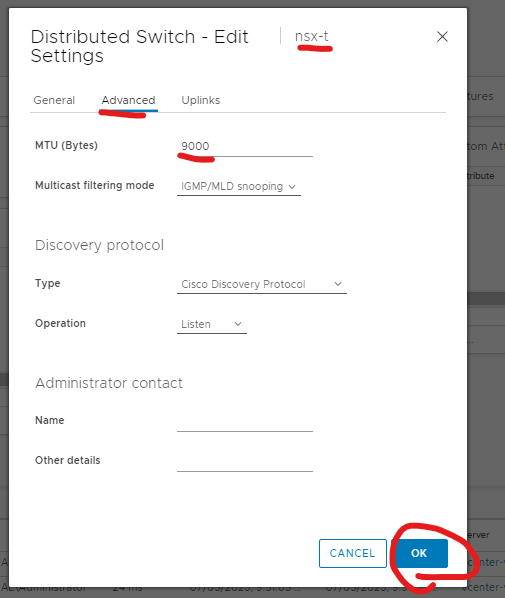
- Change MTU for vds to 9000 (1600 or higher)
Implementation
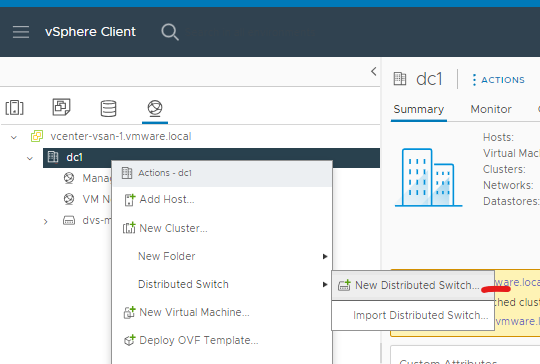
Login to vCenter > Click your networking icon > right click your cluster > select distributed switch > Click new distributed switch
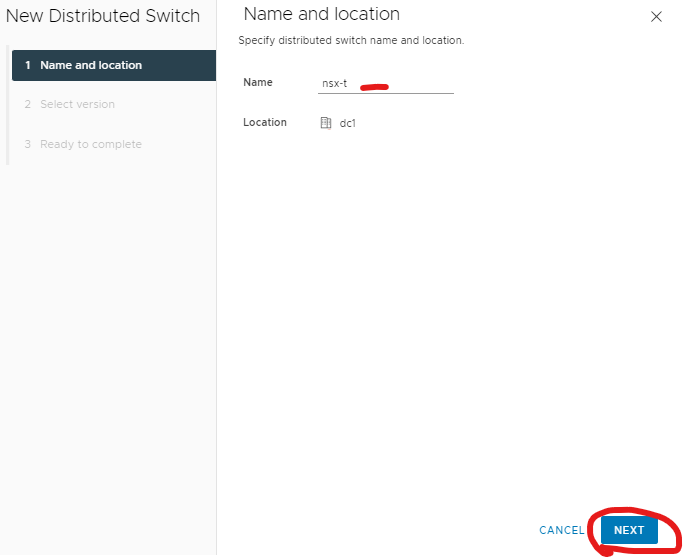
Give your new switch a name ‘nsx-t’> Click next
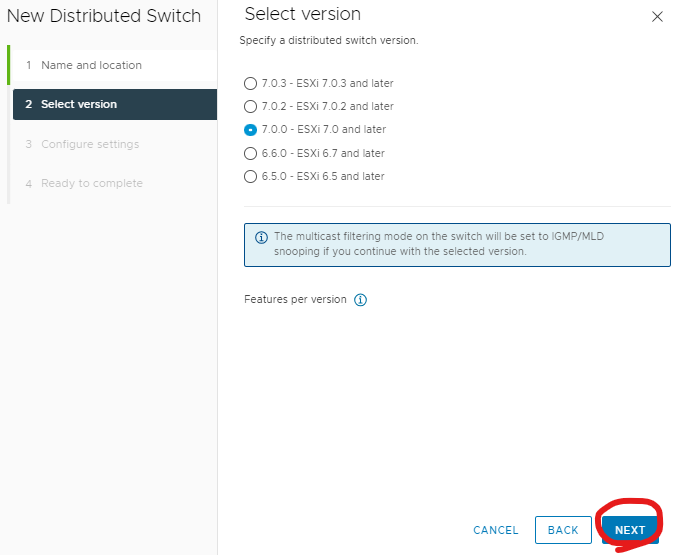
Click next
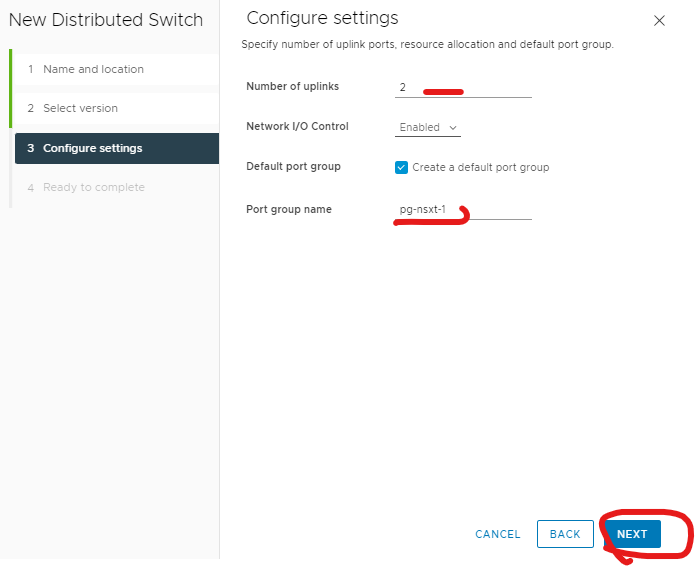
Number of uplinks 2, give the first port group a name ‘pg-nsxt-1’ > click next
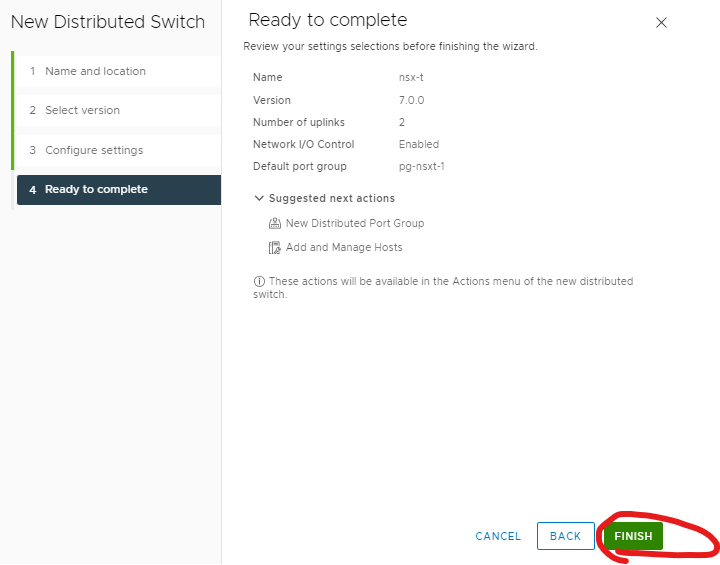
Click finish
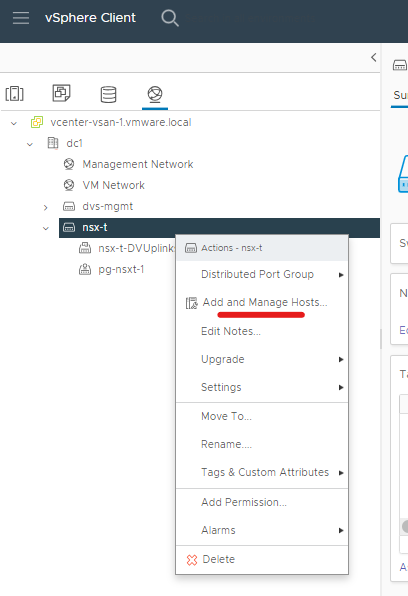
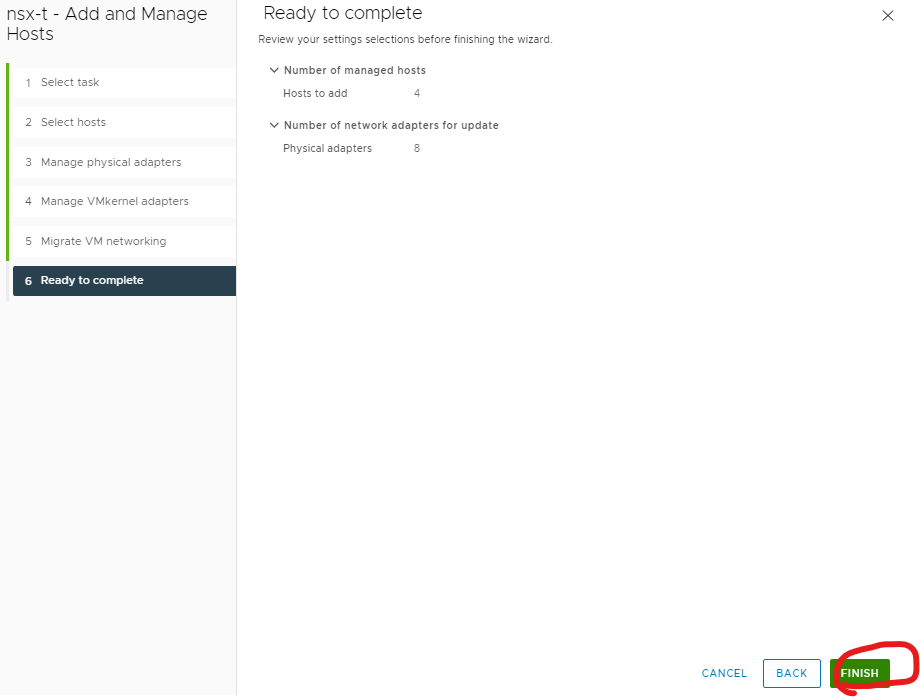
Right on the new vds > click add and manage hosts
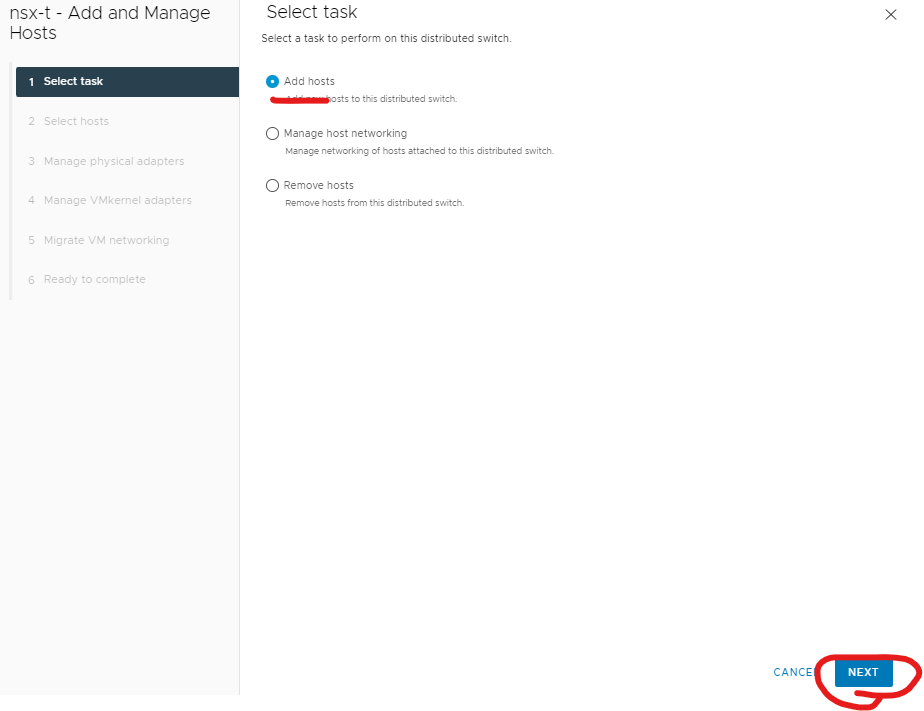
Click Add hosts
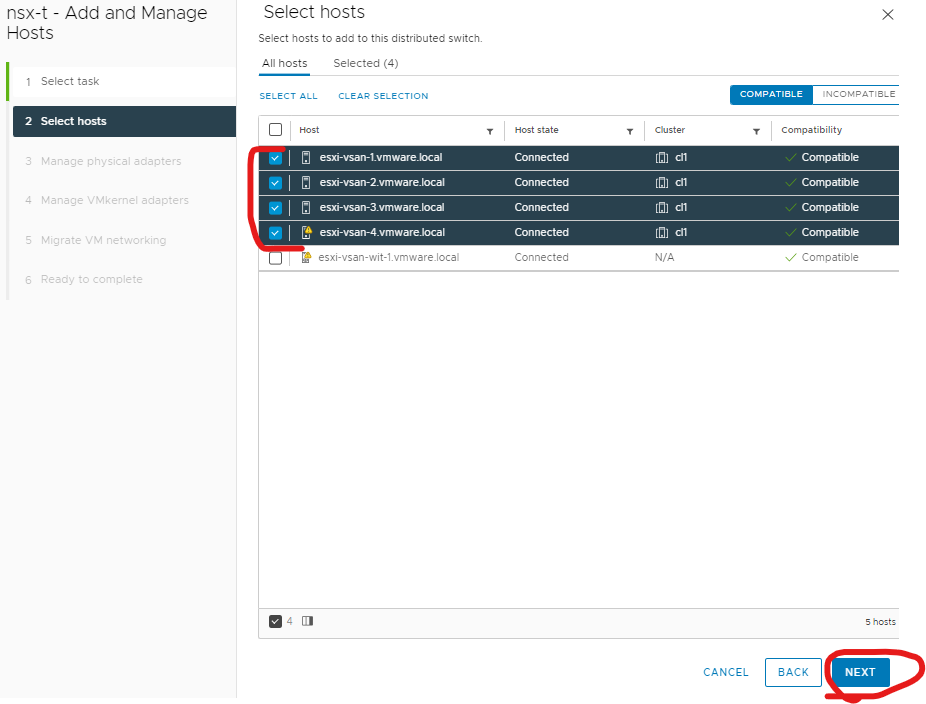
Select the hosts your want to add > click next
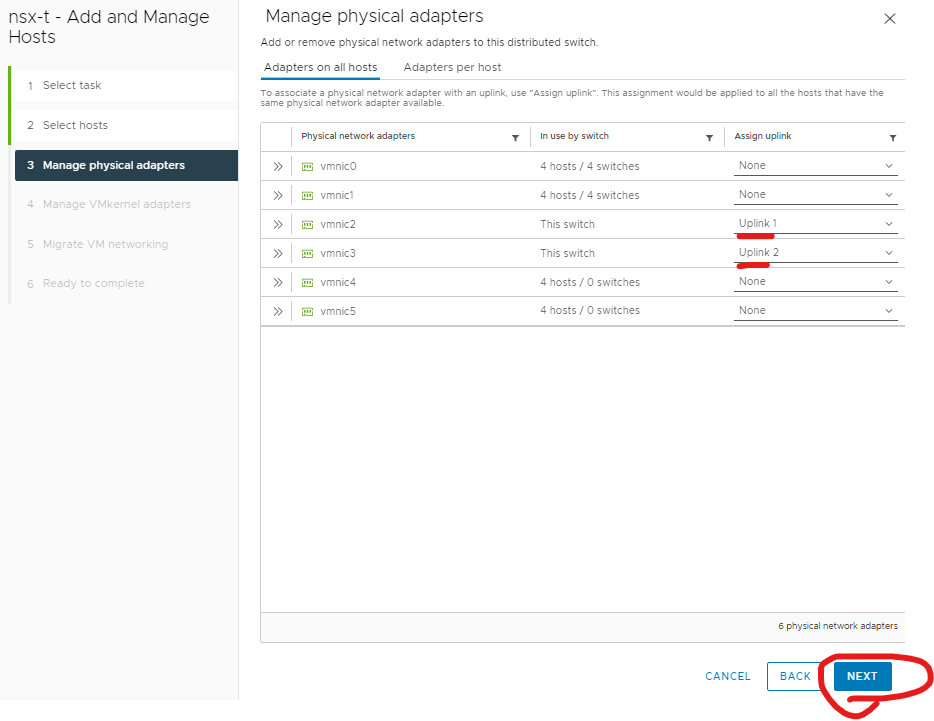
Select the uplinks not in use > vmnic 2 and 3 for uplink1 and 2 > click next
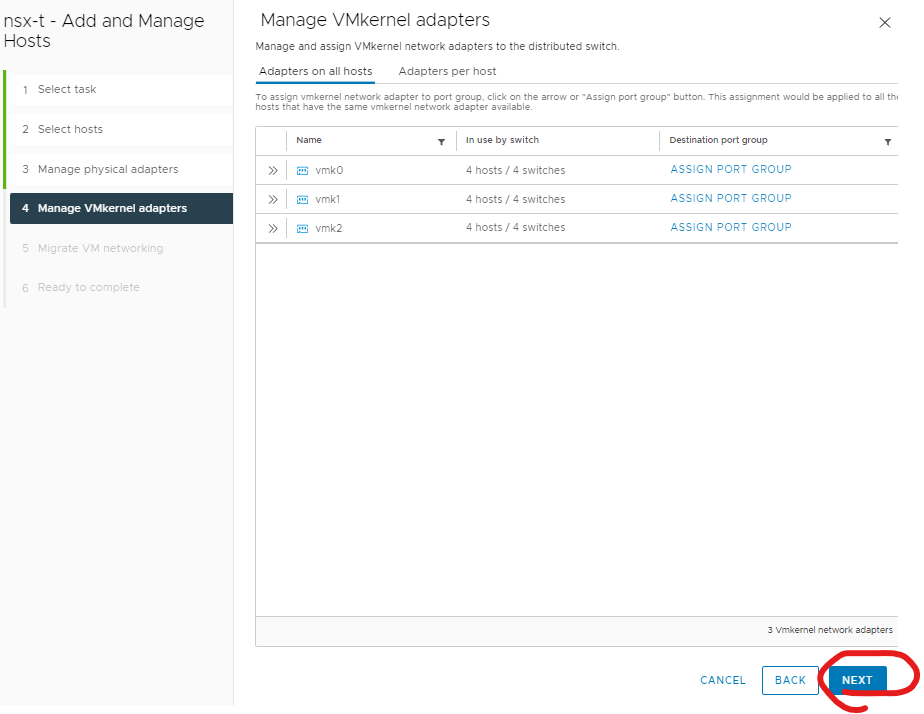
Click next
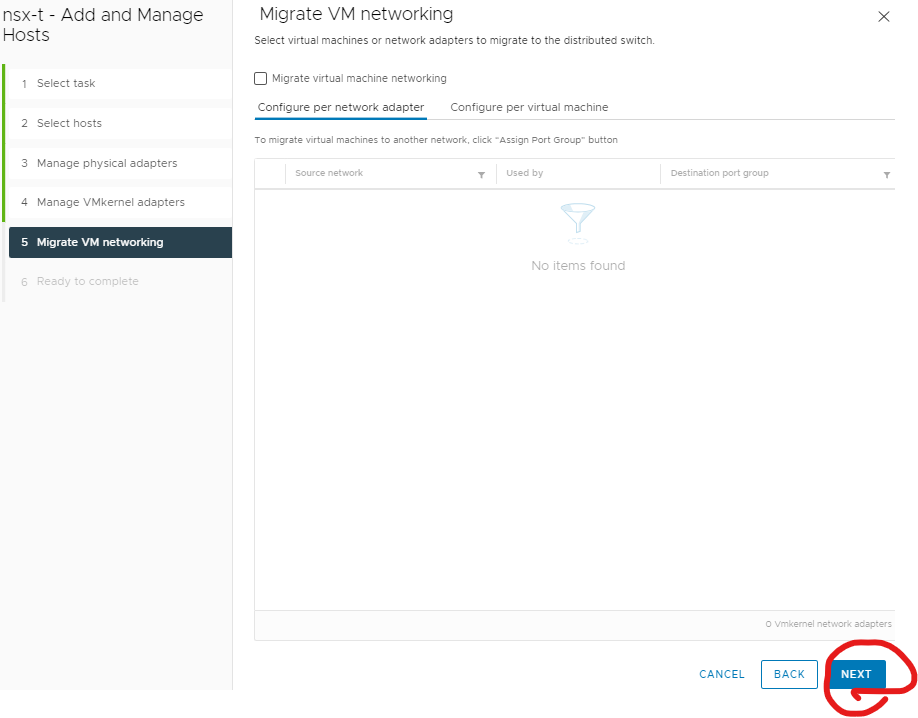
Click next
Click finish
Right click your vds > select distributed port group > click new distributed port group
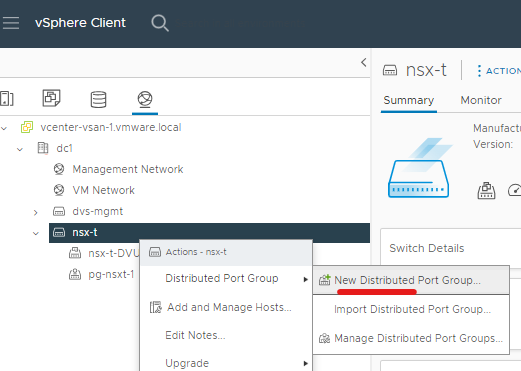
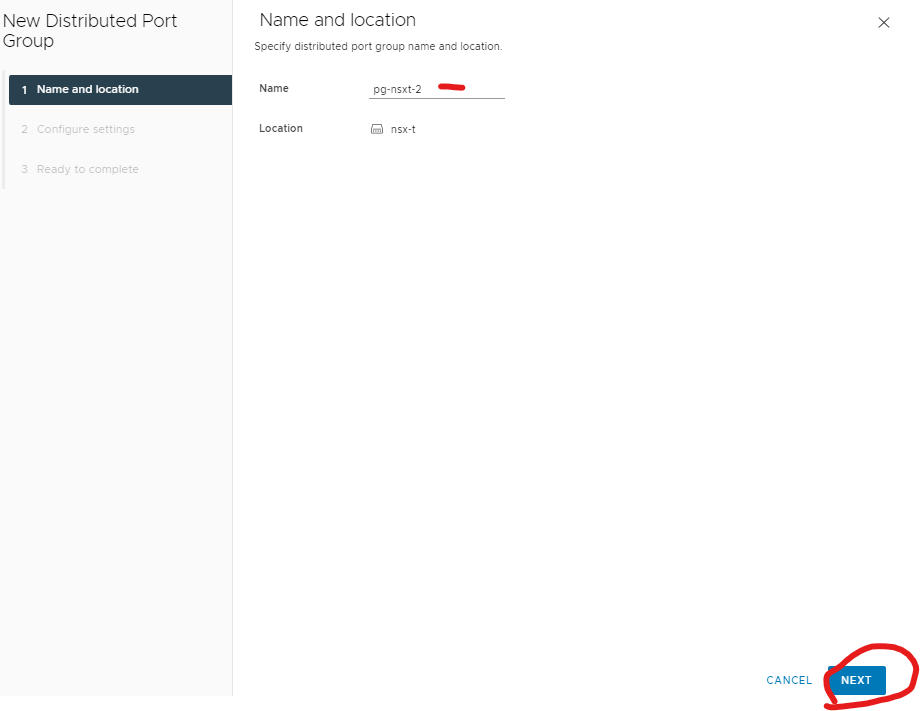
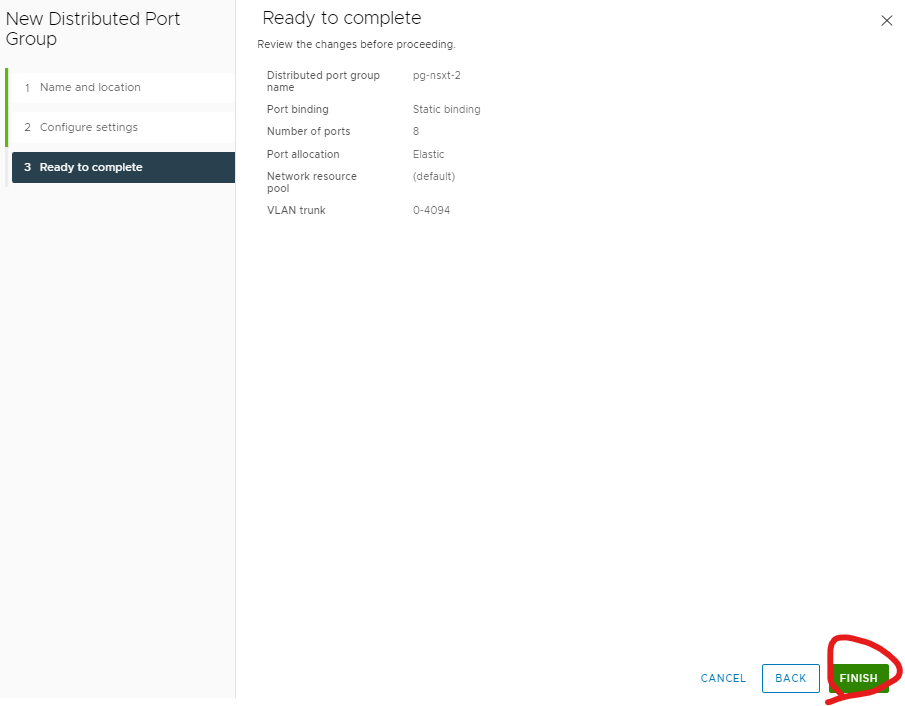
Give your second port group a name ‘pg-nsxt-2’ > click next
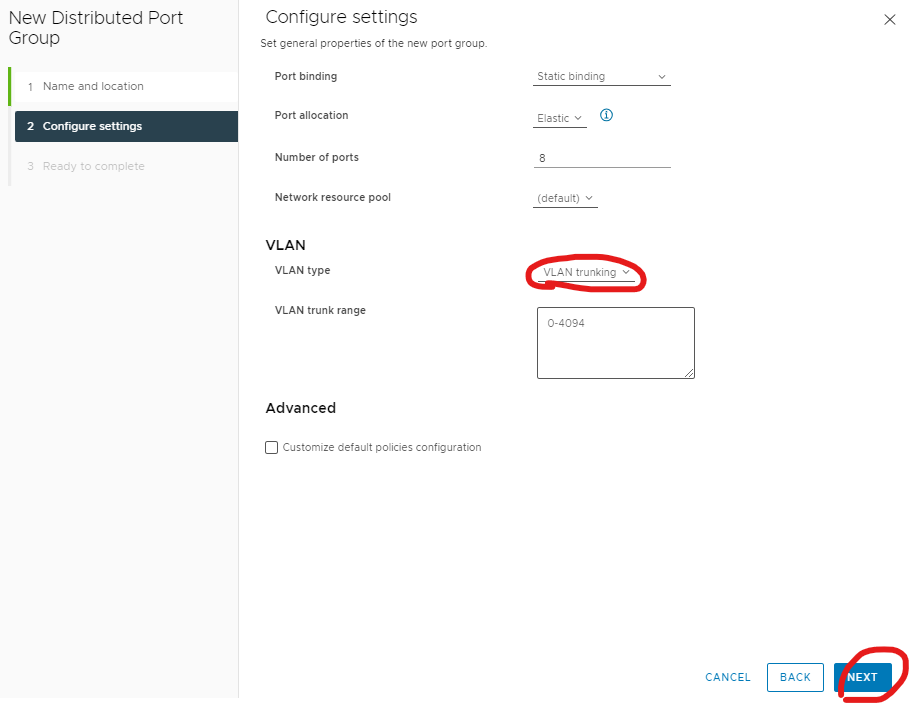
Change to VLAN Trunking > click next
Click finish
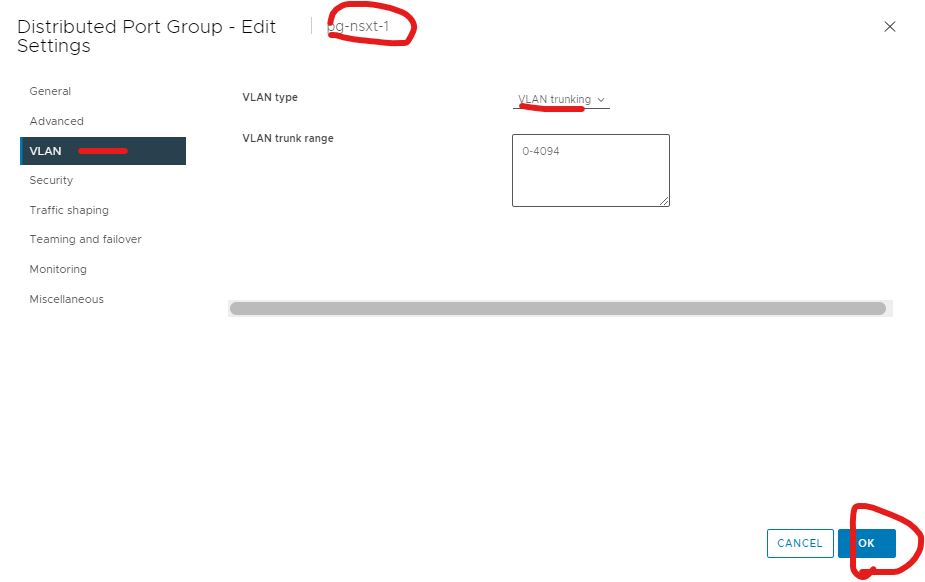
Change your first port group you create to VLAN trunking as well by editing the setting of ‘pg-nsxt-1’ > select the VLAN tab
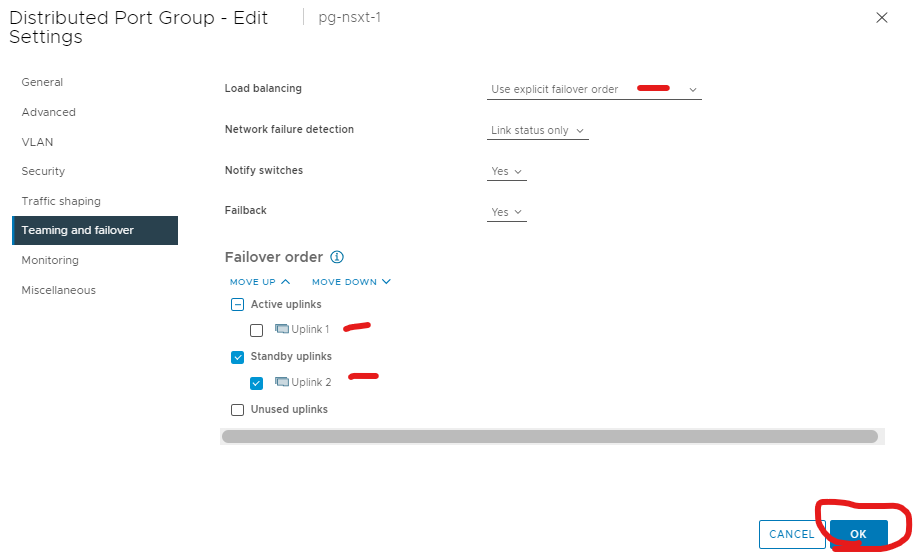
Click teaming and failover > change load balancing to use explicit failover order > change failover order to uplink 1 as active and standby to uplink 2 for ‘pg-nsxt-1’ > click ok
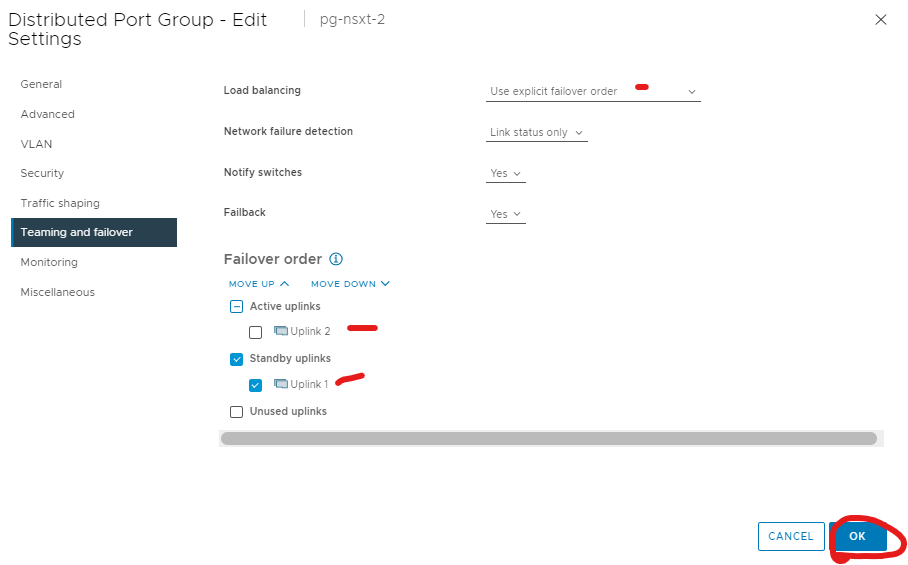
Change your second port group teaming and failover ‘pg-nsxt-2’ > load balancing use explicit failover order > failover order, active to uplink 2 and standby to uplink 1 > click ok
Edit settings on your vds for ‘nsx-t’ > click advanced tab > change MTU to 9000 (1600 or higer)