In this blog I will go through replacing my vrops certificates with lifecycle manager (vrslcm). My vrops servers have been imported into vrslcm to better manager Lifecyle operations. I have an nsx-t manager which is doing the load balancing in my environment but it doesn’t use ssl for vrops, so the certificate doesn’t need to be imported there.
Below is my server list and purpose.
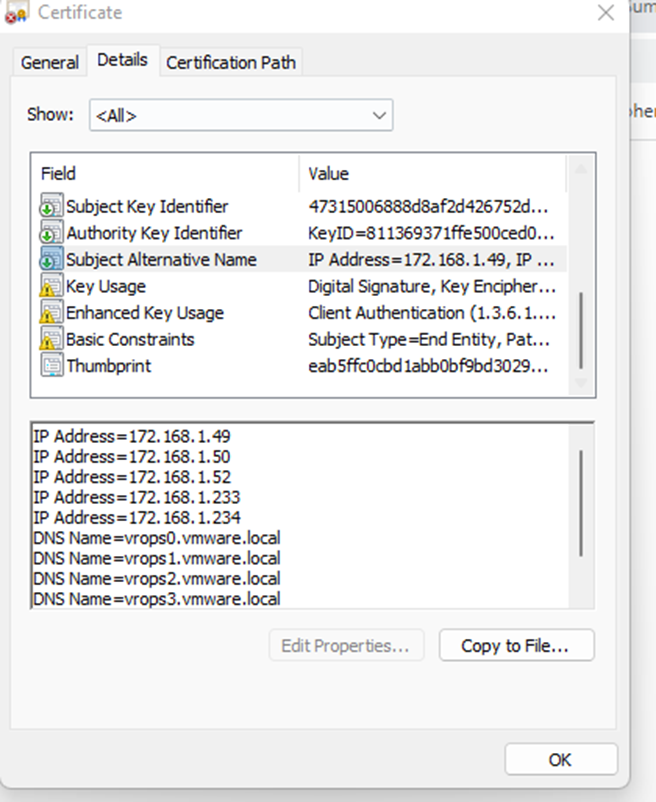
- vrops0.vmware.local – 172.168.1.49 – vip address used on my nsx-t load balancer
- vrops1.vmware.local – 172.168.1.50 – master node
- vrops2.vmware.local – 172.168.1.52 – master replica
- vrops3.vmware.local – 172.168.1.233 – data node
- vrops4.vmware.local – 172.168.1.234 – remote collector
This progress will require a down time of your vrops servers.
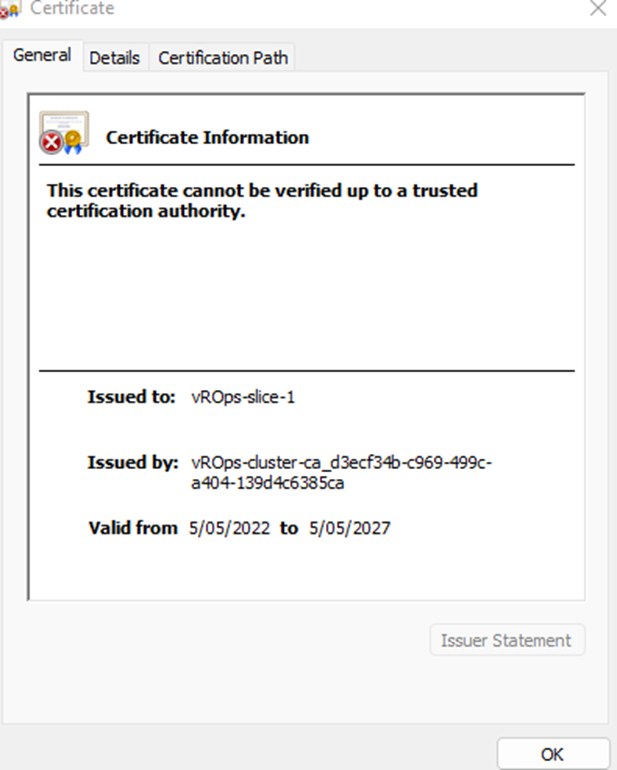
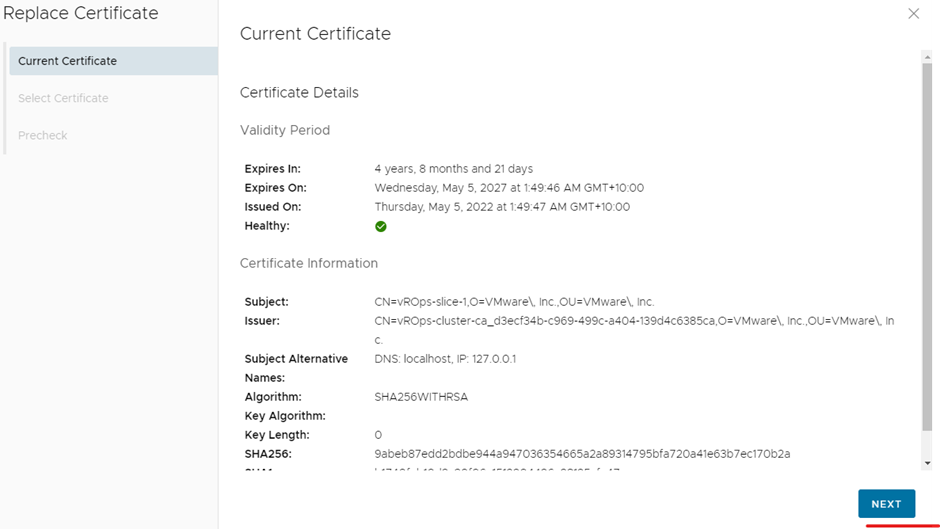
Below is my old certificate from my primary vrops server
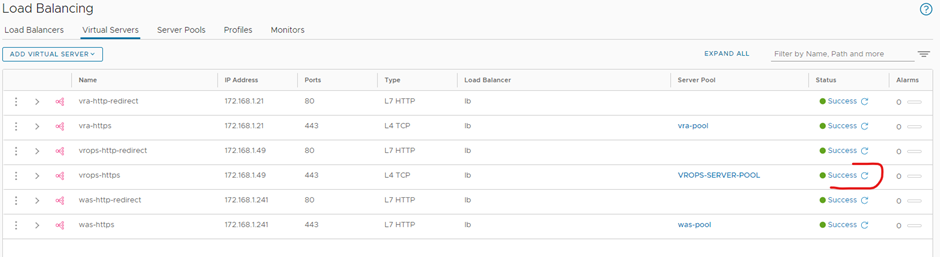
Below is my load balancer on nsx-t manager showing vrops is healthy.
Before getting started take an offline snapshot of all vrops nodes.
- Take your cluster offline first through the admin url on vrops ‘’https://172.168.1.50/admin
- Then do a guest shutdown in vcenter & once they are all off take a snapshot.
- Then power them on and bring your cluster online through vrops admin.
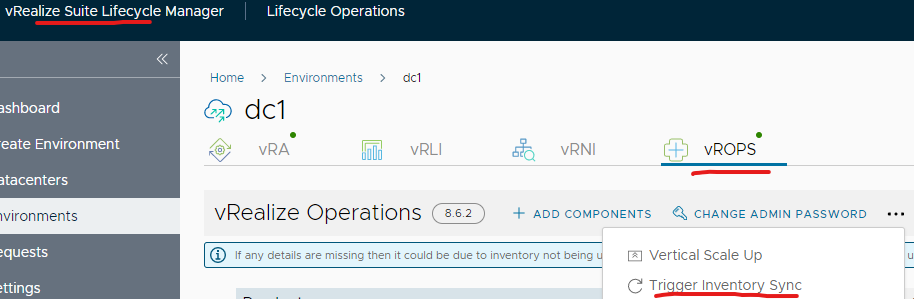
I would also trigger an inventory sync for vrops within vrslcm before getting started.
Also if possible close any pages you have open with vrops
Login to vrslcm
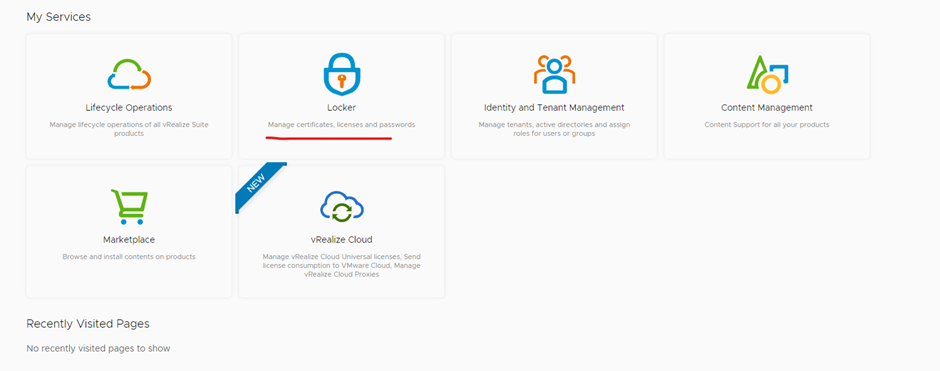
Click locker
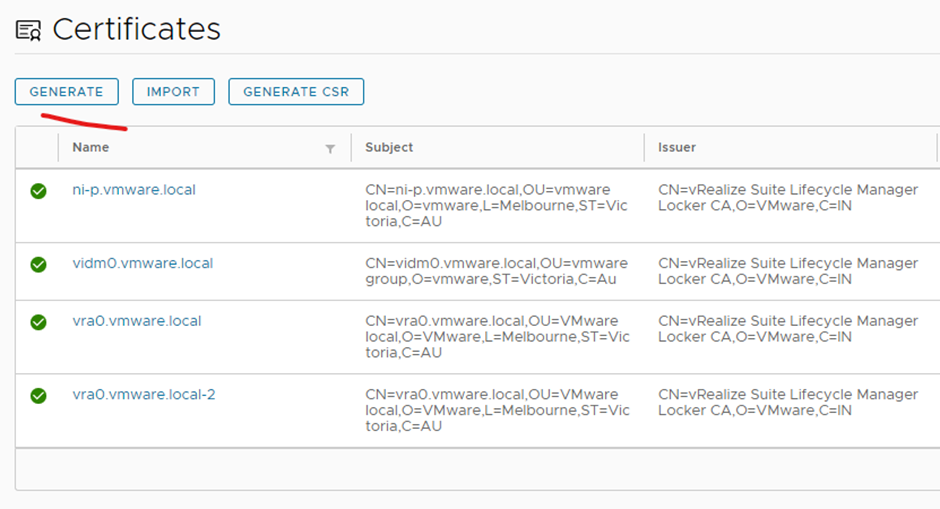
Click certificate and click generate
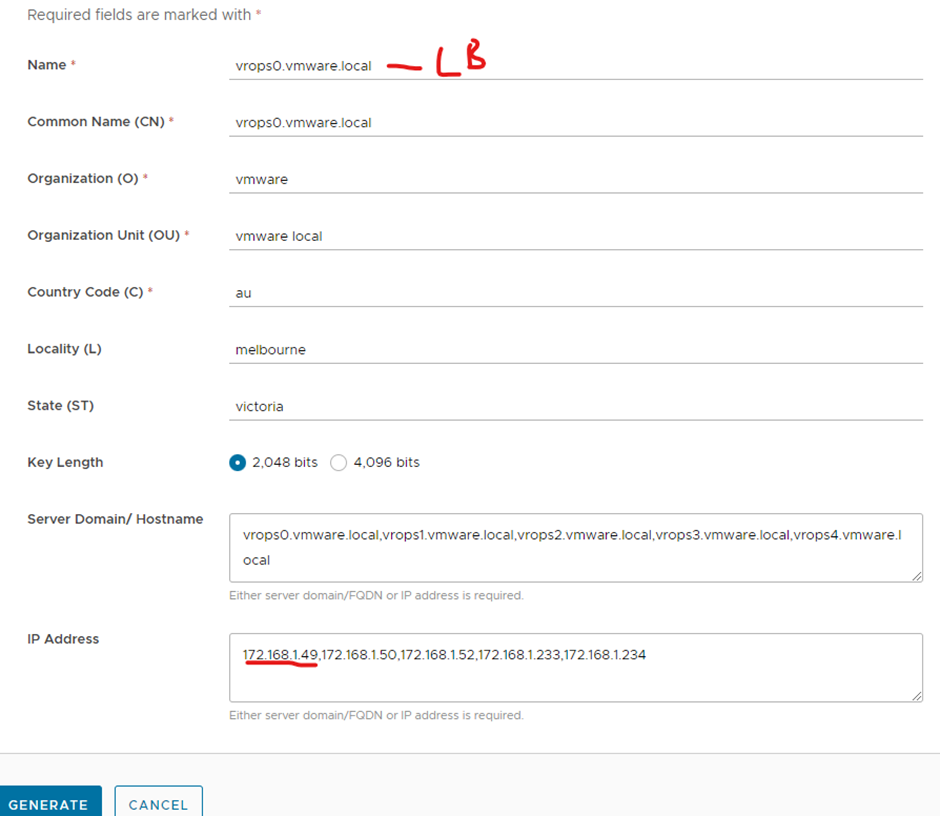
I am using my fdqn vip of my vrops node as the name and CN (vrops0.vmware.local – 172.168.1.49)
Use key length as 2048
Server domain /hostname needs to include all your vrops nodes FQDN’s comma separated including your vip
In ip address make sure it has all the ips for vrops nodes comma separated including the vip
Click generate once you have filled in the details
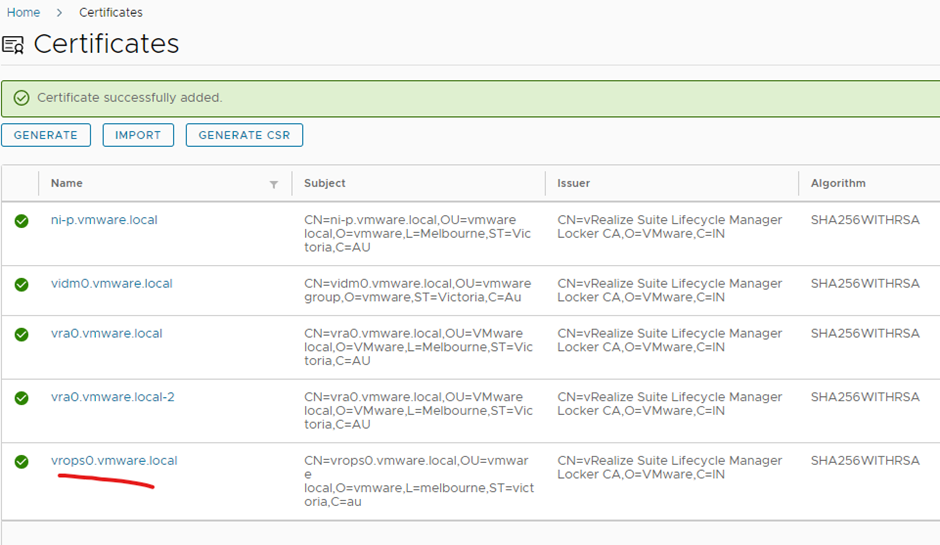
The created vrops certificate will appear in the list
Click vRealize suite lifecycle manager icon in the top left
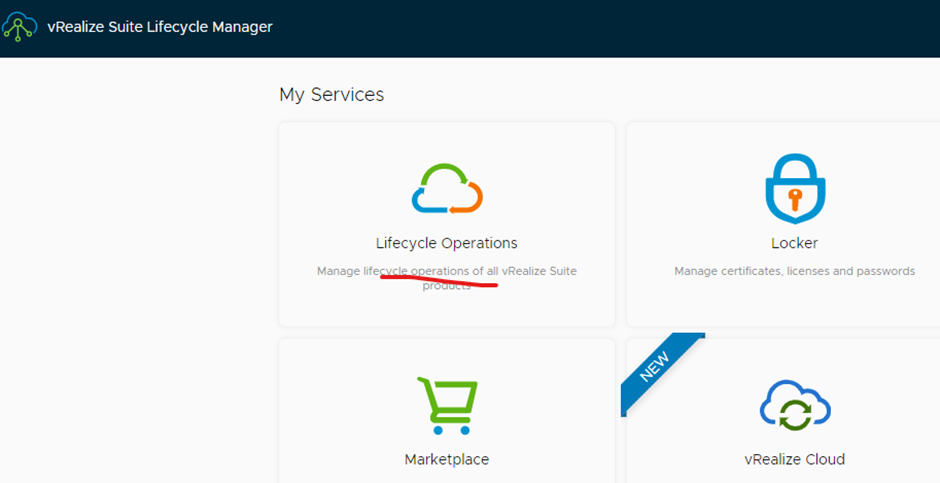
Click lifecycle operations
Click manage environments

Click view details

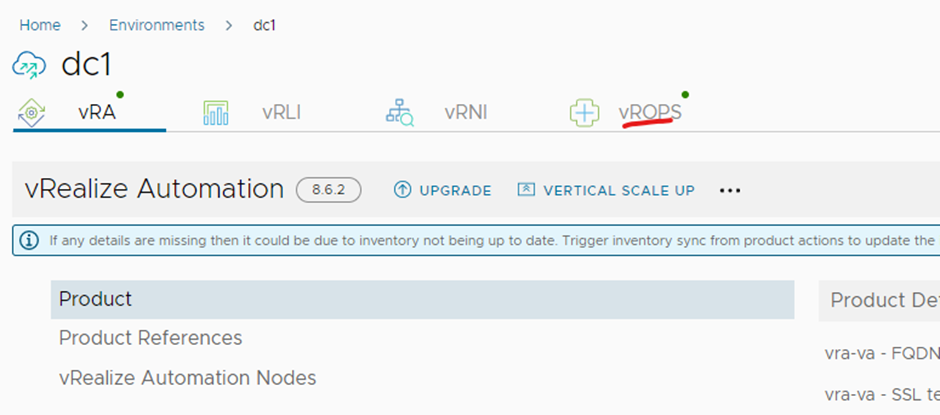
Click the vrops tab
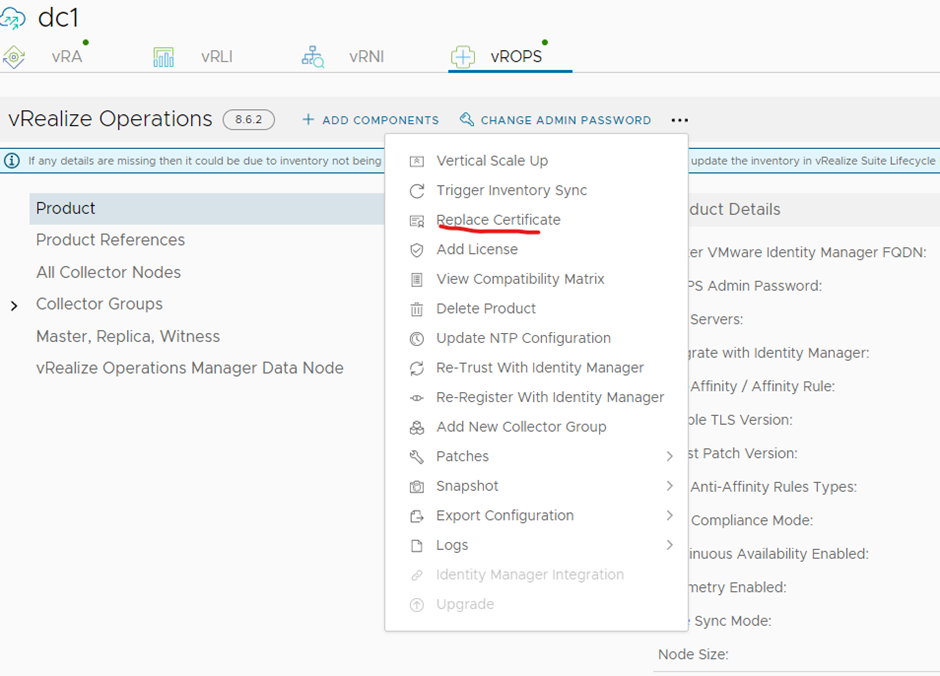
Click the three dots and click Replace Certificate
Click next
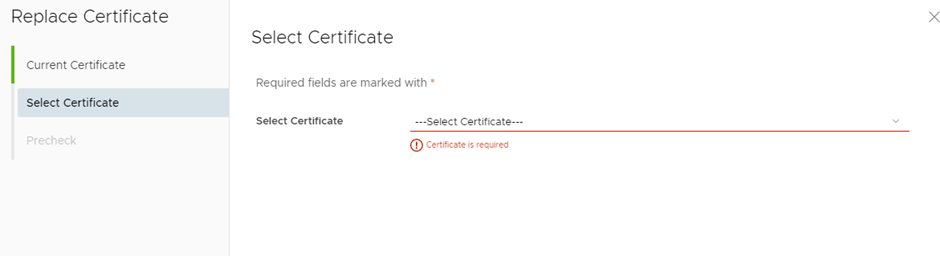
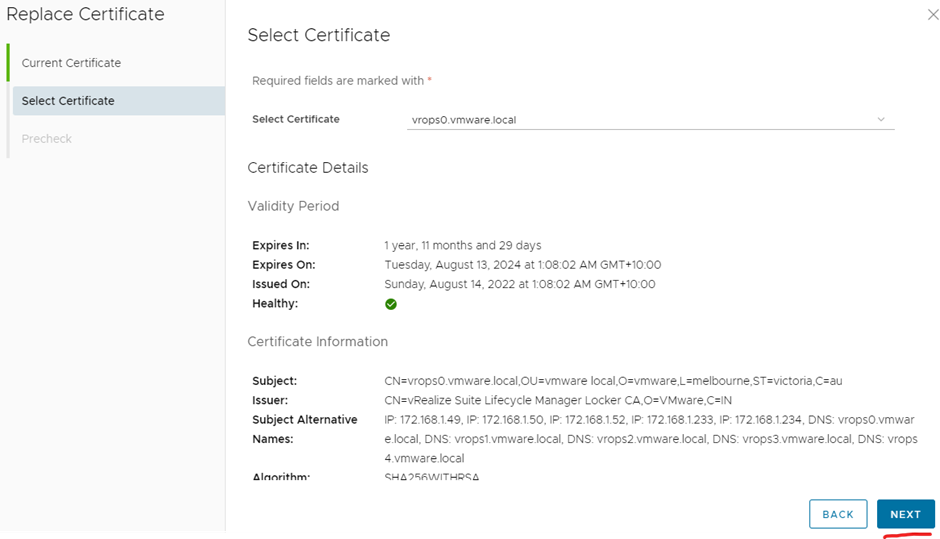
Click next
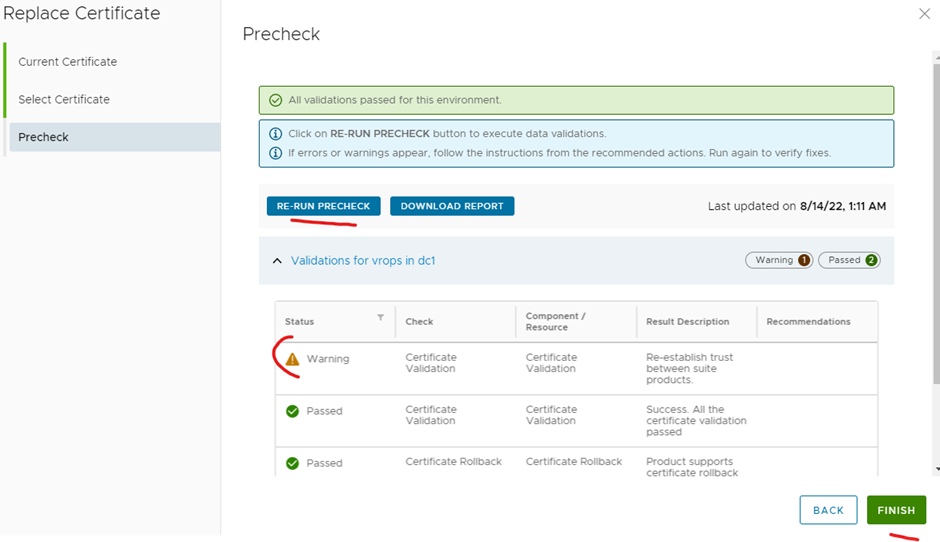
Click run-precheck
Fix any errors or warnings if possible
Click finish
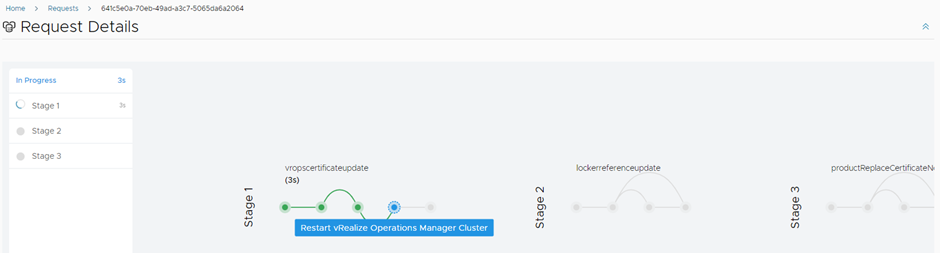
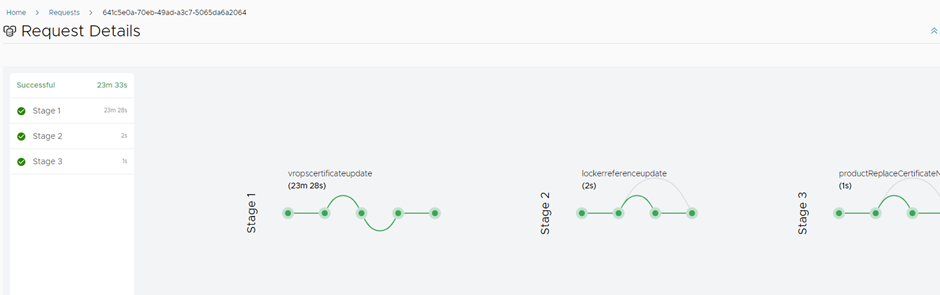
All done
Check your new certificate by accessing all the nodes via URL
“https://vrops0.vmware.local/“
They should all have the same certificate
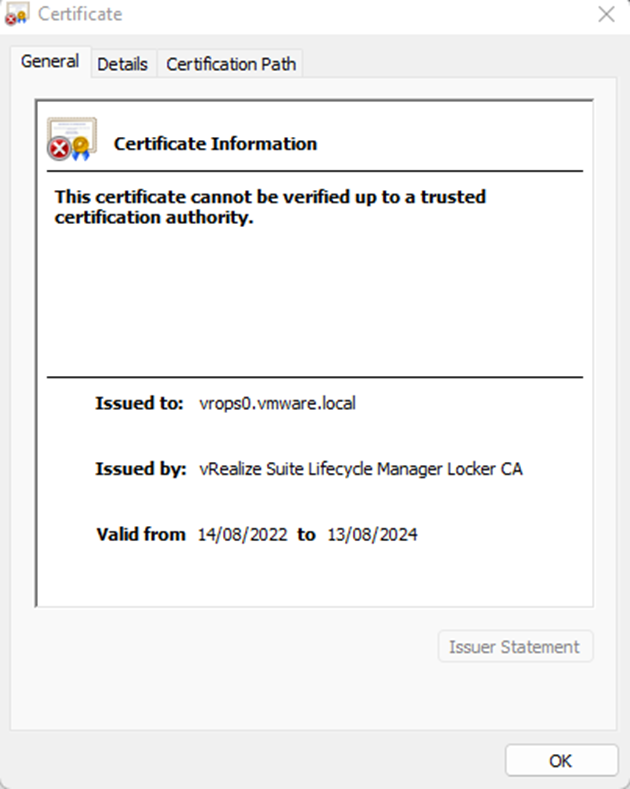
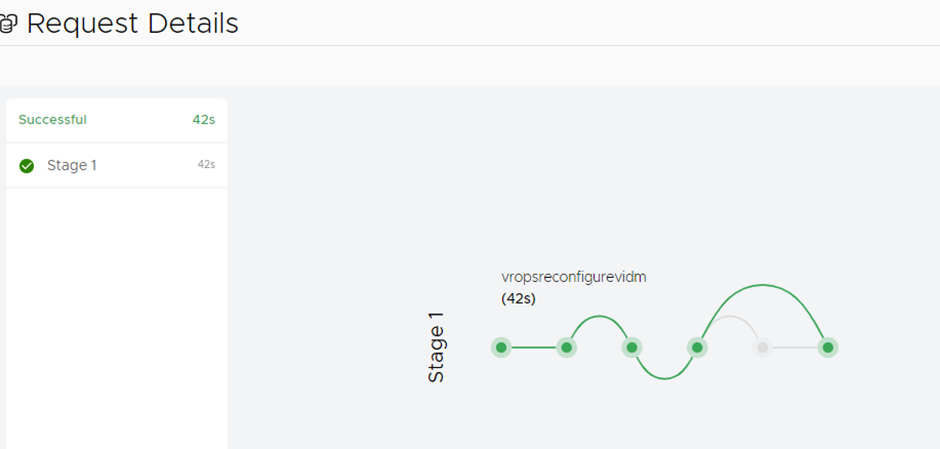
If your vrops was using VIDM for authentication you need to re-establish trust this includes any other products.
- Login back to vrslcm
- Click lifecycle operations
- Click manage environments
- Click view details
- Click vrops
- Click the three dots
- Click re-trust with VMware identity manager
- Click submit